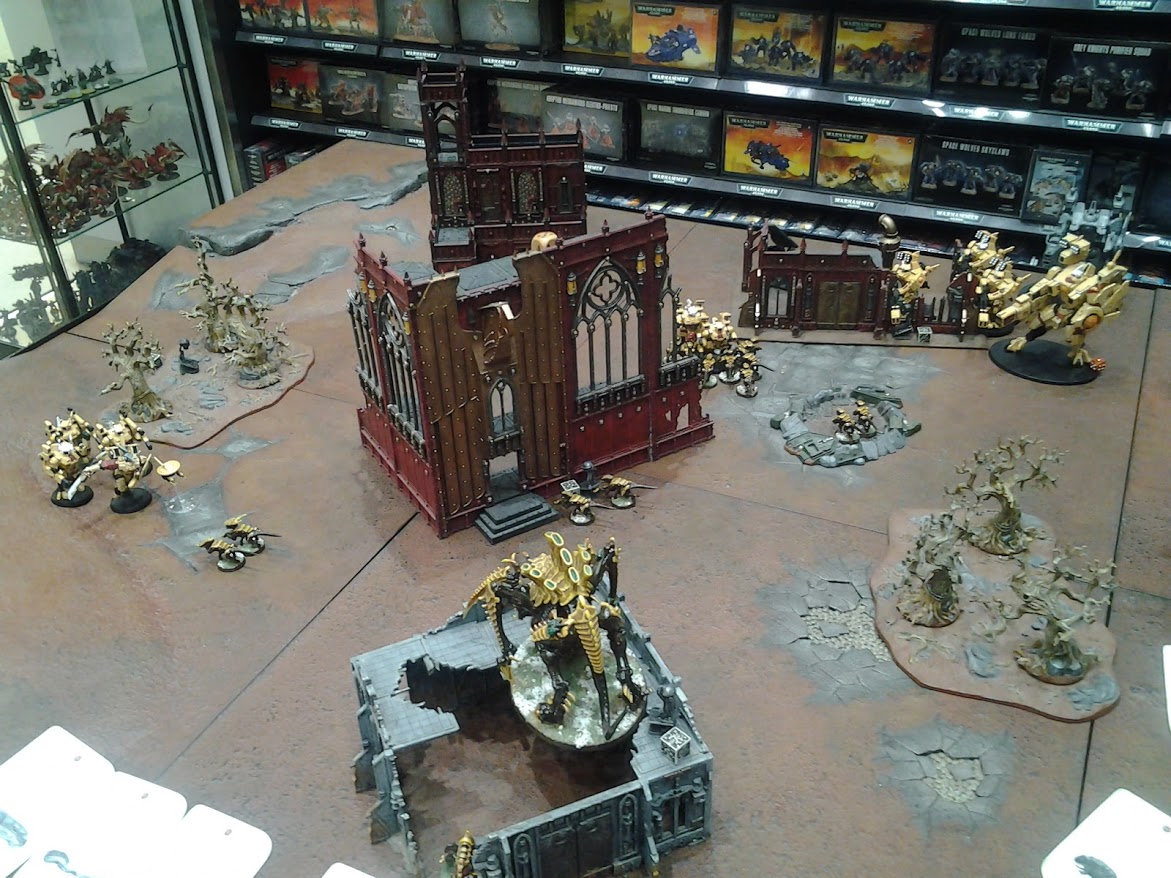
Summer is over and I am now spending less time outdoors. The best way to spend my time inside is to play some 40K. I stepped over to the local for a random game and Mackenzie and his Tau were scheduled to be my next victim, or is it the other way around? Read on to find out.
I will start by saying that I hate Tau. They have all these shenanigans that get the best of me and it starts with the Riptides. I still remember my Hormagaunt’s getting the beat down from Stealthsuits years ago. Here’s today’s line-up.
I wanted to play the Tyranid list the Keith used from batrep 007. The difference is I had to remove 100 points. I wrote the Mawloc out of the list and replaced it with a Biovore.
Tyranids- Hive Fleet Kodiak
HQ
Swarmlord
- Tyranid Powers- Dominion, Onslaught, Paroxysm, Warp Blast
- Tyrant Guard x1
Troops
Tervigon
- Tyranid powers- Dominion, Catalyst
Termagant’s with fleshborers (30 models)
Elites
Zoanthropes (3 models)
- Neurothrope/Doom x1
- Tyranid powers- Dominion, Catalyst, Warp Blast, Spirit Leech
Heavy Support
Biovore (2 models)
Formation
Skytyrant Swarm
- Hive Tyrant with wings, twin-linked devourers with brainleech worms, Tyranid Powers- Dominion, Catalyst, Psychic Scream, Warlord- Fearless and It Will Not Die
- Gargoyles (10 models)
- Gargoyles (10 models)
Tau
HQ
Commander Farsight
- Warlord
Troops
Crisis Suits (3 models)
- Shas’vre, twin-linked fusion blaster, plasma rifle, 3 drones
Crisis Suits (3 models)
- Shas’vre, twin-linked missile pod, fusion blaster, 2 drones
Elites
Riptide
- Ion accelerator, smart missiles, stimulant injectors
Riptide
- Ion accelerator, fusion blaster, stimulant injectors
Heavy Support
Broadsides (3 models)
- Shas’vre, heavy rail rifle, smart missiles
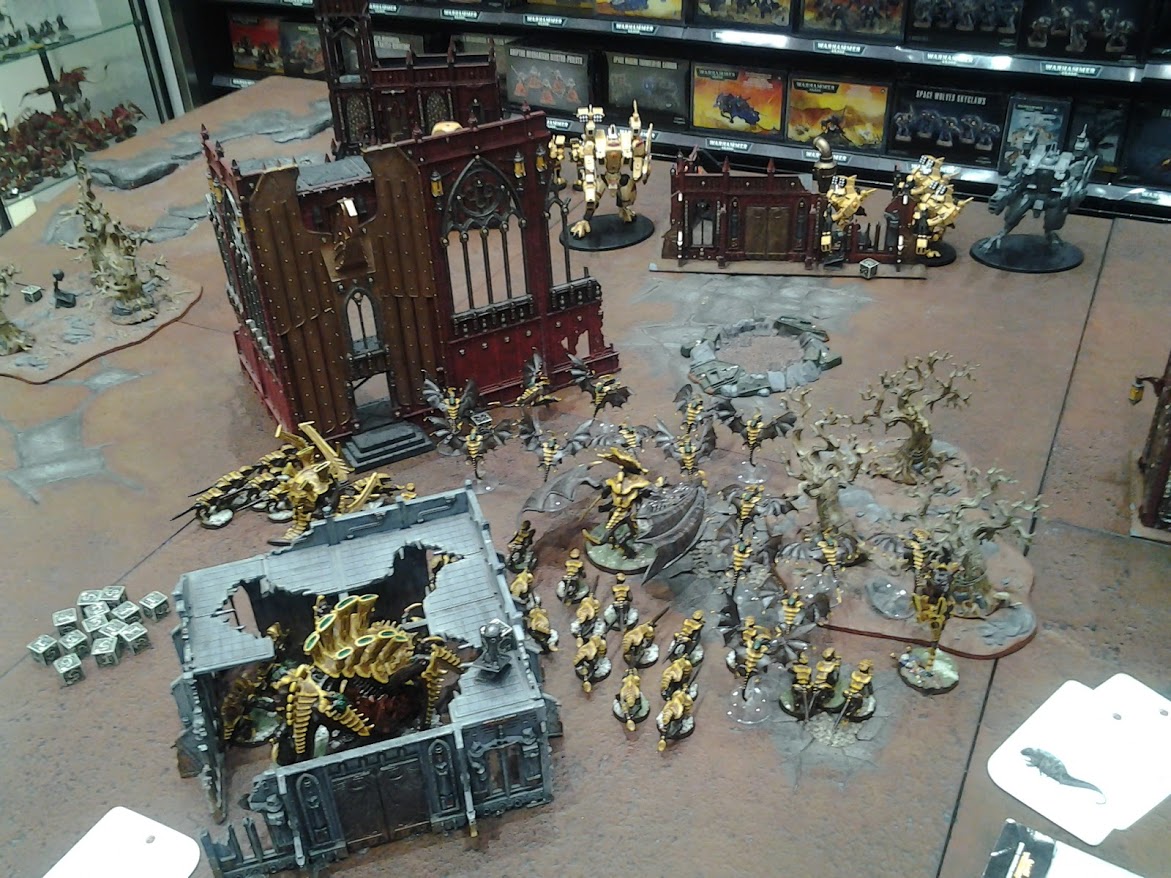
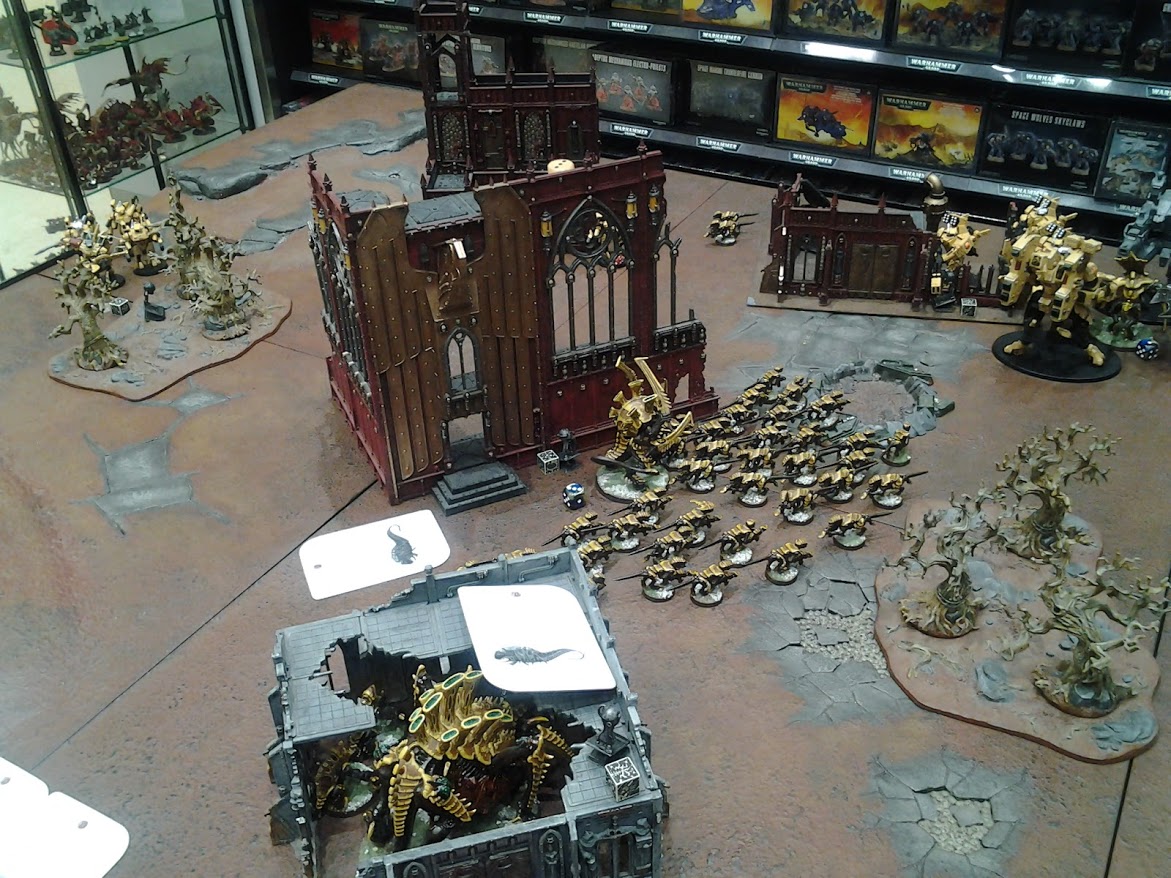
We’re playing Eternal War with standard deployment and five objectives. One objective is in the middle with two objectives in each player deployment zone. Mackenzie wins the roll to pick side and chooses to go first. Farsight goes into reserve and places his army on his left side. I counter by placing everything on my right side. The first round will be night fight.
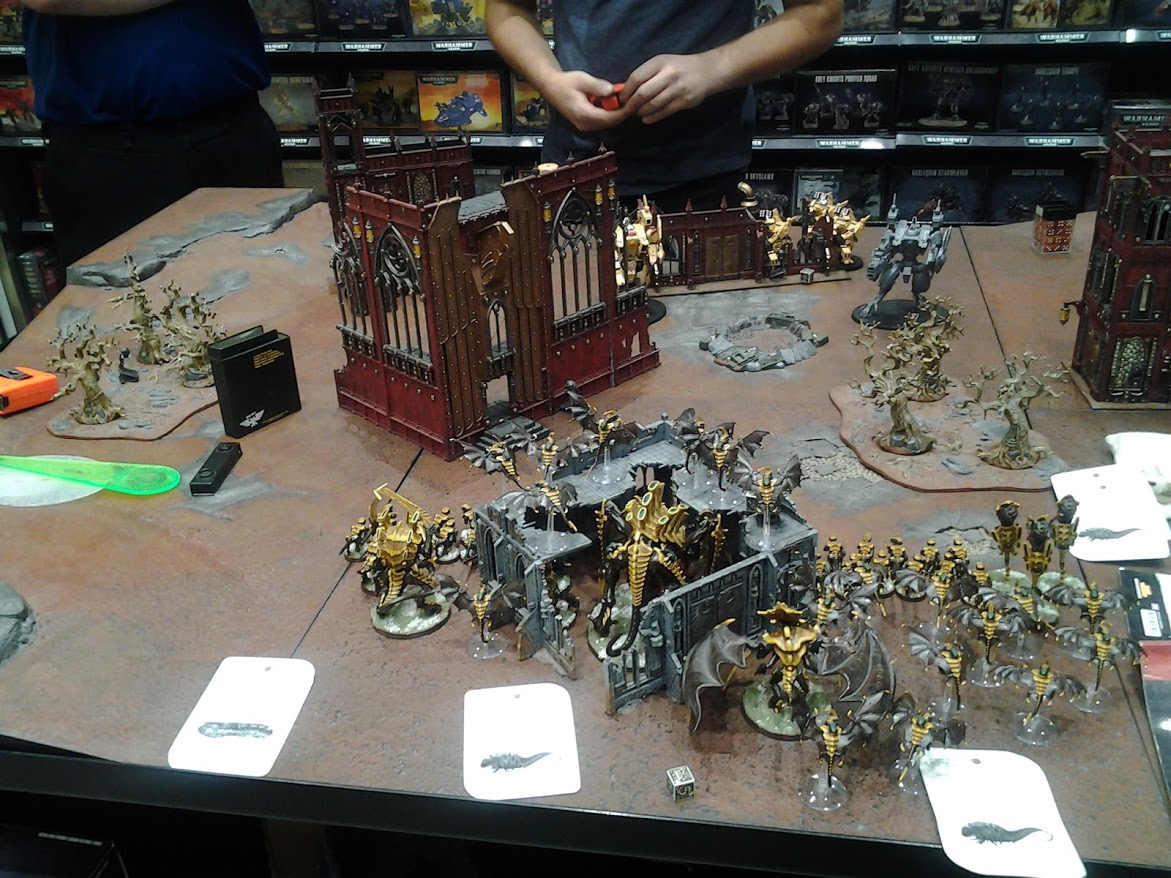
Tau Turn 1
Mackenzie moves the Riptides up and opens fire. Two Zoanthropes are obliterated and a few Gargoyles are shot down. The Riptides jump back further into the Tau deployment zone.
Tyranids Turn 1
The Tyranid line, with the exception of the Tervigon and Biovores converge towards the Tau. The Tervigon spawns 14 Termagants with plans to produce more. Every Psyker successfully casts Catalyst. Every squad, except the freshly spawned Gants, have Feel No Pain. No other powers are successful in being cast.
The Biovores target the Crisis Suits and blow up a drone. The Hive Fleet advances by running towards the Tau.

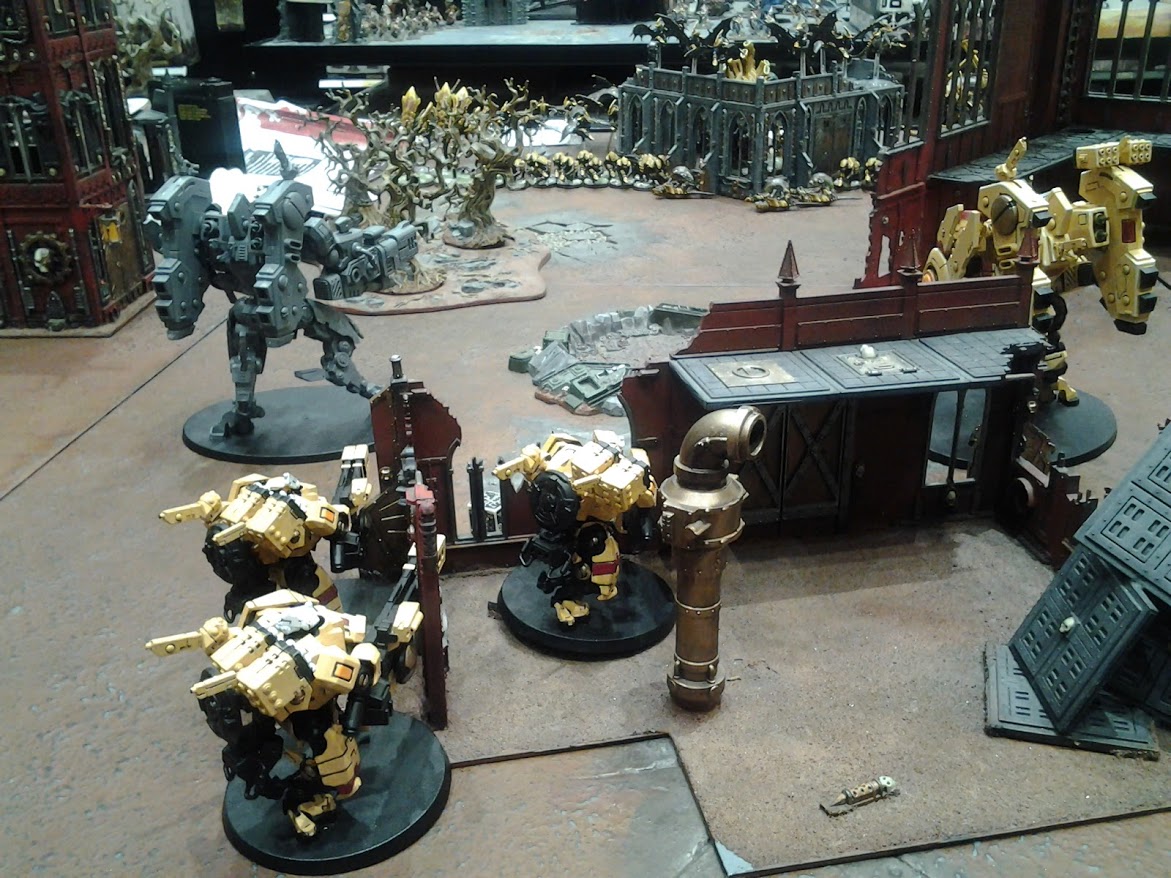
Tau Turn 2
Farsight advances to the field, by flanking the Swarmlord, and orders his force to fire at will. All but two Gargoyles are pulverized into mush and the field is littered with a few bodies of Gants. The Tyrant Guard lives up to its billing and protects the Swarmlord. The Swarmlord does take a wound but shrugs it off with a successful Feel No Pain roll.
Farsight and Crisis Suit entourage jump back a mighty two inches. The Swarmlord senses an opportunity with the Tau warlord’s failure to fully retreat.
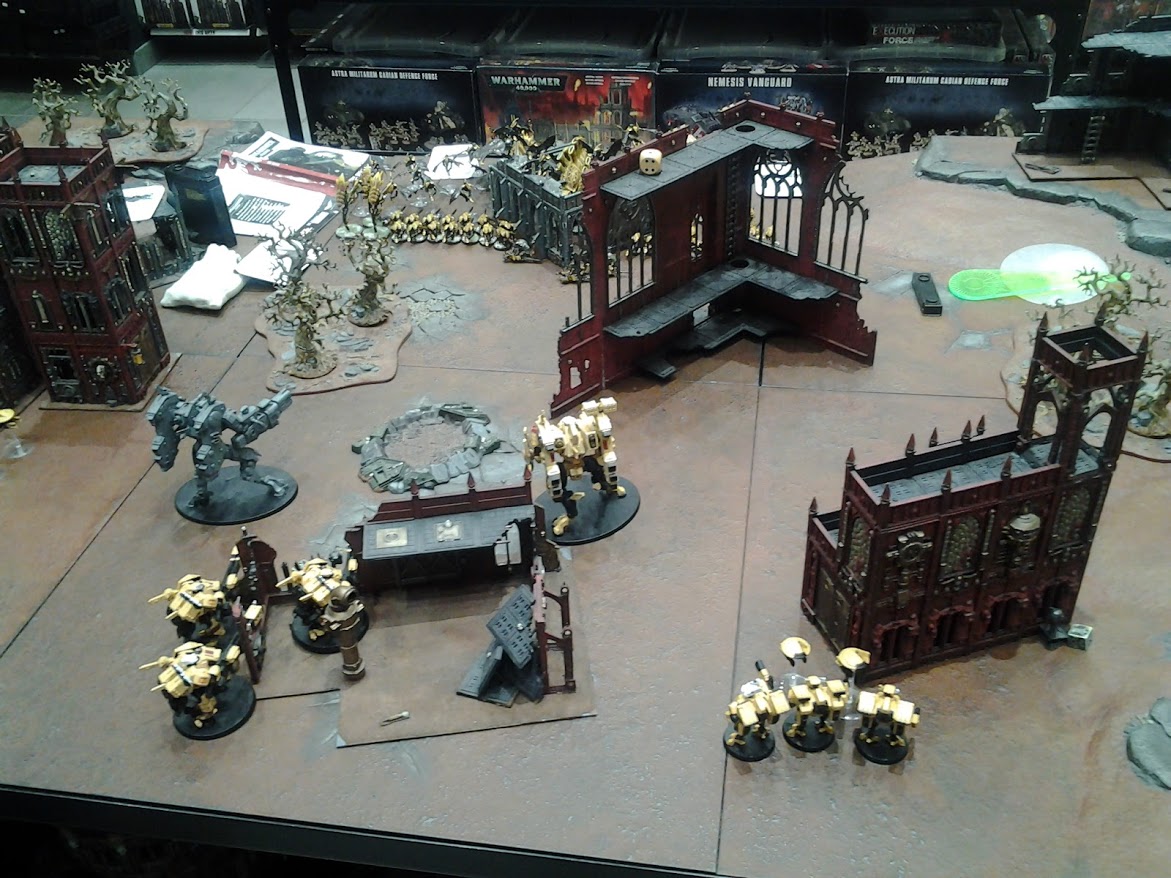
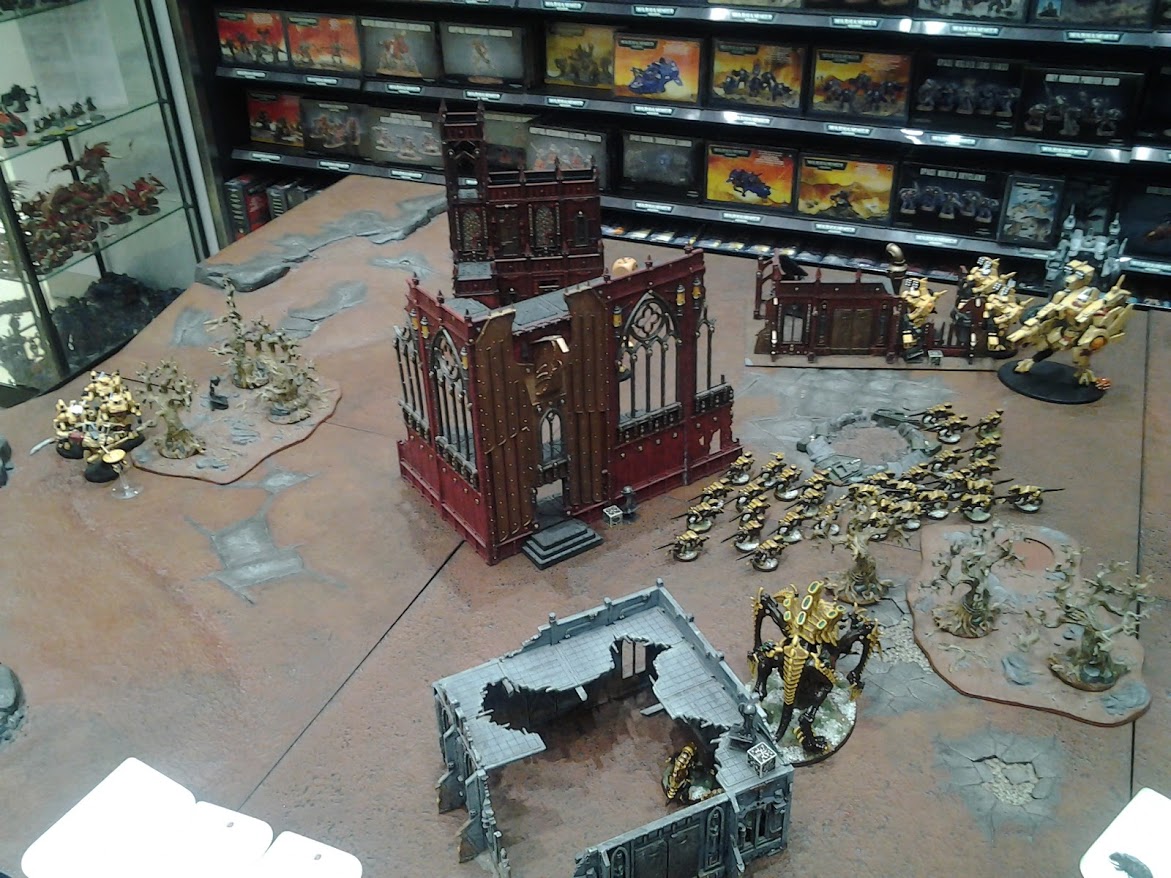
Tyranids Turn 2
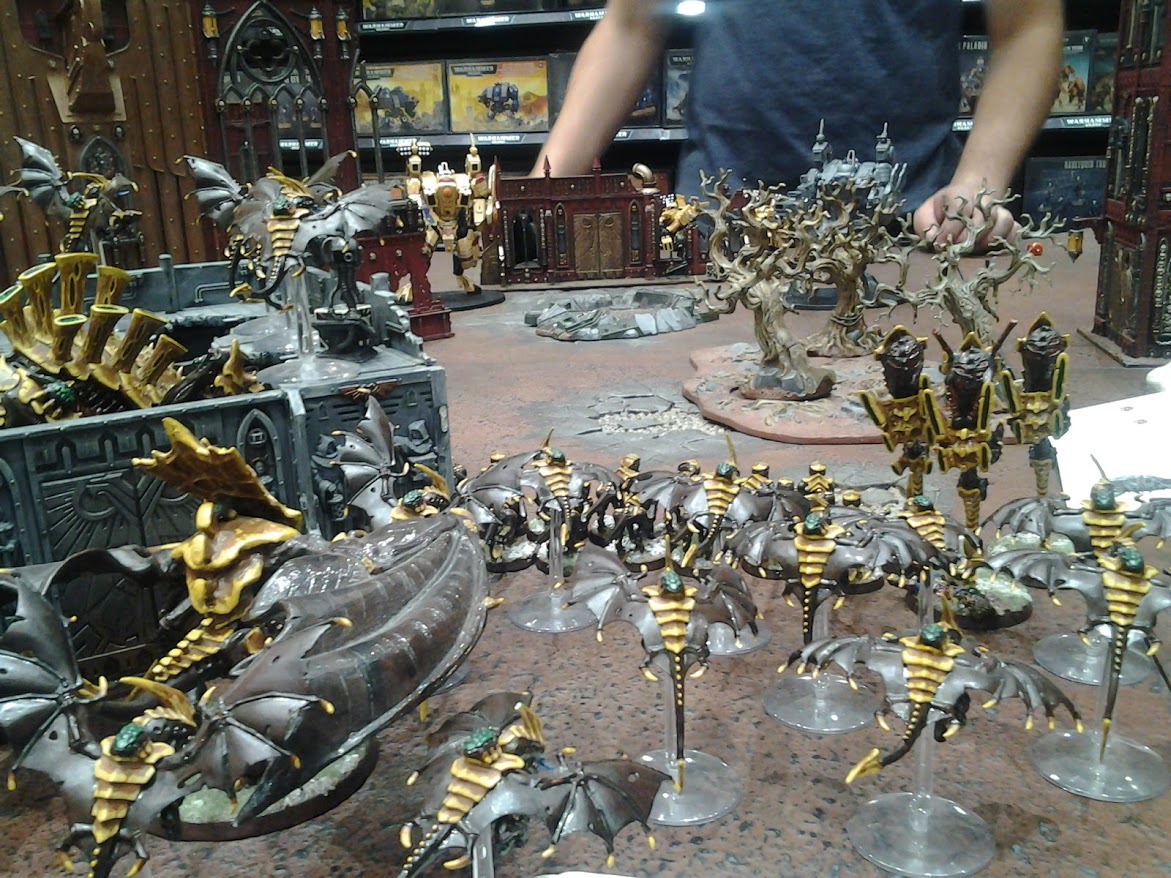
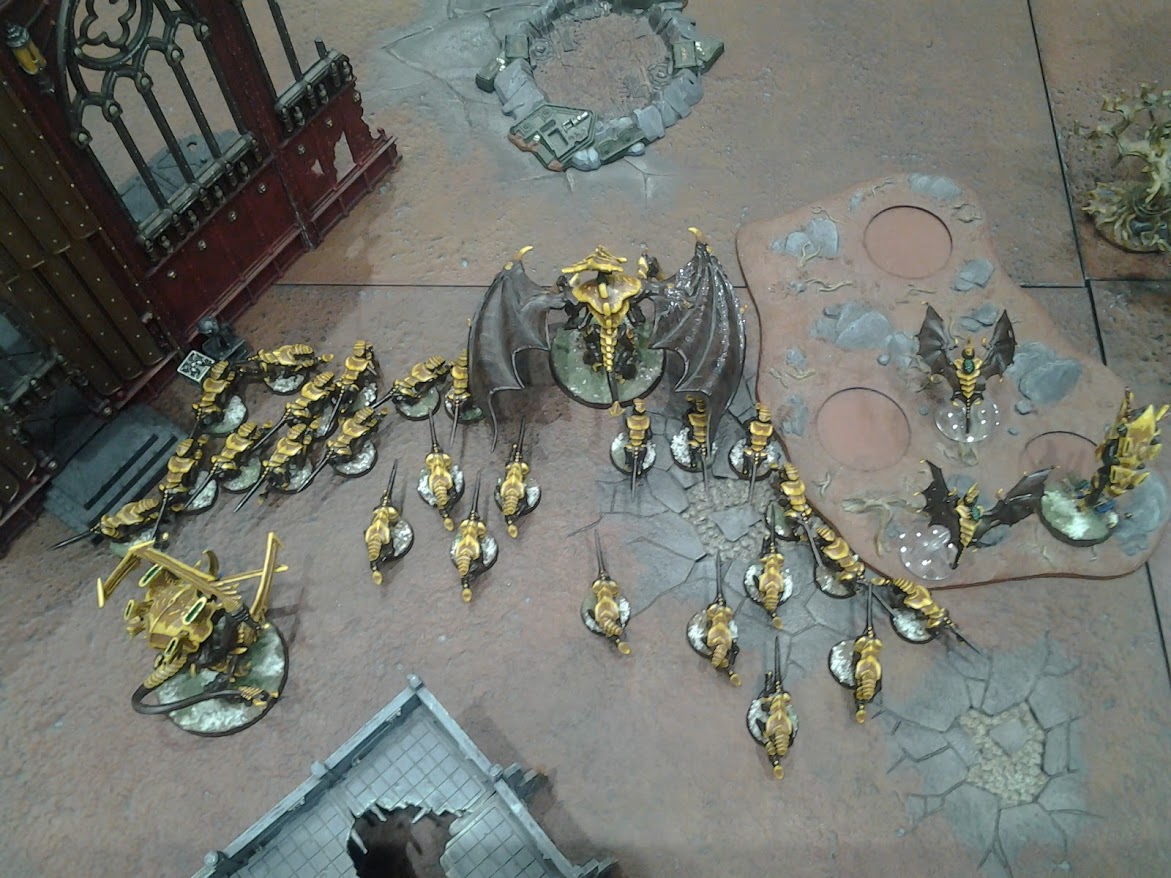
The Flyrant and two Gargoyles advance towards the Riptide on the left flank. The Zoanthrope also advances. The Swarmlord directs the Termagant’s towards Farsight. The Tervigon provides thirteen more Gants to the fray, unfortunately those are the last of the reserves to arrive. The Tervigon is barren for the remainder of the battle.
The Swarmlord casts Paroxysm on Farsight and reduces the weapon and ballistic skills by two. The Flyrant casts Catalyst, perils in the successful attempt and takes a wound. The Neurothrope is unsuccessful with casting any powers. The Tervigon casts Catalyst and extends Feel No Pain to the Biovores.
The Termagants shoot Farsight and kill a couple of drones. The Biovores target Farsight, score a direct hit but Farsight shrugs off the damage.
The Flyrant and two Gargoyles charge the Riptide. The Broadsides answer the call for supporting fire and shoot down the Gargoyle that was straggling behind. I roll five dice to hit the Riptide and do not make a single successful roll. The Riptide crushes the remaining Gargoyle.
The Swarmlord commands the Termagants to charge Farsight. The squad opens fire and eliminates four Gants. The Gants are short on their charge. The Swarmlord needs six inches to make the charge and I roll a four. A second squad of Gants also falls short to successfully charge Farsight. This means Farsight will not be locked in combat and is free to escape.

Tau Turn 3
Farsight retreats from the Swarmlord but not before removing two wounds. The Broadsides receive a command from Farsight to open fire on the Neurothrope and remove it from the battlefield. The other Riptide charges the Flyrant. The Flyrant puts a wound on a Riptide. The invulnerable save is failed, however, the Feel No Pain roll is successful. The Flyrant takes a wound and has one wound left.

Tyranids Turn 3
The Swarmlord realizes that Farsight is attempting to lure it into a trap and commands the Gants to support the Flyrant.
The Swarmlord is successful with Catalyst and gives Feel No Pain to a squad of Gants. The Tervigon is also successful with Catalyst and provides the Biovores with the buffer. The Flyrant casts Psychic Shriek and both Riptides and the Broadsides all pass their leadership tests.
The Biovores target the Crisis Suits in the backfield and scatter off target. **Note: The two Gants in the picture represent Spore Mines. I forgot my Spores at home.**
The Flyrant is successful with putting a wound on a Riptide. It’s about time. Out of 13 total attacks in three rounds of combat the Flyrant has only caused one wound. The full health Riptide overcharges, fails its Feel No Pain and takes a wound. Mackenzie has done the same amount of damage to his Riptides as I have. Both Riptides pass their leadership checks.
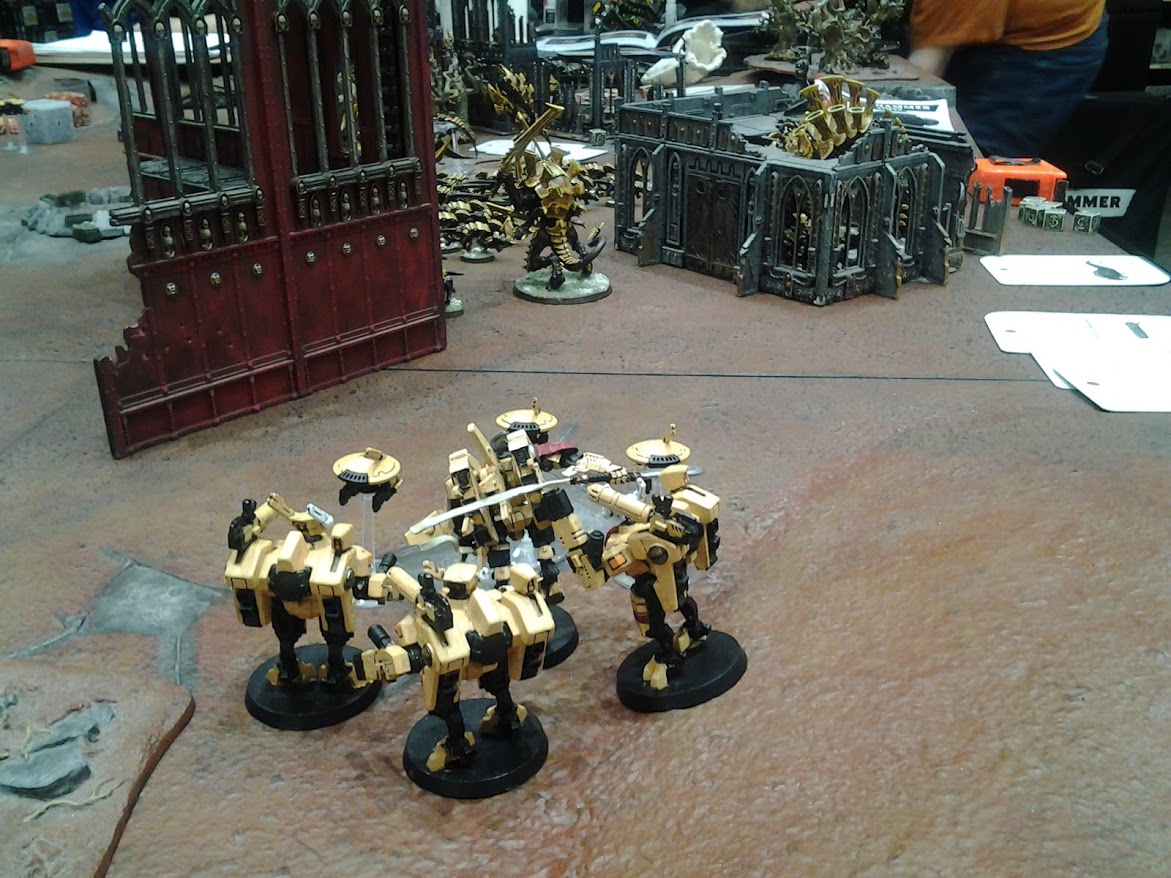
Tau Turn 4
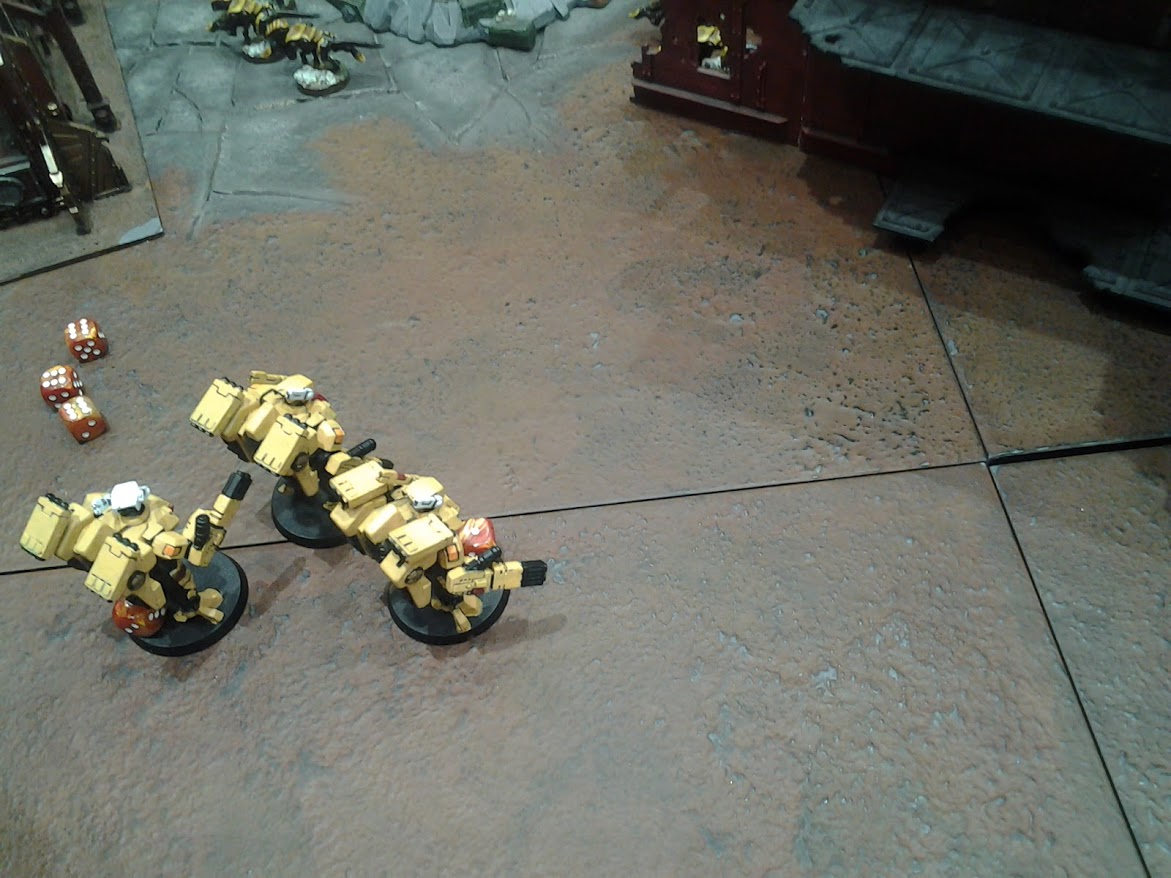
The Broadsides target the Swarmlord and cause two more wounds. The Crisis Suits in the back field move towards the Shrine and away from the Spore Mines. They target the mines and blow them up. Riptide returns to the fray now that the Swarmlord is not an immediate threat.
The Flyrant senses its end is near and in an act of desperation causes another wound on a Riptide. The damaged suit is able to distract the Flyrant while the other is able to put the finishing blow and destroy the flying menace.


Tyranids Turn 4
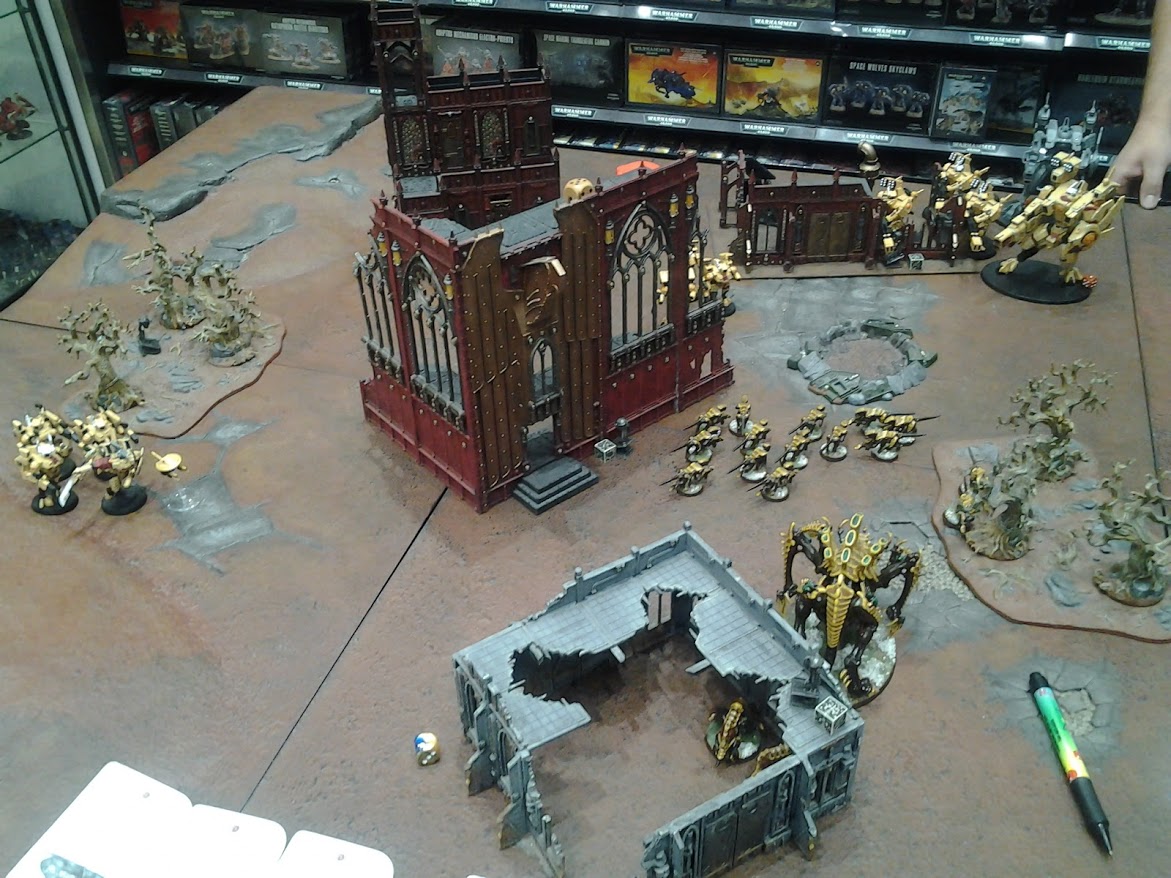
The Termagants advance towards the Riptides while The Swarmlord moves towards the Crisis Suits. The Tervigon emerges from the ruins to provide synapse. There are no successful psychic powers cast.
The Biovores target the Crisis Suits and put a couple of wounds on the suits.
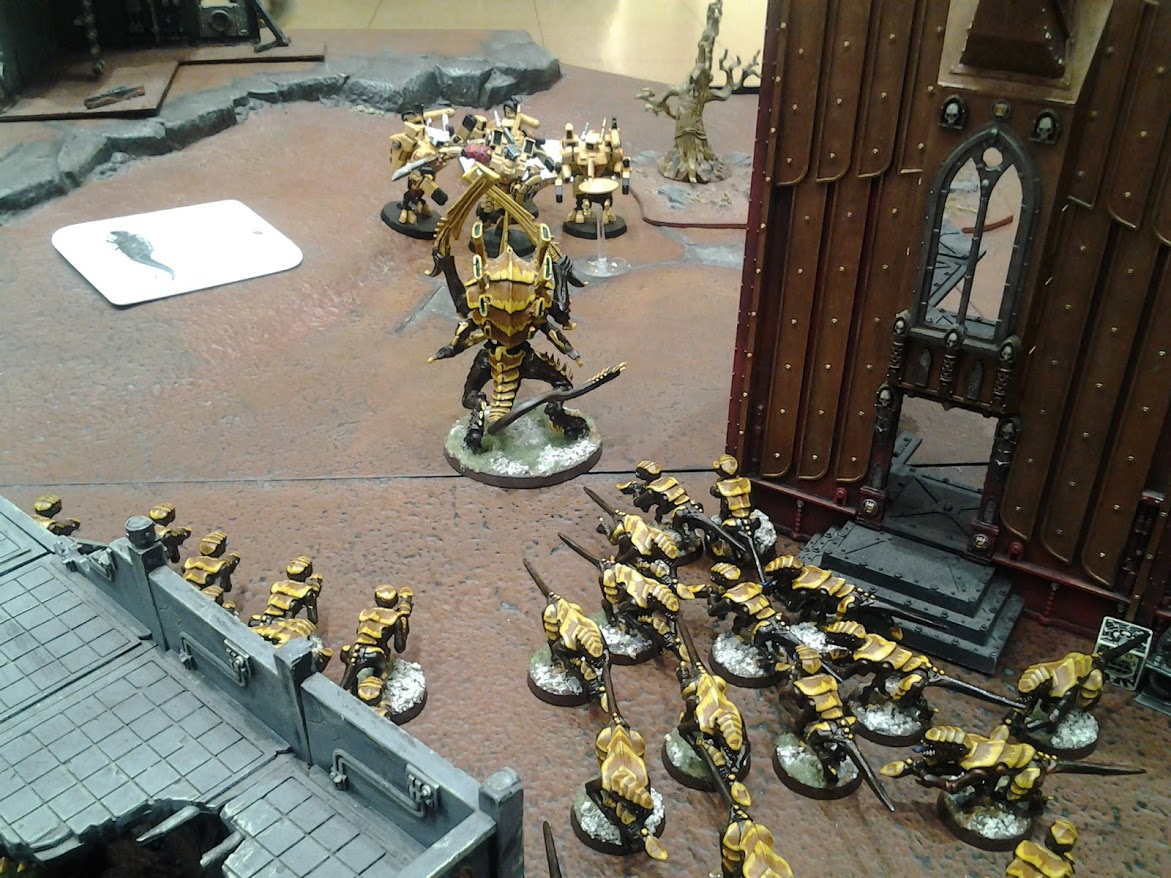
The Termagants attempt to charge the Riptides and are unsuccessful. The Swarmlord charges the Crisis Suits. They brace for the impact while charging up their weapons. They fire on the Swarmlord and its head is melted from a fusion blast to the face.
Tau Turn 5
Who likes barbequed Gaunts? If you raised your hand you’ll love this next picture.
I think picture explains what happened- burnt Gants.
Tyranids Turn 5
The Biovore target Farsight and scatter off target. **Note: The two Gants in front of Farsight are Spore Mines.**
Two Gants run to the objective on the steps of the Shrine. Two more Gants take shelter in a crater slick with the ichor of dead aliens. A brood of eight Gaunts charge the Crisis Suits and successfully destroy one suit. That’s more than the Swarmlord can say.
Tau Turn 6
Farsight disengages from his squad and charges the Spore Mines. The Spore Mines detonate and Farsight emerges from the smoke unscathed. A Riptide targets the two Gants in the crater and they add to the slime in the crater. The other Riptide as well as the Broadsides target the Tervigon and put three wounds on the beast.
A mighty battle between eight Termagants and two Crisis Suits rages on. Another Crisis Suit falls.

Tyranids Turn 6
The Termagants on the steps enter the ruins to hide from the Riptides. The Crisis Suit disposes of two Gaunts without taking any damage. The Gants pass the leadership.
We roll for Turn 7 and the game concludes. Mackenzie holds one objective plus scores victory points with Slay the Warlord and First Blood. I hold two objectives. Tau takes a 3-2 victory. The score suggests the game was a lot closer than it really was. I was not able to destroy a single unit. I was able to remove five drones and two Crisis Suits from play. As far as generalship goes this is one of the worst games I have played in a long time. I can’t remember the last game I had this much difficulty removing my opponents models. The dice rolling with the Flyrant was abysmal. I also had too many failed charges. The Riptides ability to ignore cover really took me to the cleaners as well.
The Tyranids will learn from this and return to absorb the Tau into its biomass.


sometimes the favor is not on the side of the hive mind 🙂 next time you will have more luck
LikeLike
By: Wolfsherz on September 17, 2015
at 6:03 am
The Hive Mind has developed an allergy to dice. I hear devouring Tau works like an epipen. 😉
LikeLike
By: Turkadactyl on September 17, 2015
at 7:22 am