We are one week into Spartember and I am happy to see the progress the others are making on their super heavies. I did a fantastic job delaying the inevitable and decided to unpack boxes and organize the house instead of assemble my Spartan Assault Tank. There was one problem. I unpacked the rest of the boxes and organized everything. Well, nuts. Looks like I have to work on the Spartan now.

I have a bit of experience assembling Forgeworld tanks with the Land Raider Achilles and Caestus Assault Ram. I knew I had to pin the beast together. I wasn’t sure if I would have the same luck that I had with the Caestus. The pinning was perfect on that model and I hoped my luck would continue.
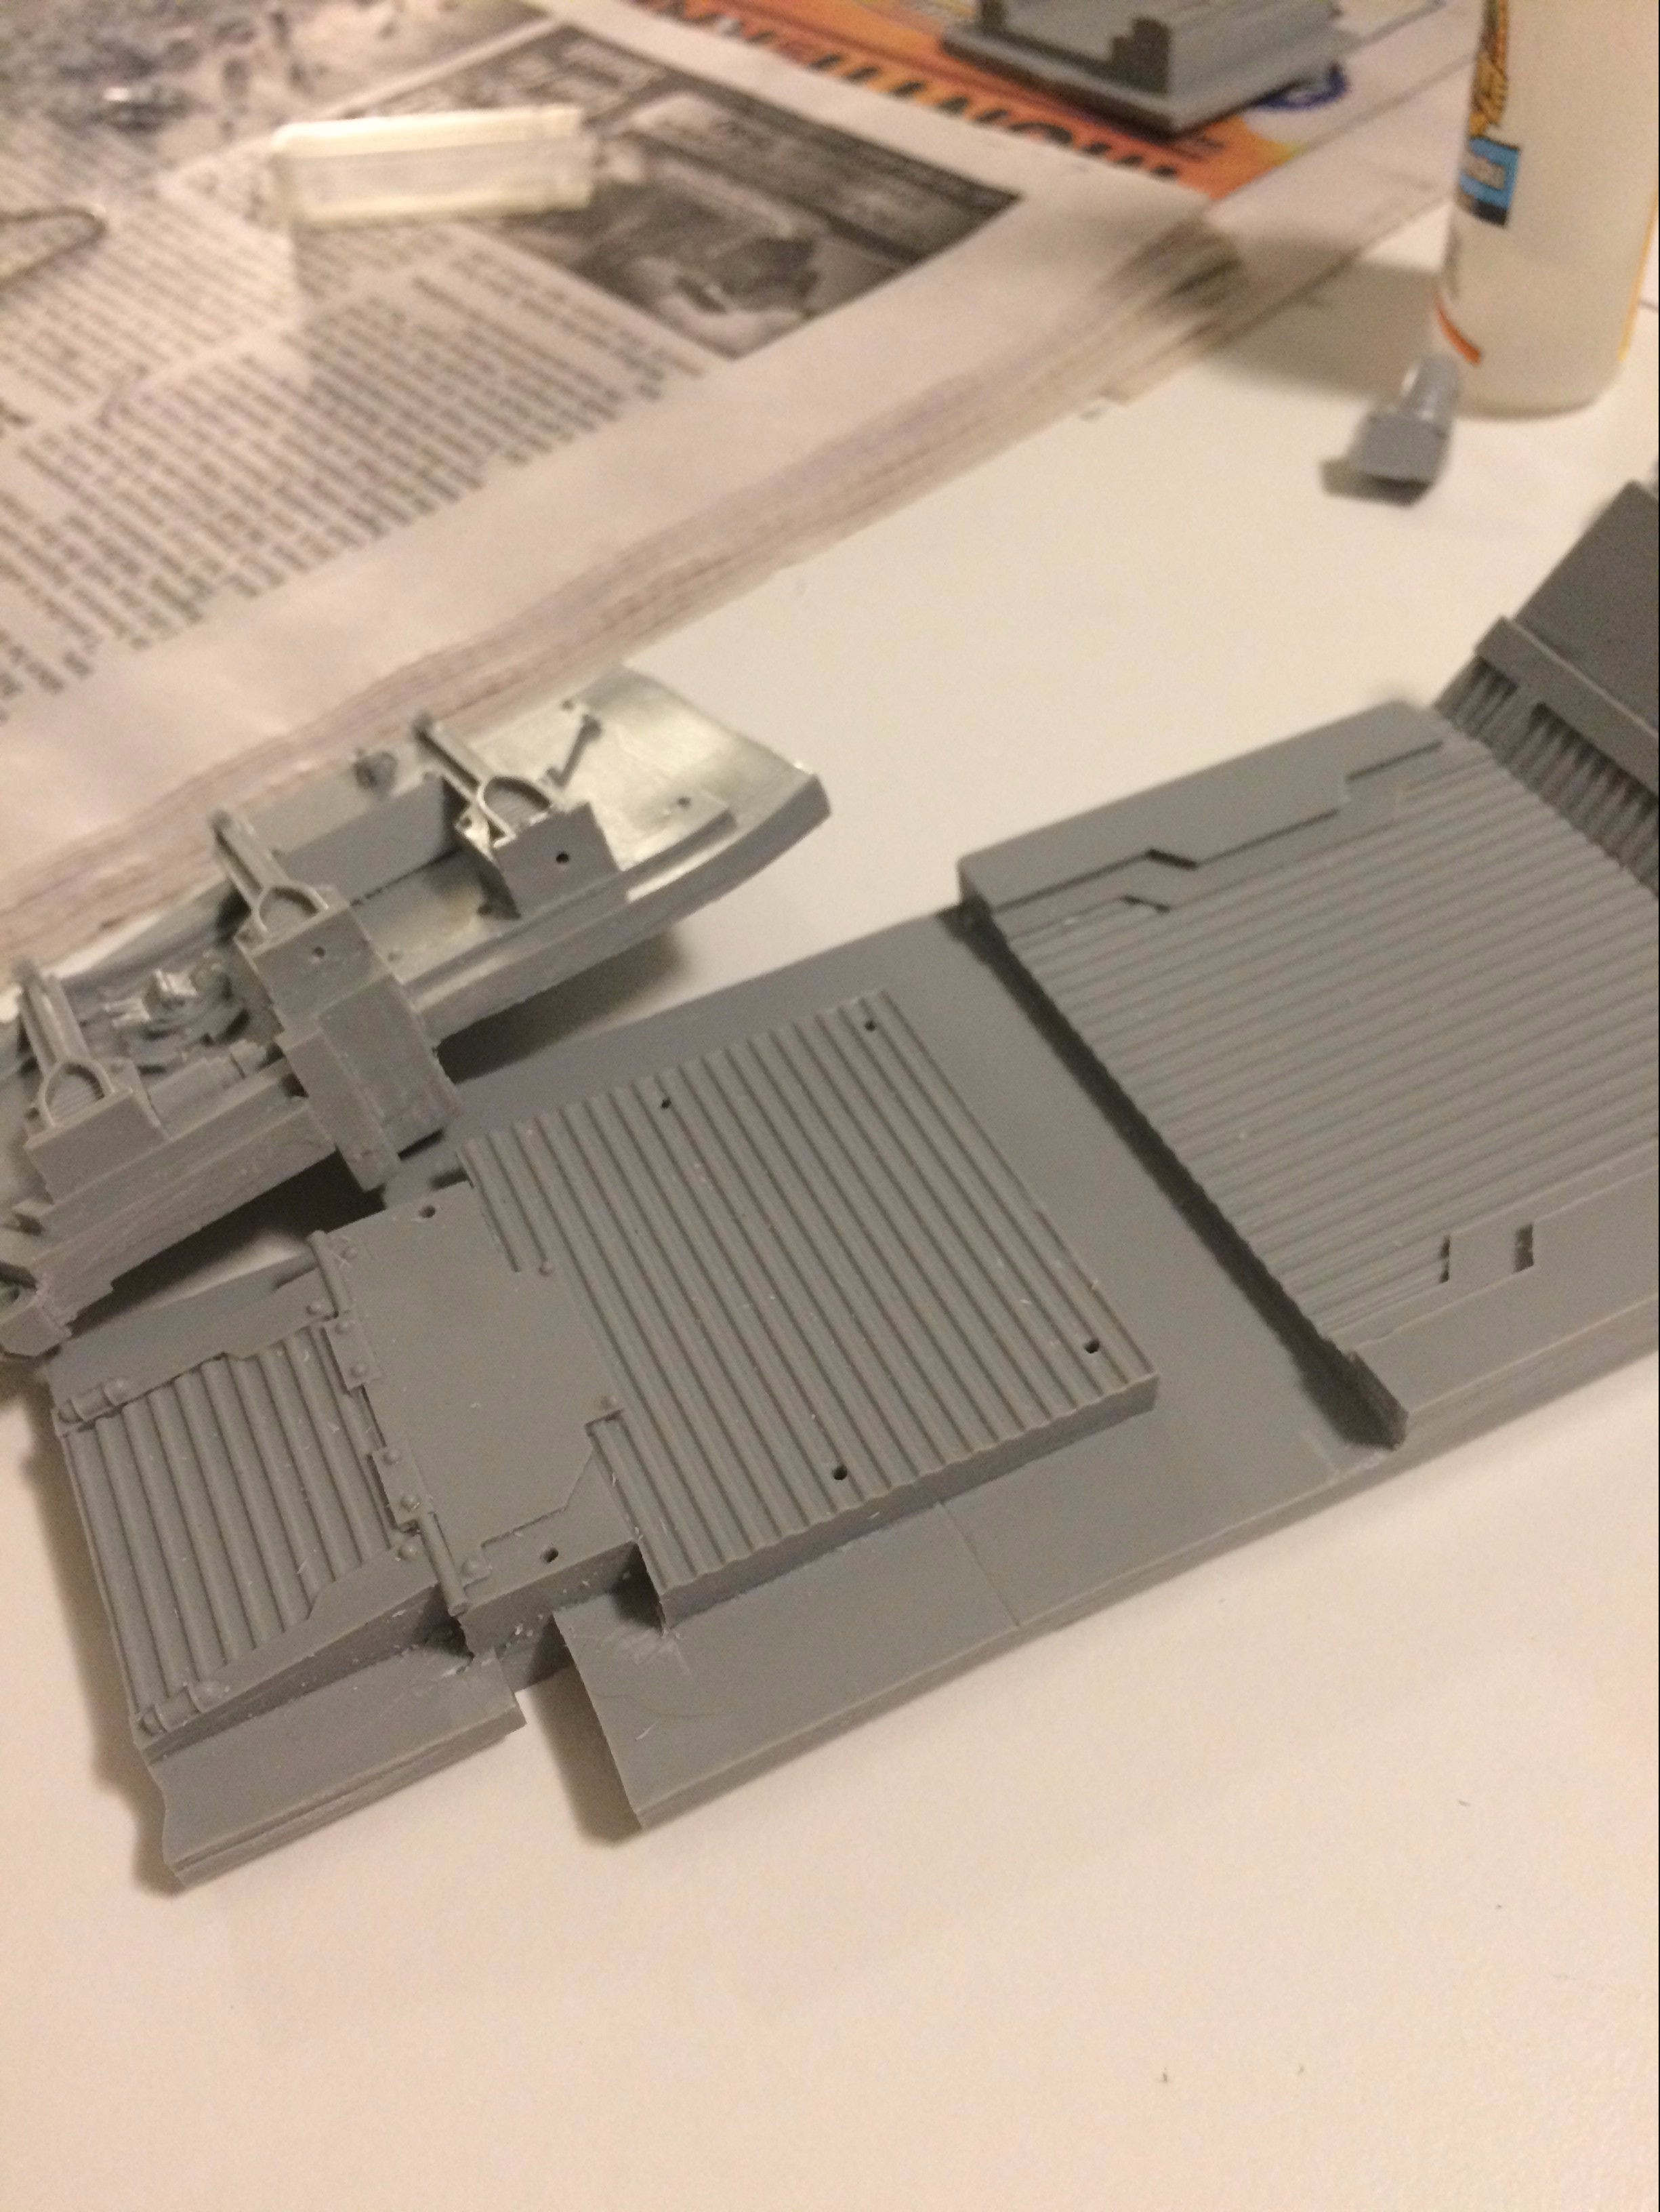
I start out with dry fitting the pieces and make sure everything will align. Then I drill some holes and clip some paperclips for the pinning. As you can see in the picture I only have a little bit of the paperclip coming out of the hole. This allows me to put the two pieces of resin together. Once aligned properly I push the two pieces together and the paperclips make a mark in the second piece as to where I need to drill the holes. This worked well for the Caestus so I will give it a go again. The next picture is the bottom of the hull and the back of the tank.
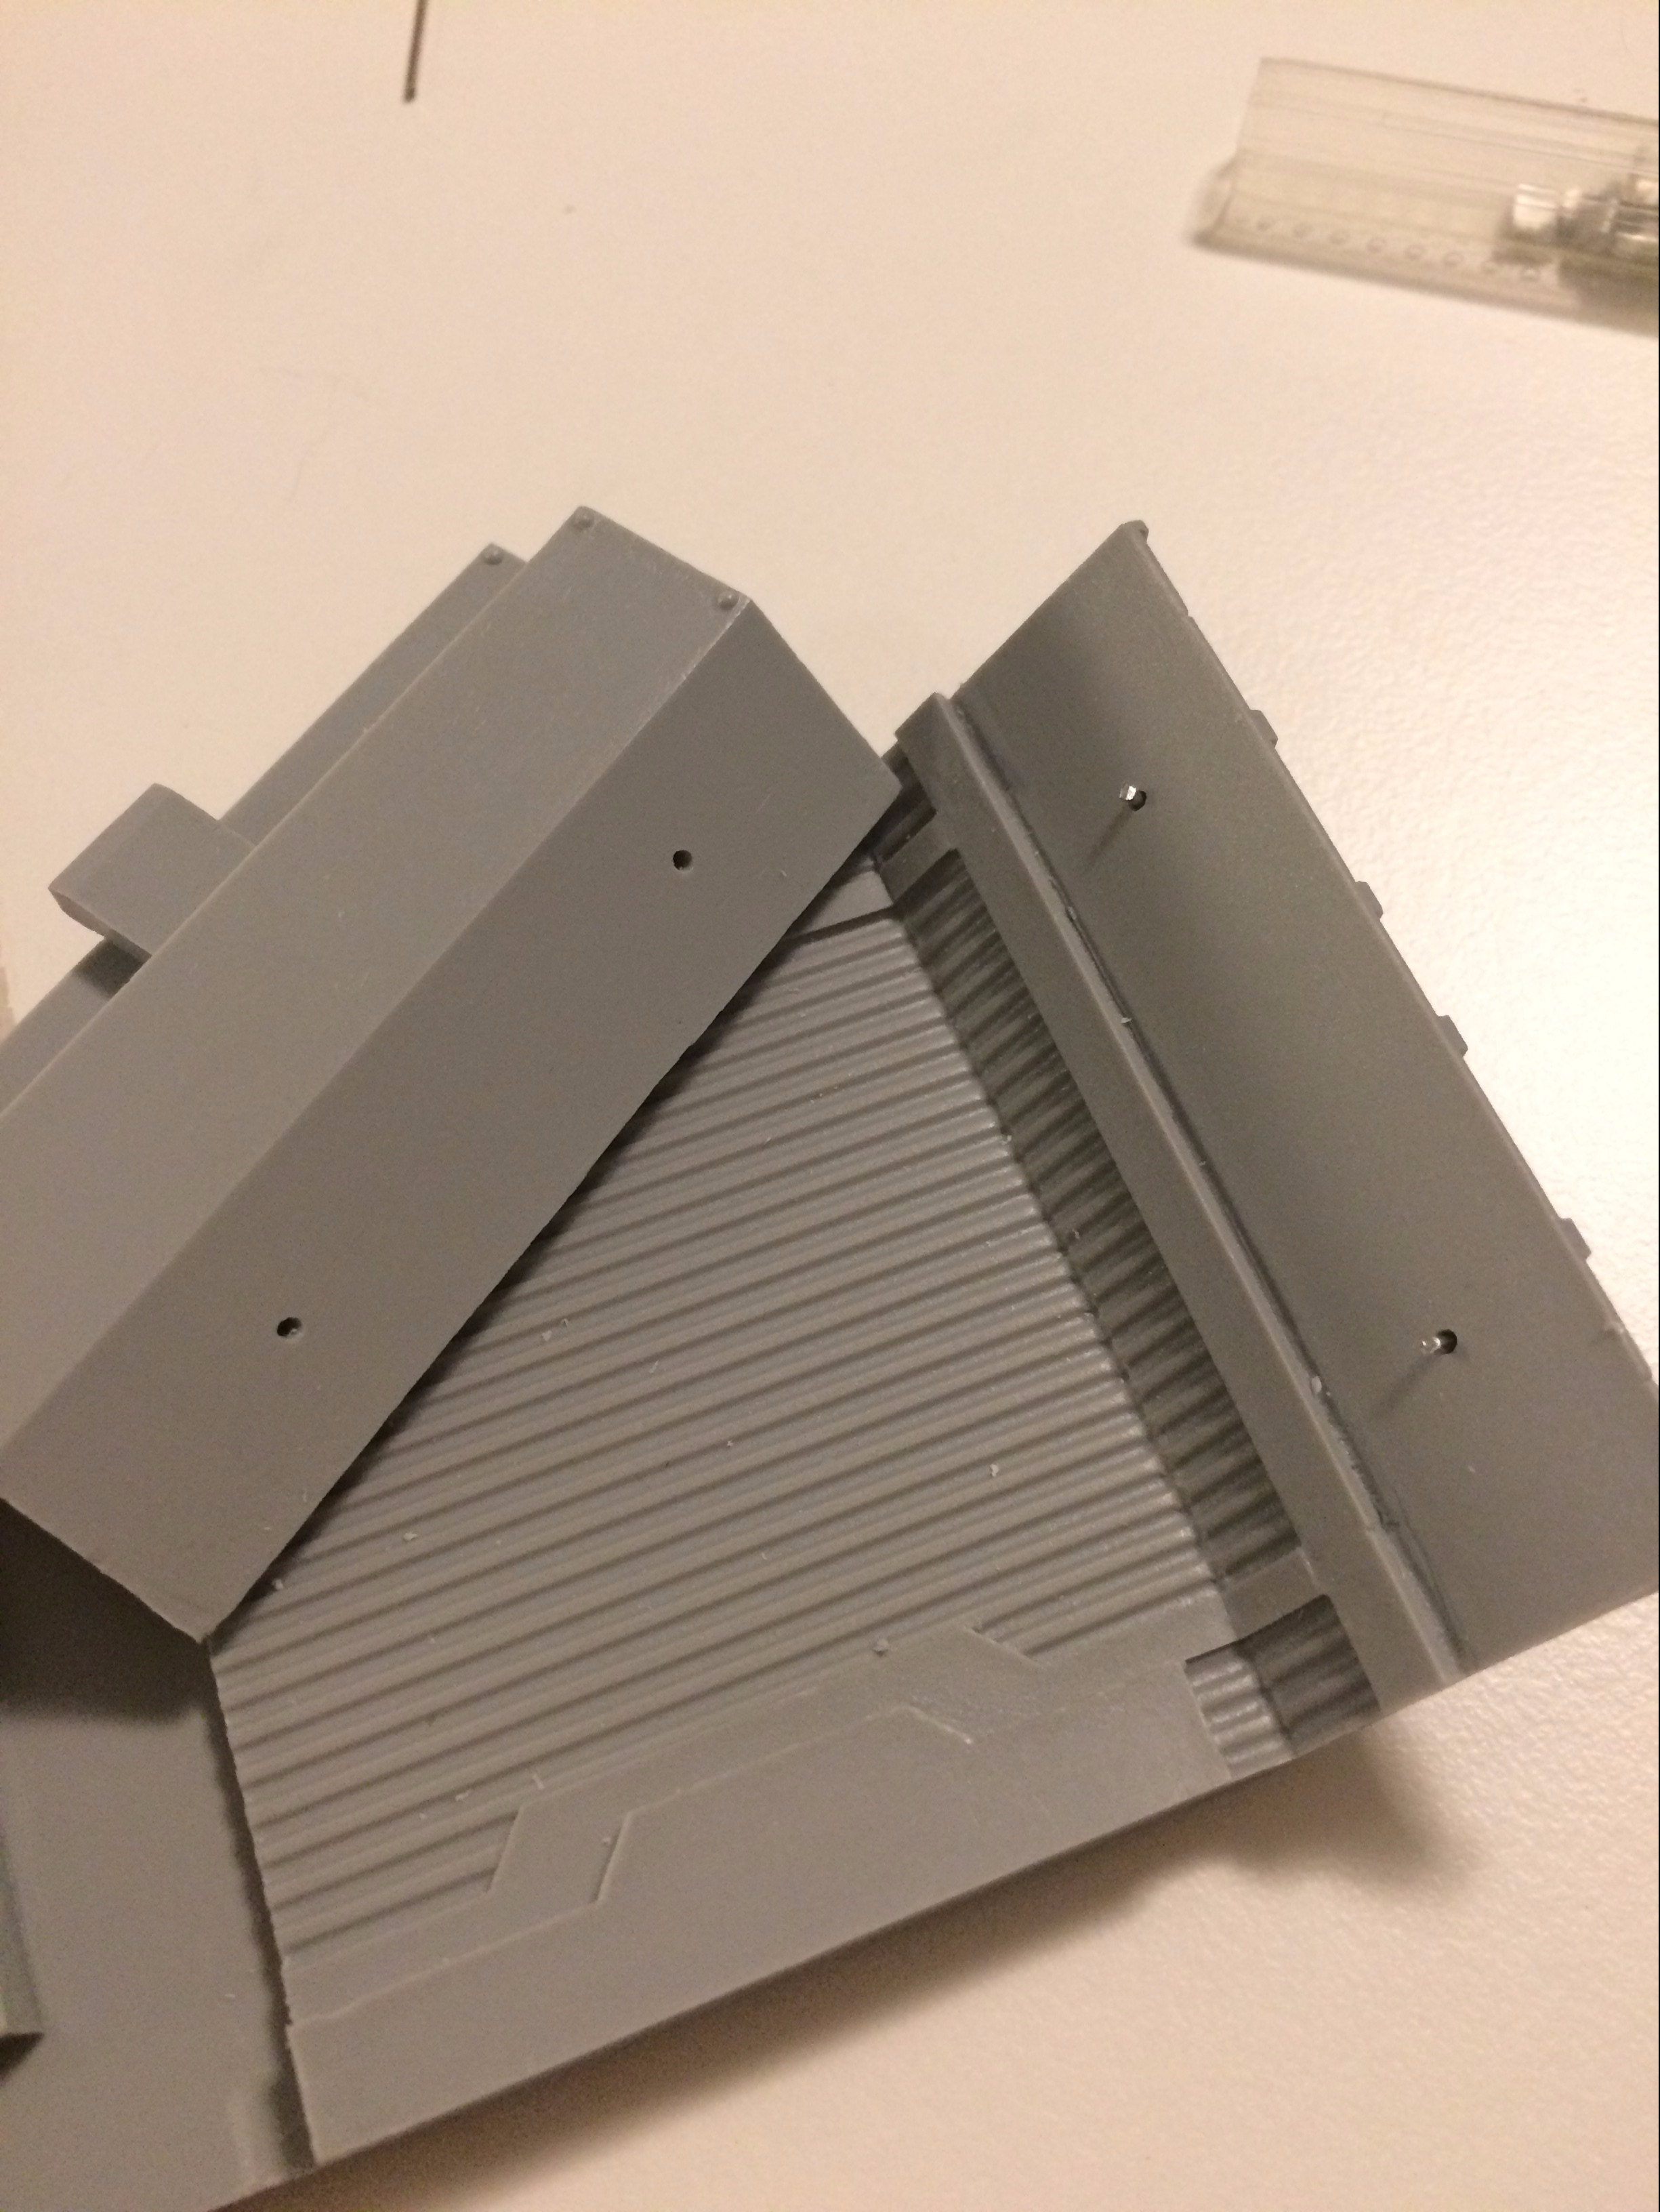
Spoiler alert- for some reason this worked while dryfitting but somehow once glue was involved there were some pieces where the pin holes did not align. Weird.
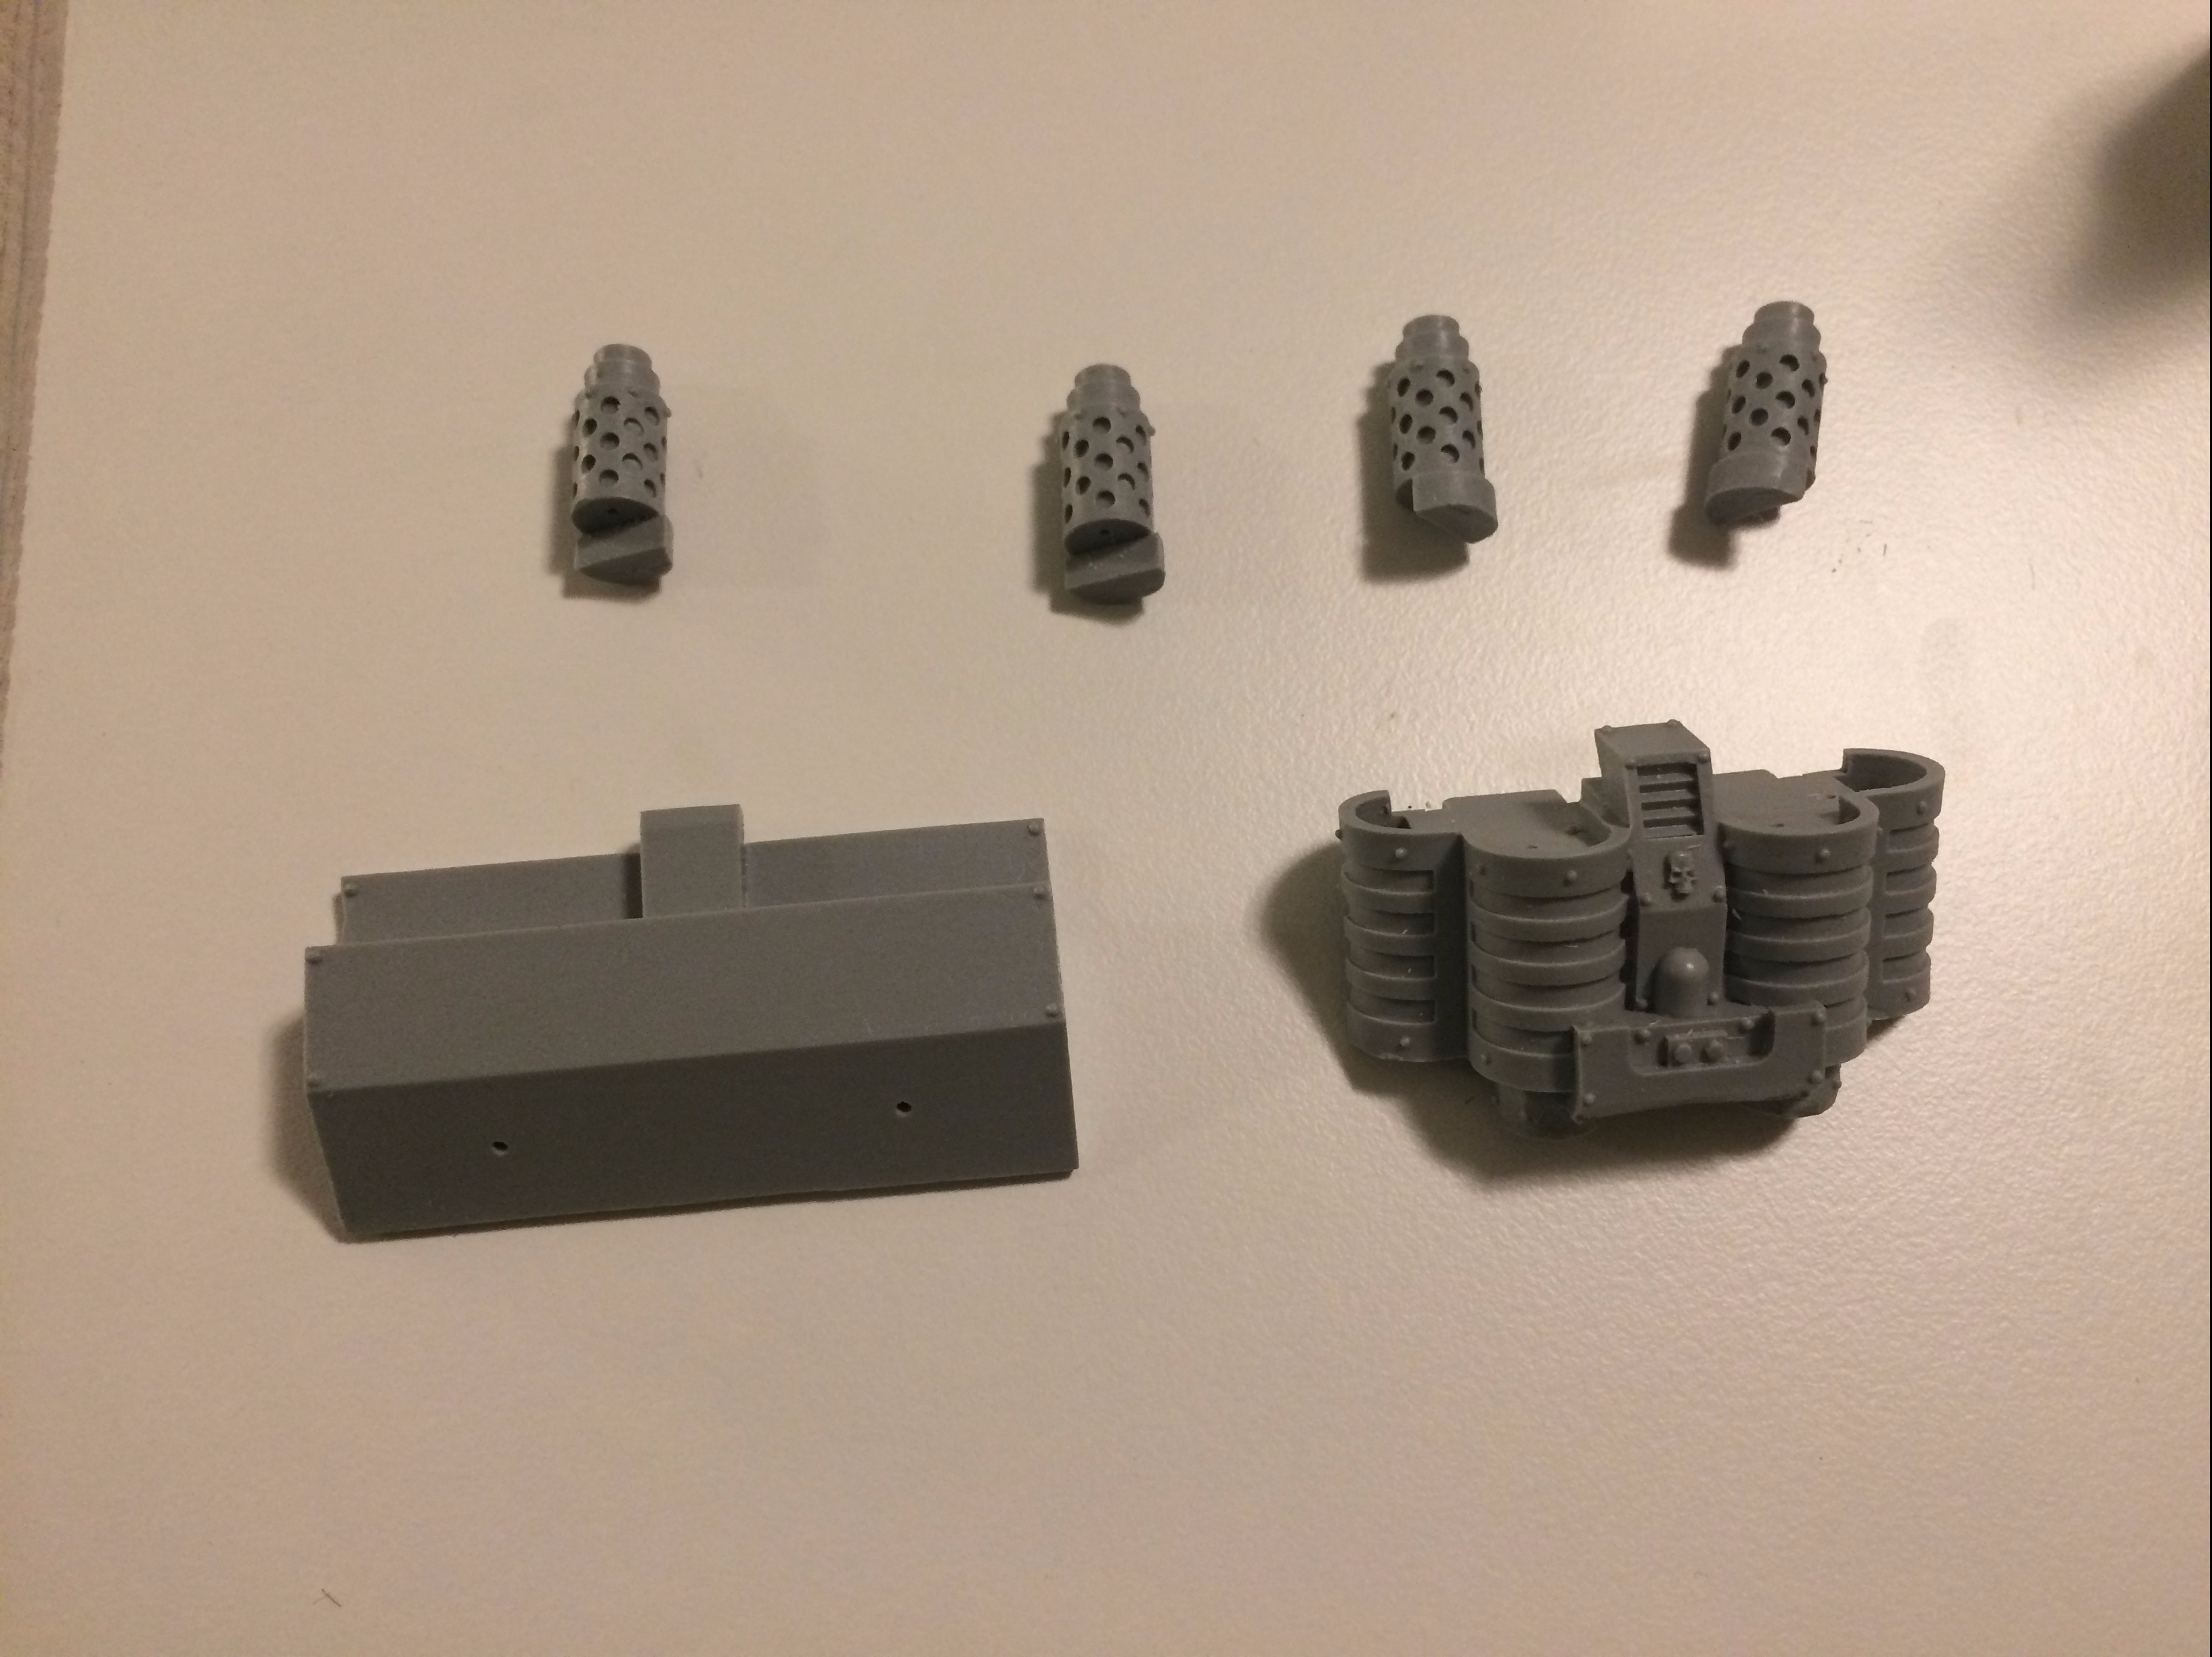
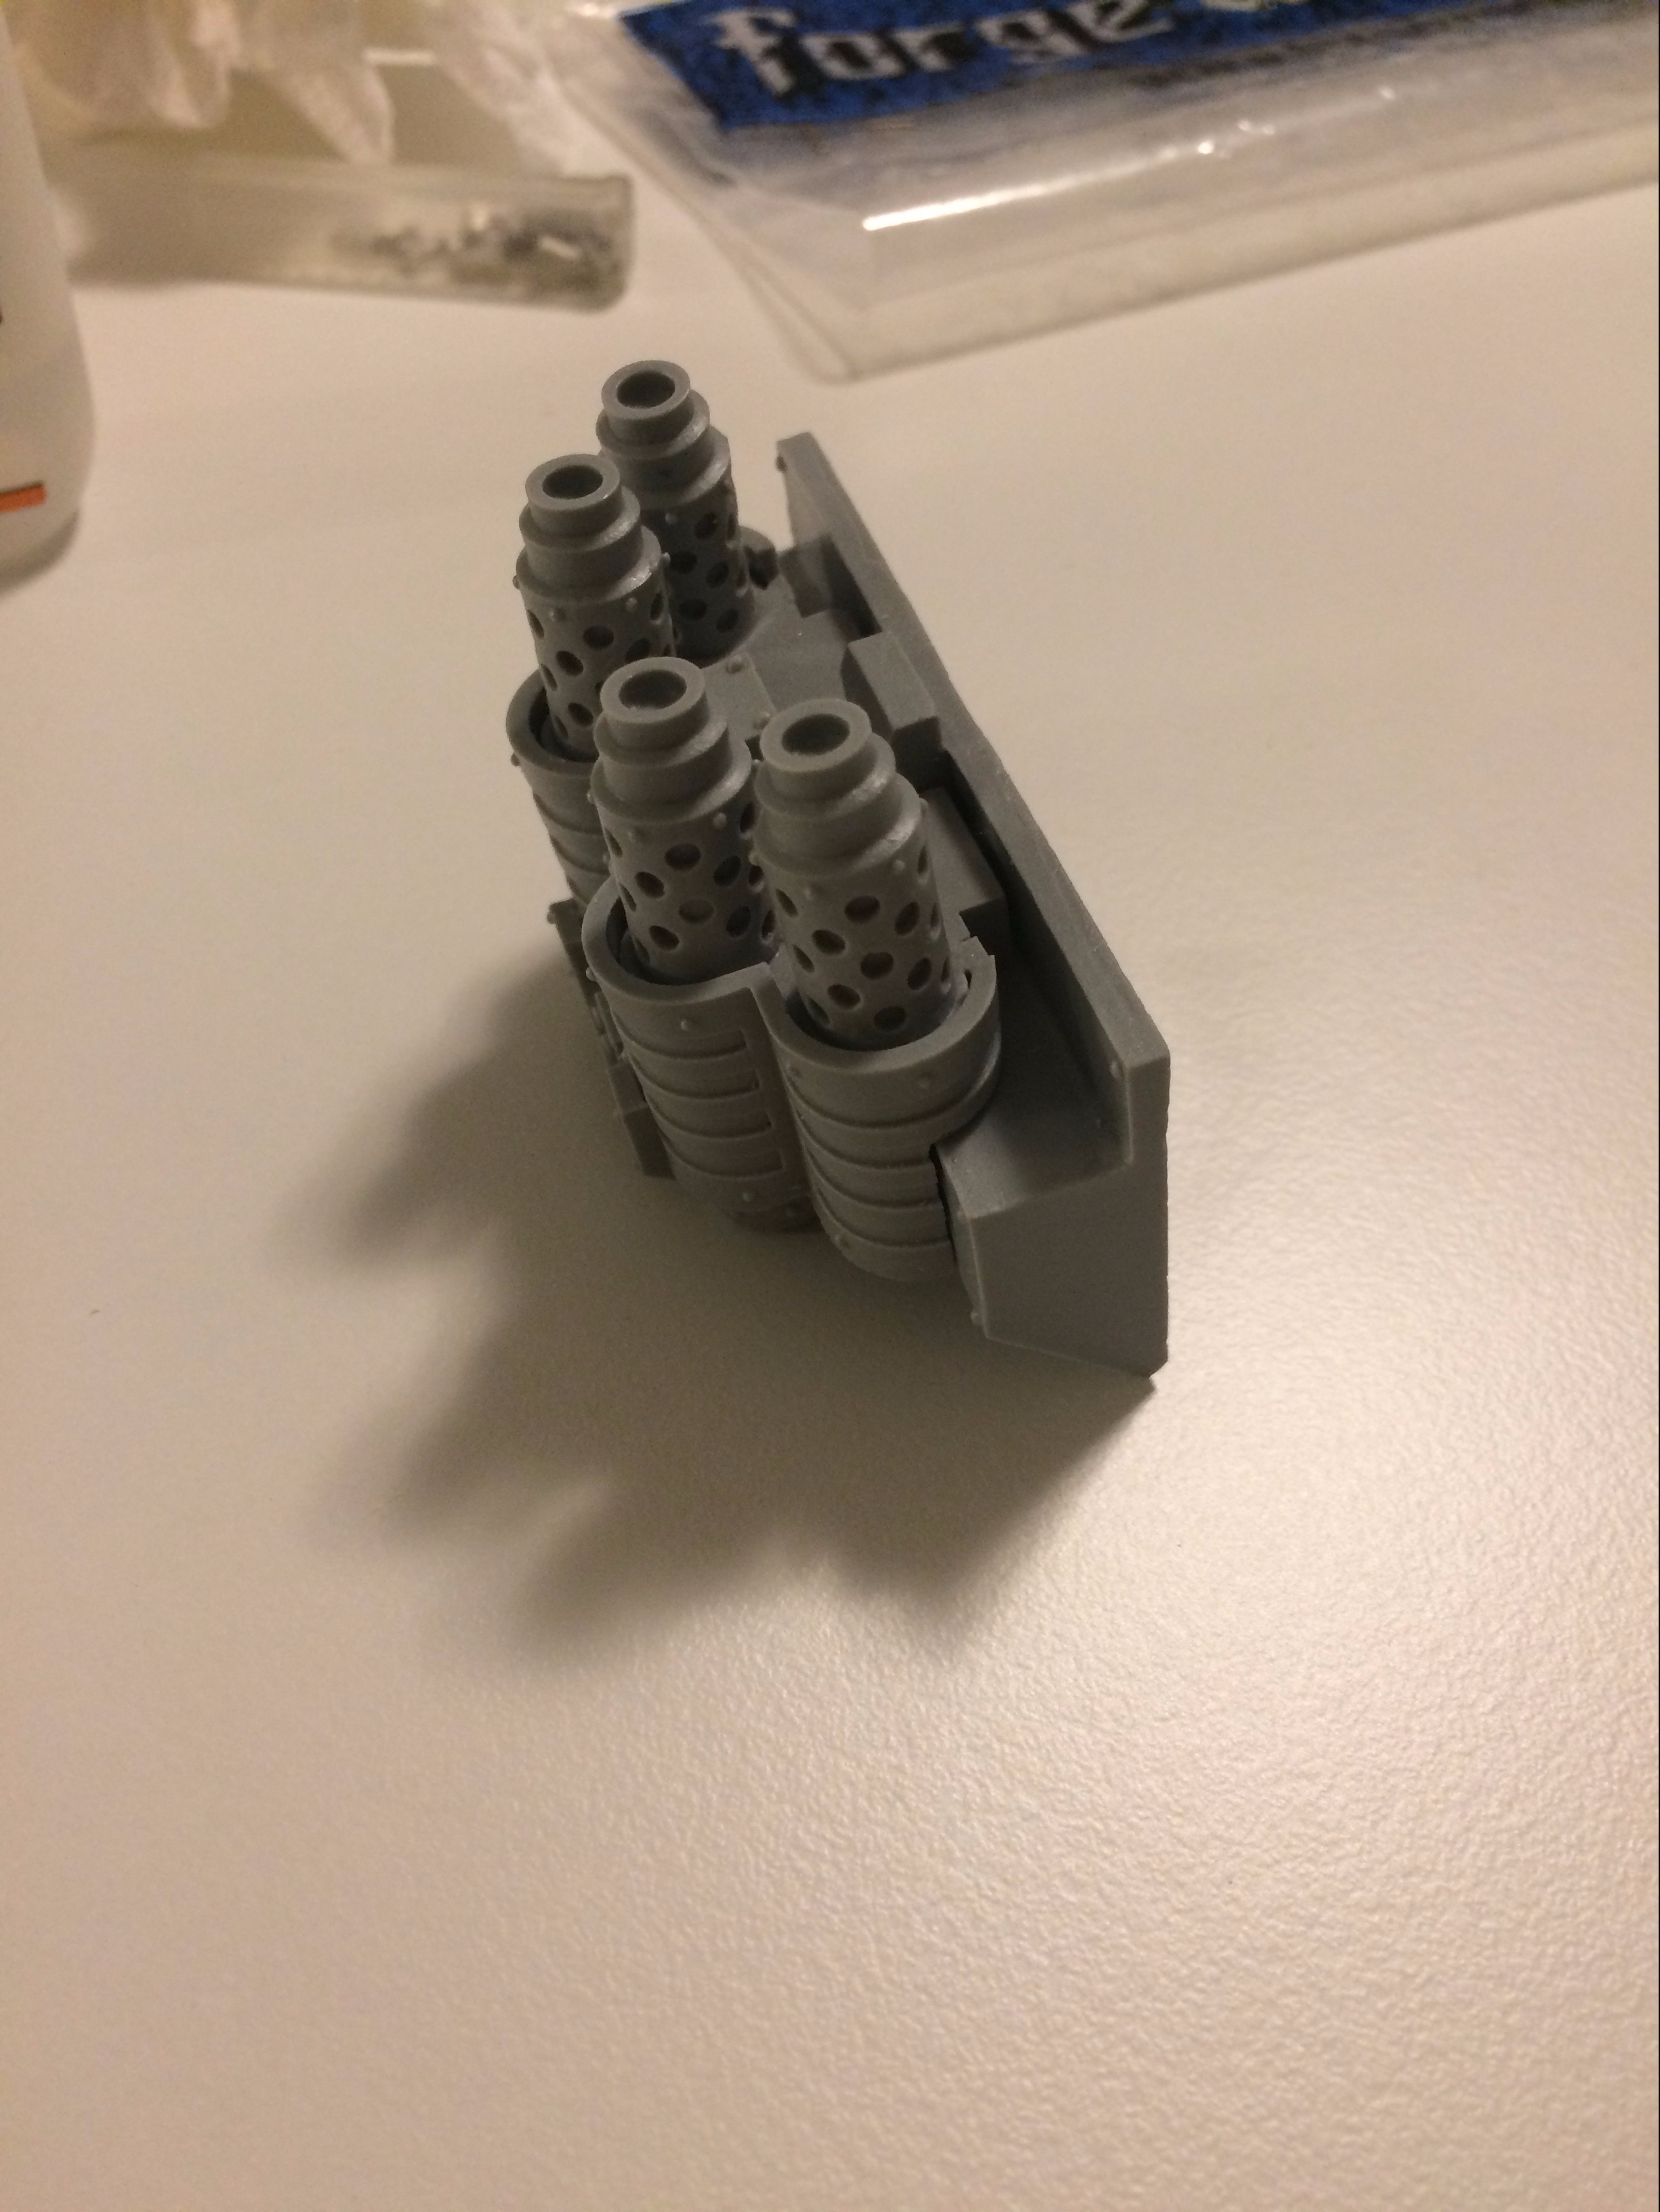
I pinned the vents and they all went on crooked, even though there were no issues with the dry fit. Strange.
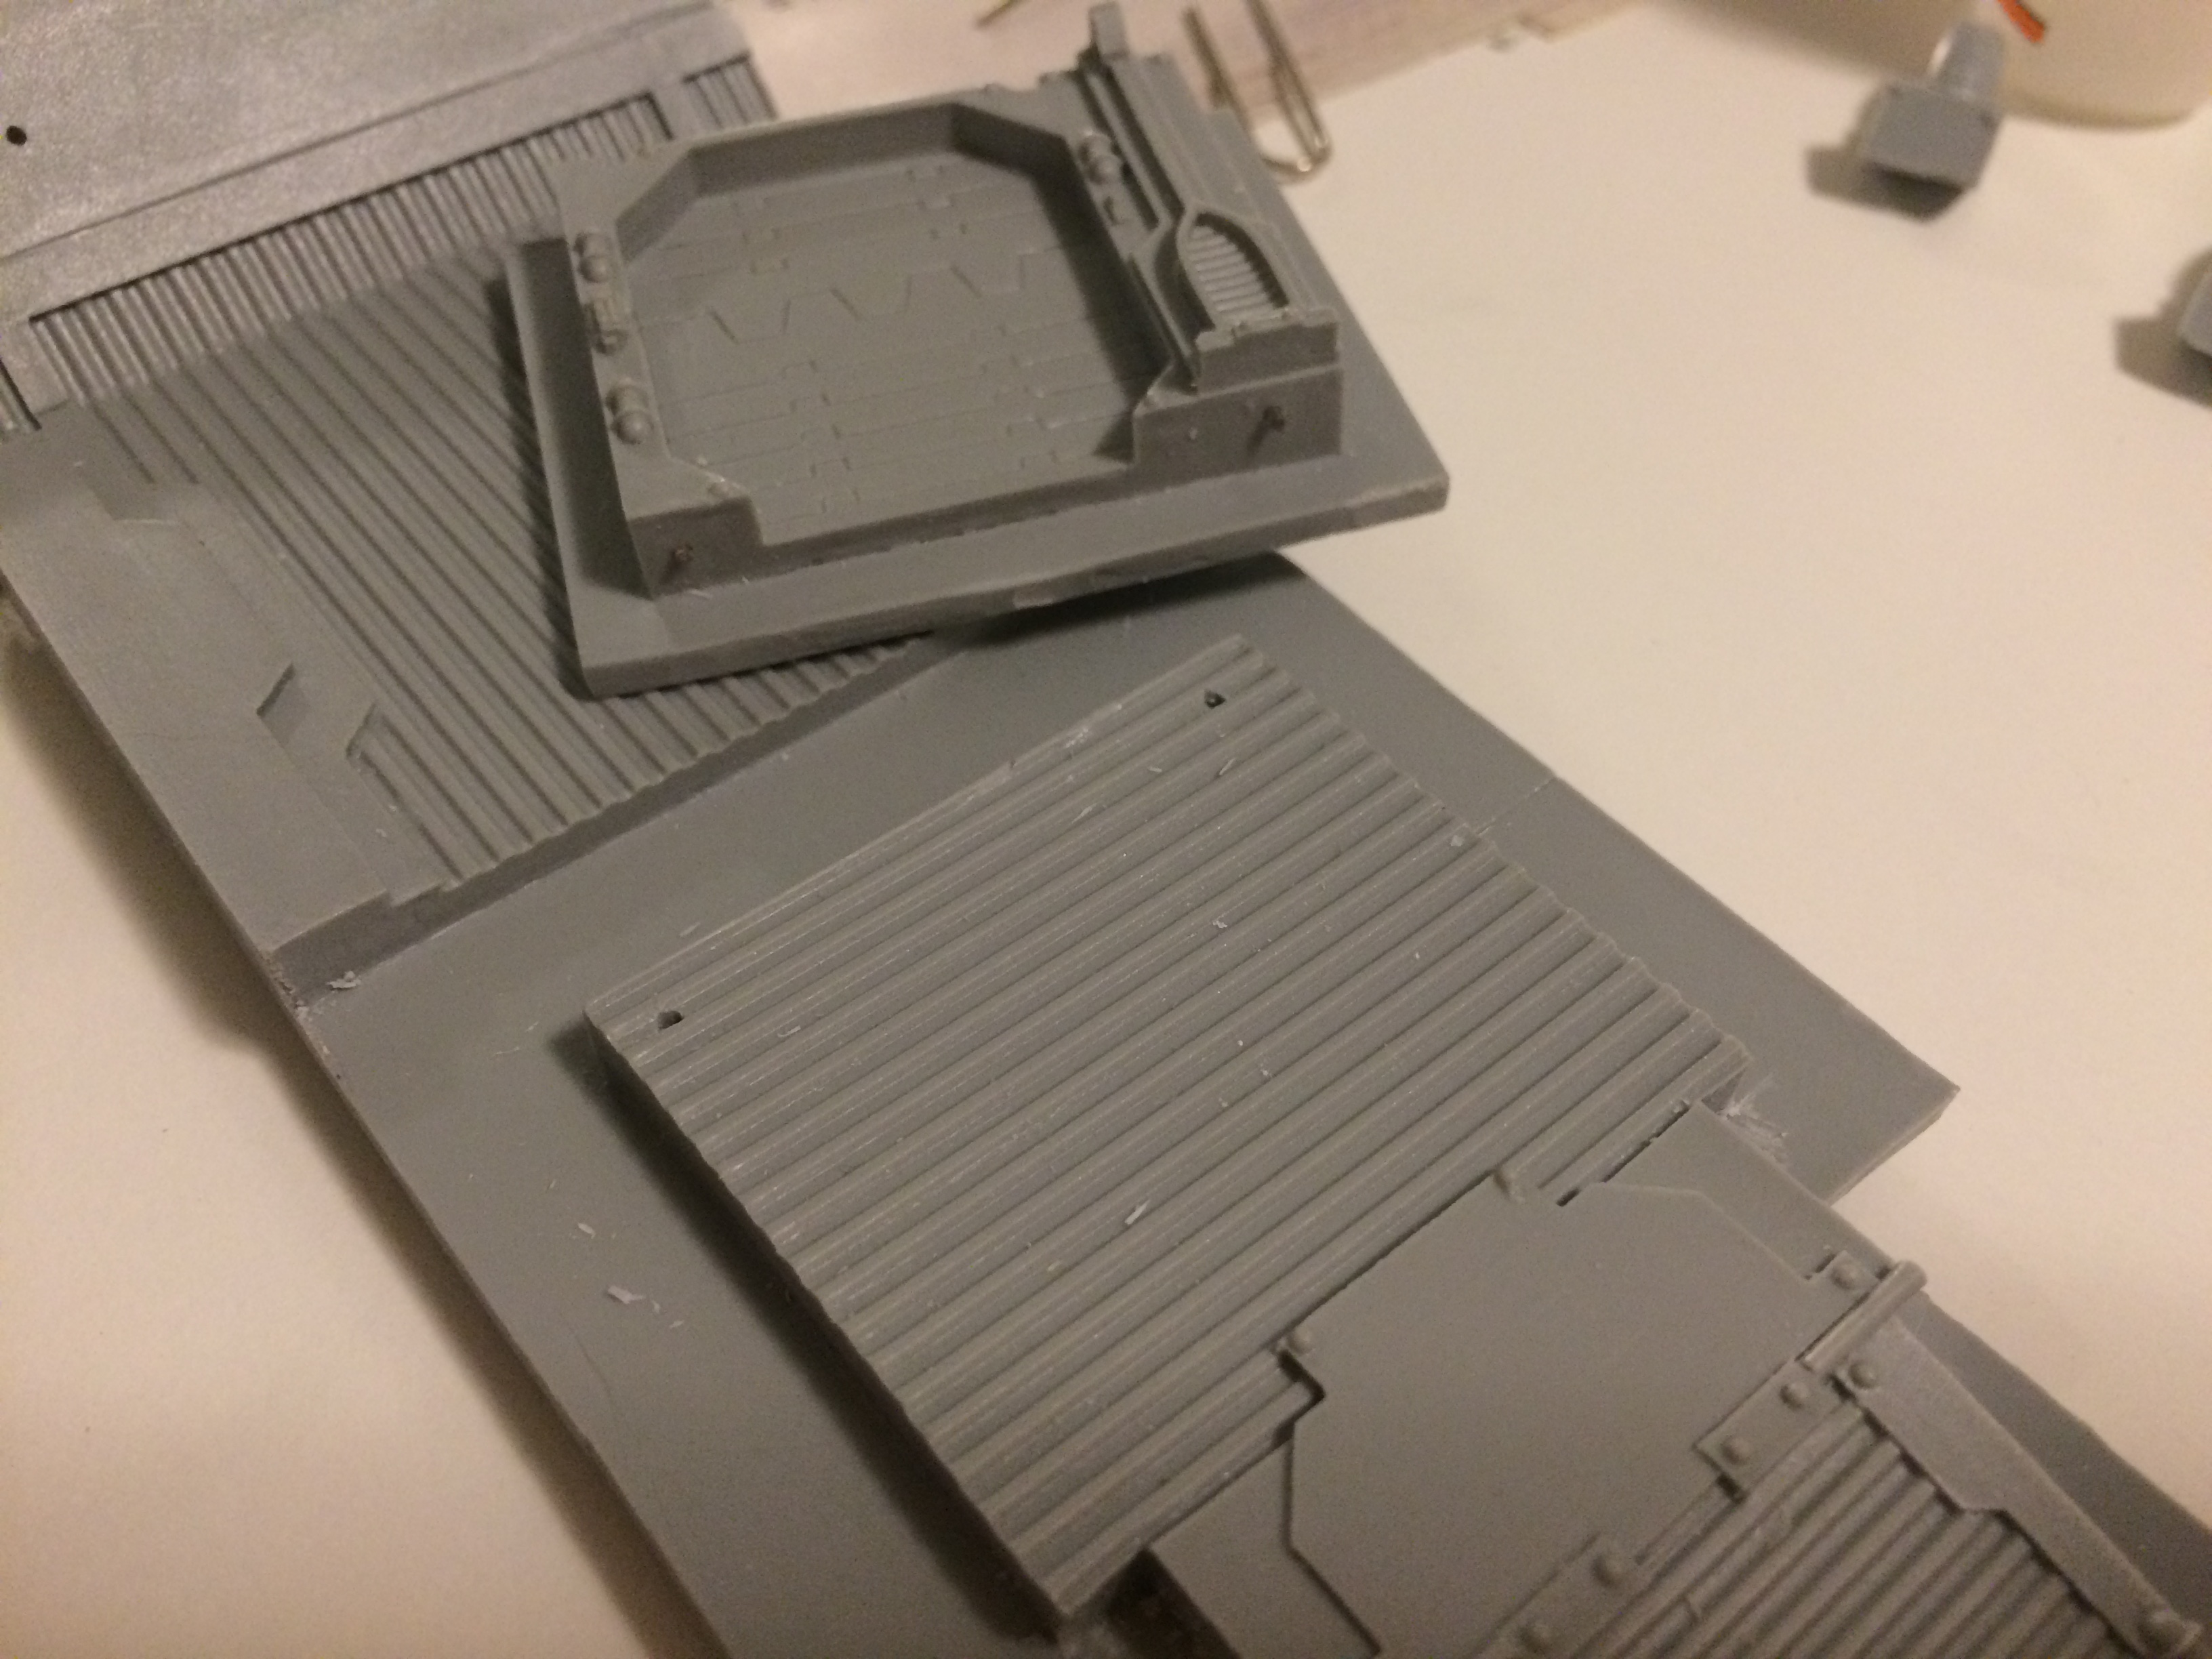
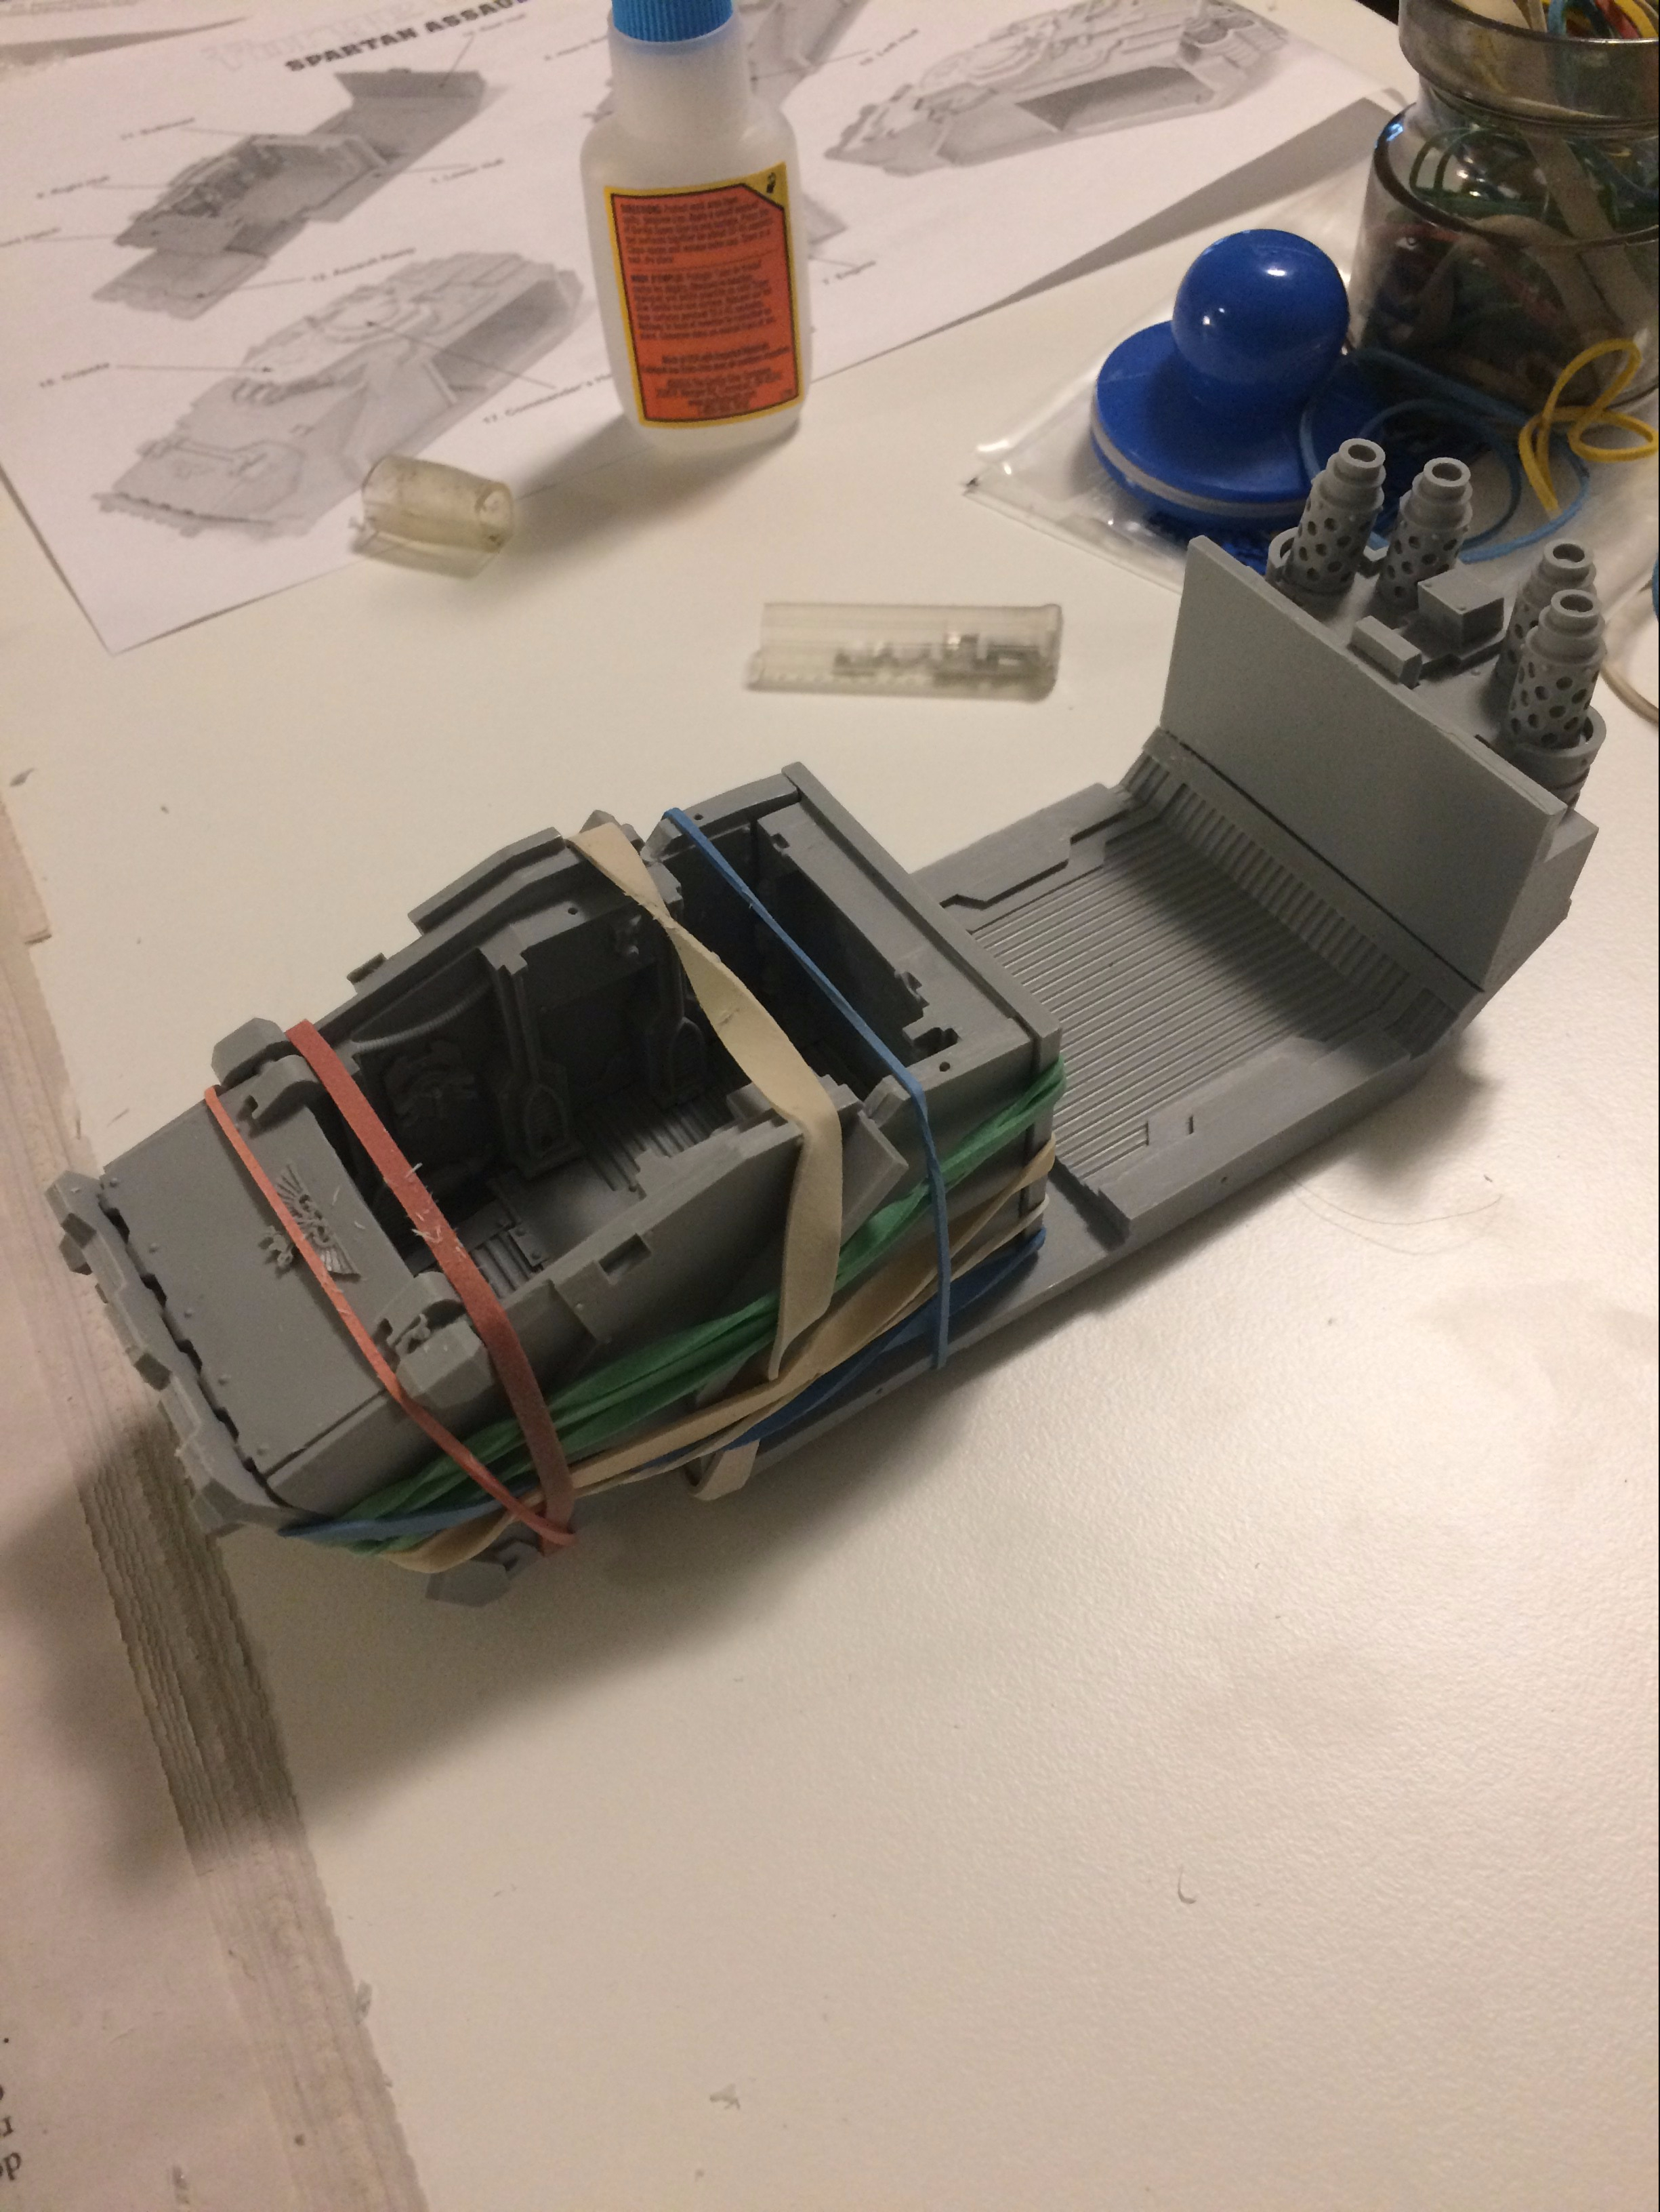
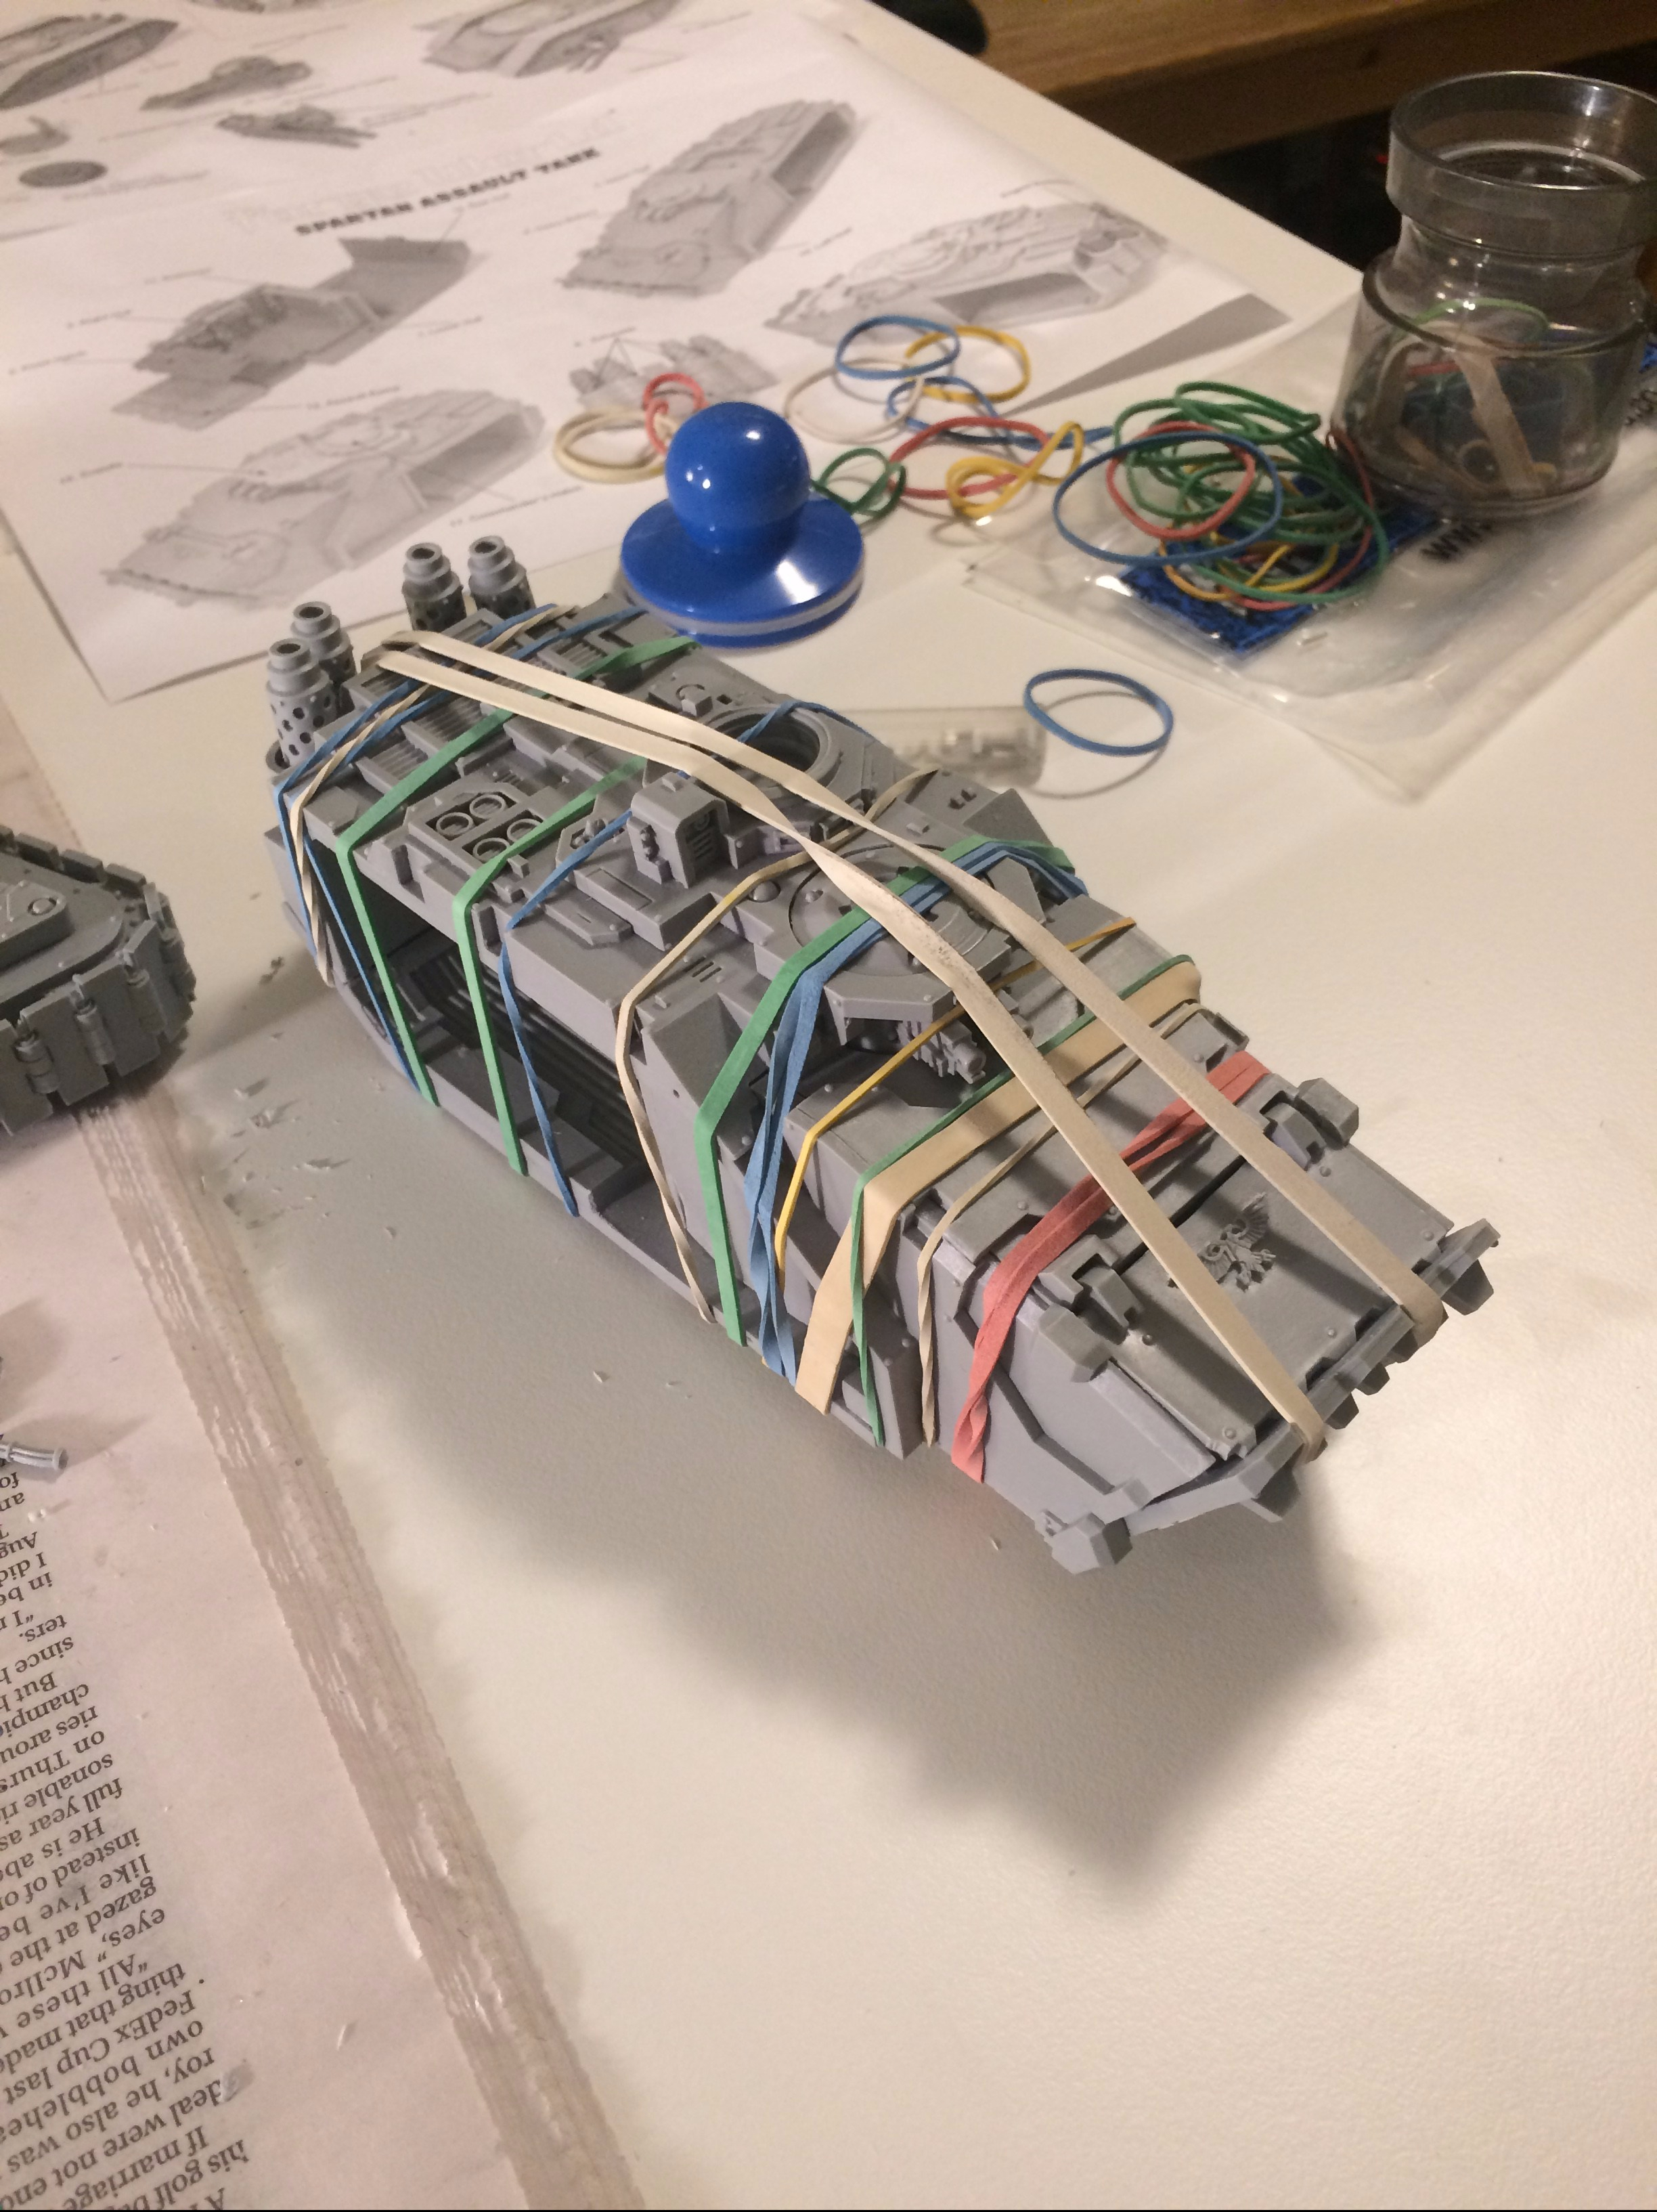
The next pictures are the interior of the tank. I wanted to show the progress of how I pinned the pieces together.
The next picture you can see the curve in the resin. Initially I wasn’t impressed. Then I did some dryfitting. I put the exterior tank wall on as well as the top and it hid the curve. The best part, it didn’t affect the model assembly! This means I wasn’t too concerned about bending it straight.
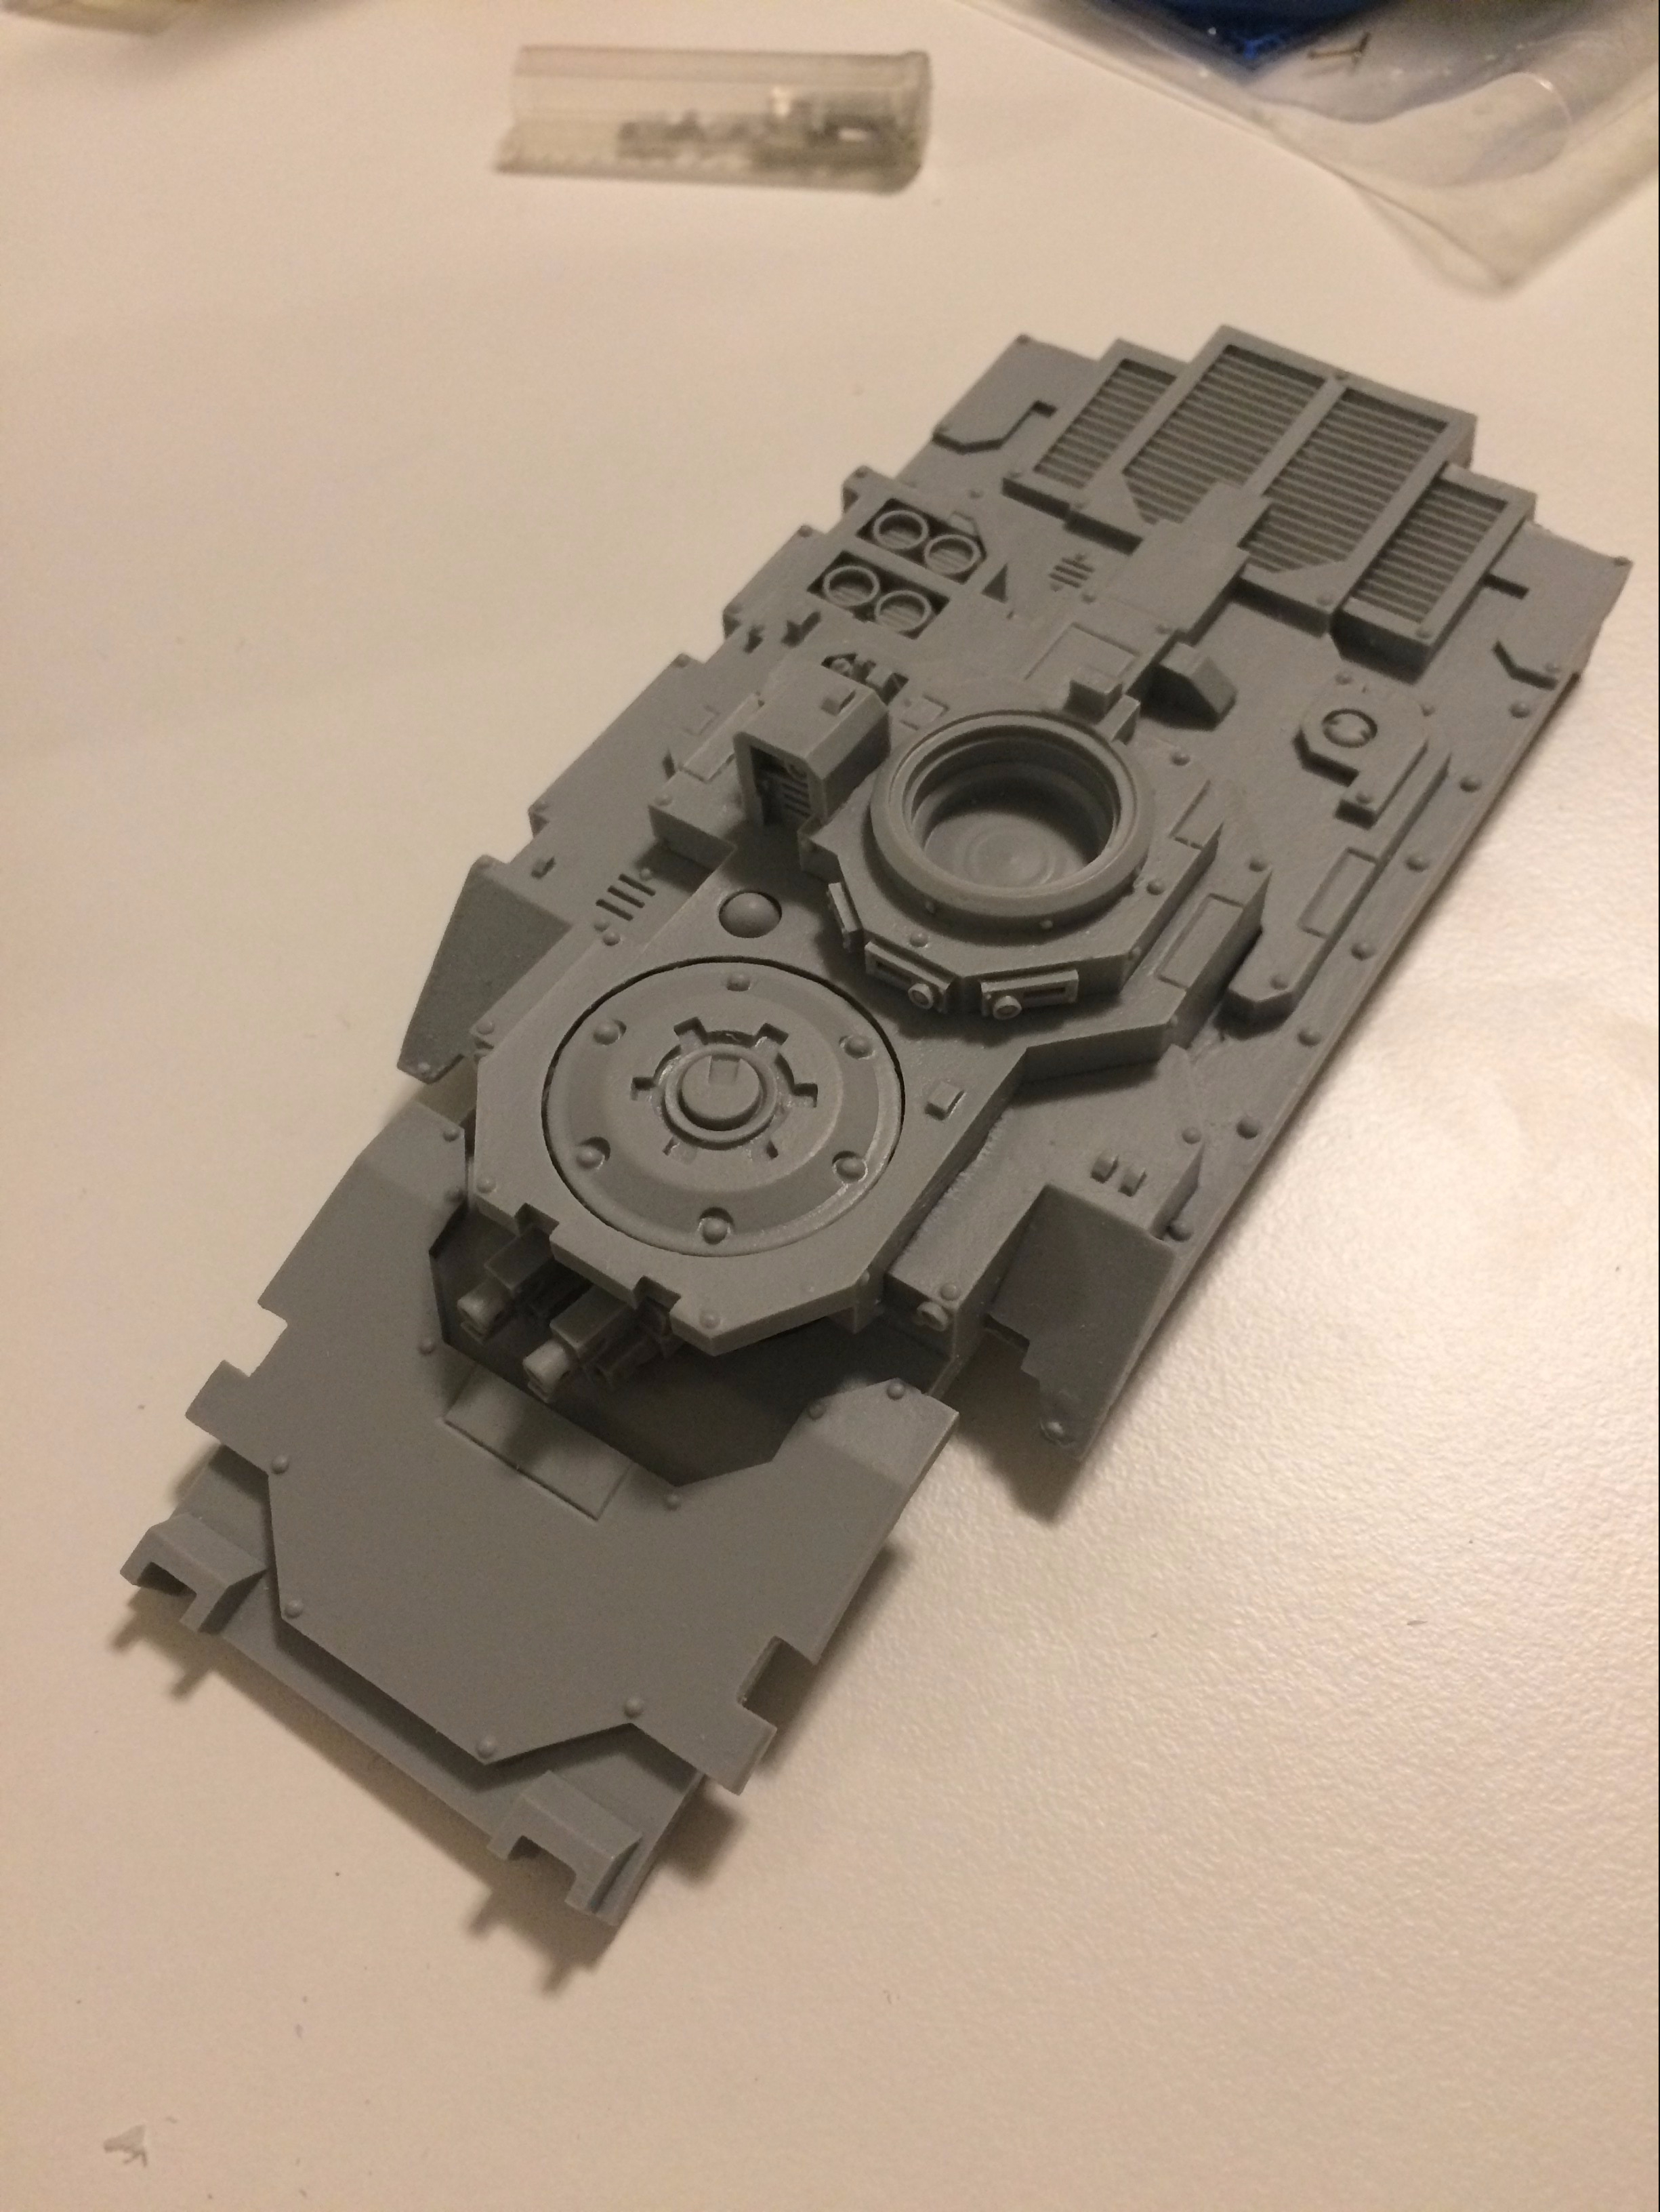
This part was easy. I place the heavy bolter turret into position and then put the top hatch on.
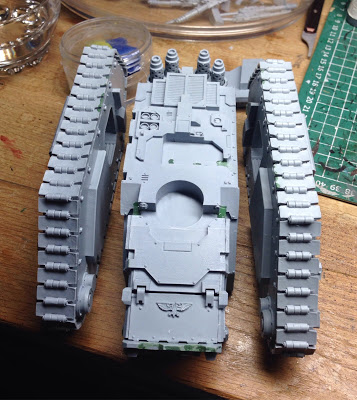
Time to assemble. I put the interior walls together and as you can see wrapped it with rubber bands to make sure the walls glue together. I also glued the front hatch. I do this on my tanks for two reasons- I don’t like doors falling down mid-game and it saves me some painting since I don’t have to paint the interior. If you look carefully you can see some holes on the top. This is so I can pin the top to the interior walls.
Next step is putting the top on. This part proved to be a little difficult. I had to shave some resin down in the back to get the pieces to fit together. A nuisance but challenge accepted and conquered.
That’s all I have for this week. Stay tuned next Friday with my next update. I’ll be doing my Spartember updates every Friday. I will also share links of the others progress as well.
Temple of Thutmos– Thutmos planned on cleaning up the Typhon and getting the basecoat on. The mold line cleaning happened but Thurmos did not have a base spray. Some black has been slapped down but the quest for red continues.

Objective Secured– NafNaf is having a tough time with his Spartan kit. There has been some deficiencies in his kit with bubbles, gaps and pieces not fitting together properly. Forgeworld kits are like playing a game of Russian roulette and NafNaf drew the short straw. He’s busted out the green stuff and playing the role of Techmarine.
WeeMen– This is a link to Siph’s first post on August 27. No update on the progress made yet. There may be a warp rift.
Kharybdiss– Jerrod has posted some pictures of his assembled Typhon on his instagram. I’m having problems pulling a picture onto the Roost so go check it out. The Typhon was assembled prior to the start of the challenge. Jerrod and I played two Age of Sigmar games on Monday and he was painting the super heavy before I arrived. He’s making good progress and I think he will get it painted up by the end of the month. Jerrod is painting it with the Salamanders scheme.
Thanks for reading.


Great to see everybody’s progress! I had similar issues with the vents on my Typhon. I ended up having to power through my OCD about them being slightly crooked and just not look too closely at them while working on the tank.
LikeLiked by 1 person
By: templeofthutmos on September 8, 2017
at 7:04 am
Agreed. It wasn’t worth ripping the vents apart.
LikeLiked by 1 person
By: Turkadactyl on September 8, 2017
at 7:50 am
Ha ha, been on holibubs so not much progress, post going up tomorrow mate!
LikeLiked by 2 people
By: Siph_Horridus on September 8, 2017
at 9:28 am
Sweet!
LikeLike
By: Turkadactyl on September 9, 2017
at 2:13 am
Damn you appear to be much more fortunate than me on the casting quality. Mine has been a pain every step of the way.
That pinning looks a lot of work. Will be very strong though
LikeLiked by 1 person
By: NafNaf on September 9, 2017
at 1:31 am
I’ve had to do some filing on the tank treads. Not to mention those tracks that snapped. But yeah, seems like I have lucked out a bit more. I find the pinning worth it. I like that extra bit of contact.
LikeLike
By: Turkadactyl on September 9, 2017
at 2:15 am
I admire all the effort you guys are putting in. These seem like a right pain to build!
LikeLiked by 1 person
By: corrm on September 10, 2017
at 2:29 pm
Mine has had some minor nuisances. NafNaf has a problem child on his hands. We have the luxury of attached tracks. I shudder to think of what problems Siph may have with his.
LikeLike
By: Turkadactyl on September 10, 2017
at 5:36 pm