My apologies for the delay in Badab War YEG battle reports. Dave was the scribe for today’s battle report and was away for a bit. I’ve done some editing to clean it up. This battle report is the special mission for Phase III, which means the winner will receive three command points for their team. It is also the third and final match for the phase. Andrew will be commander of the Star Phantoms against Dave and his Executioners.
The Angstrom Incident is a planetstrike mission. The Loyalist player (Andrew) is alotted 3000 points to the Secessionists (Dave) 2000. I made a modification and changed it to 2000 points versus 1400. Here’s the set-up.
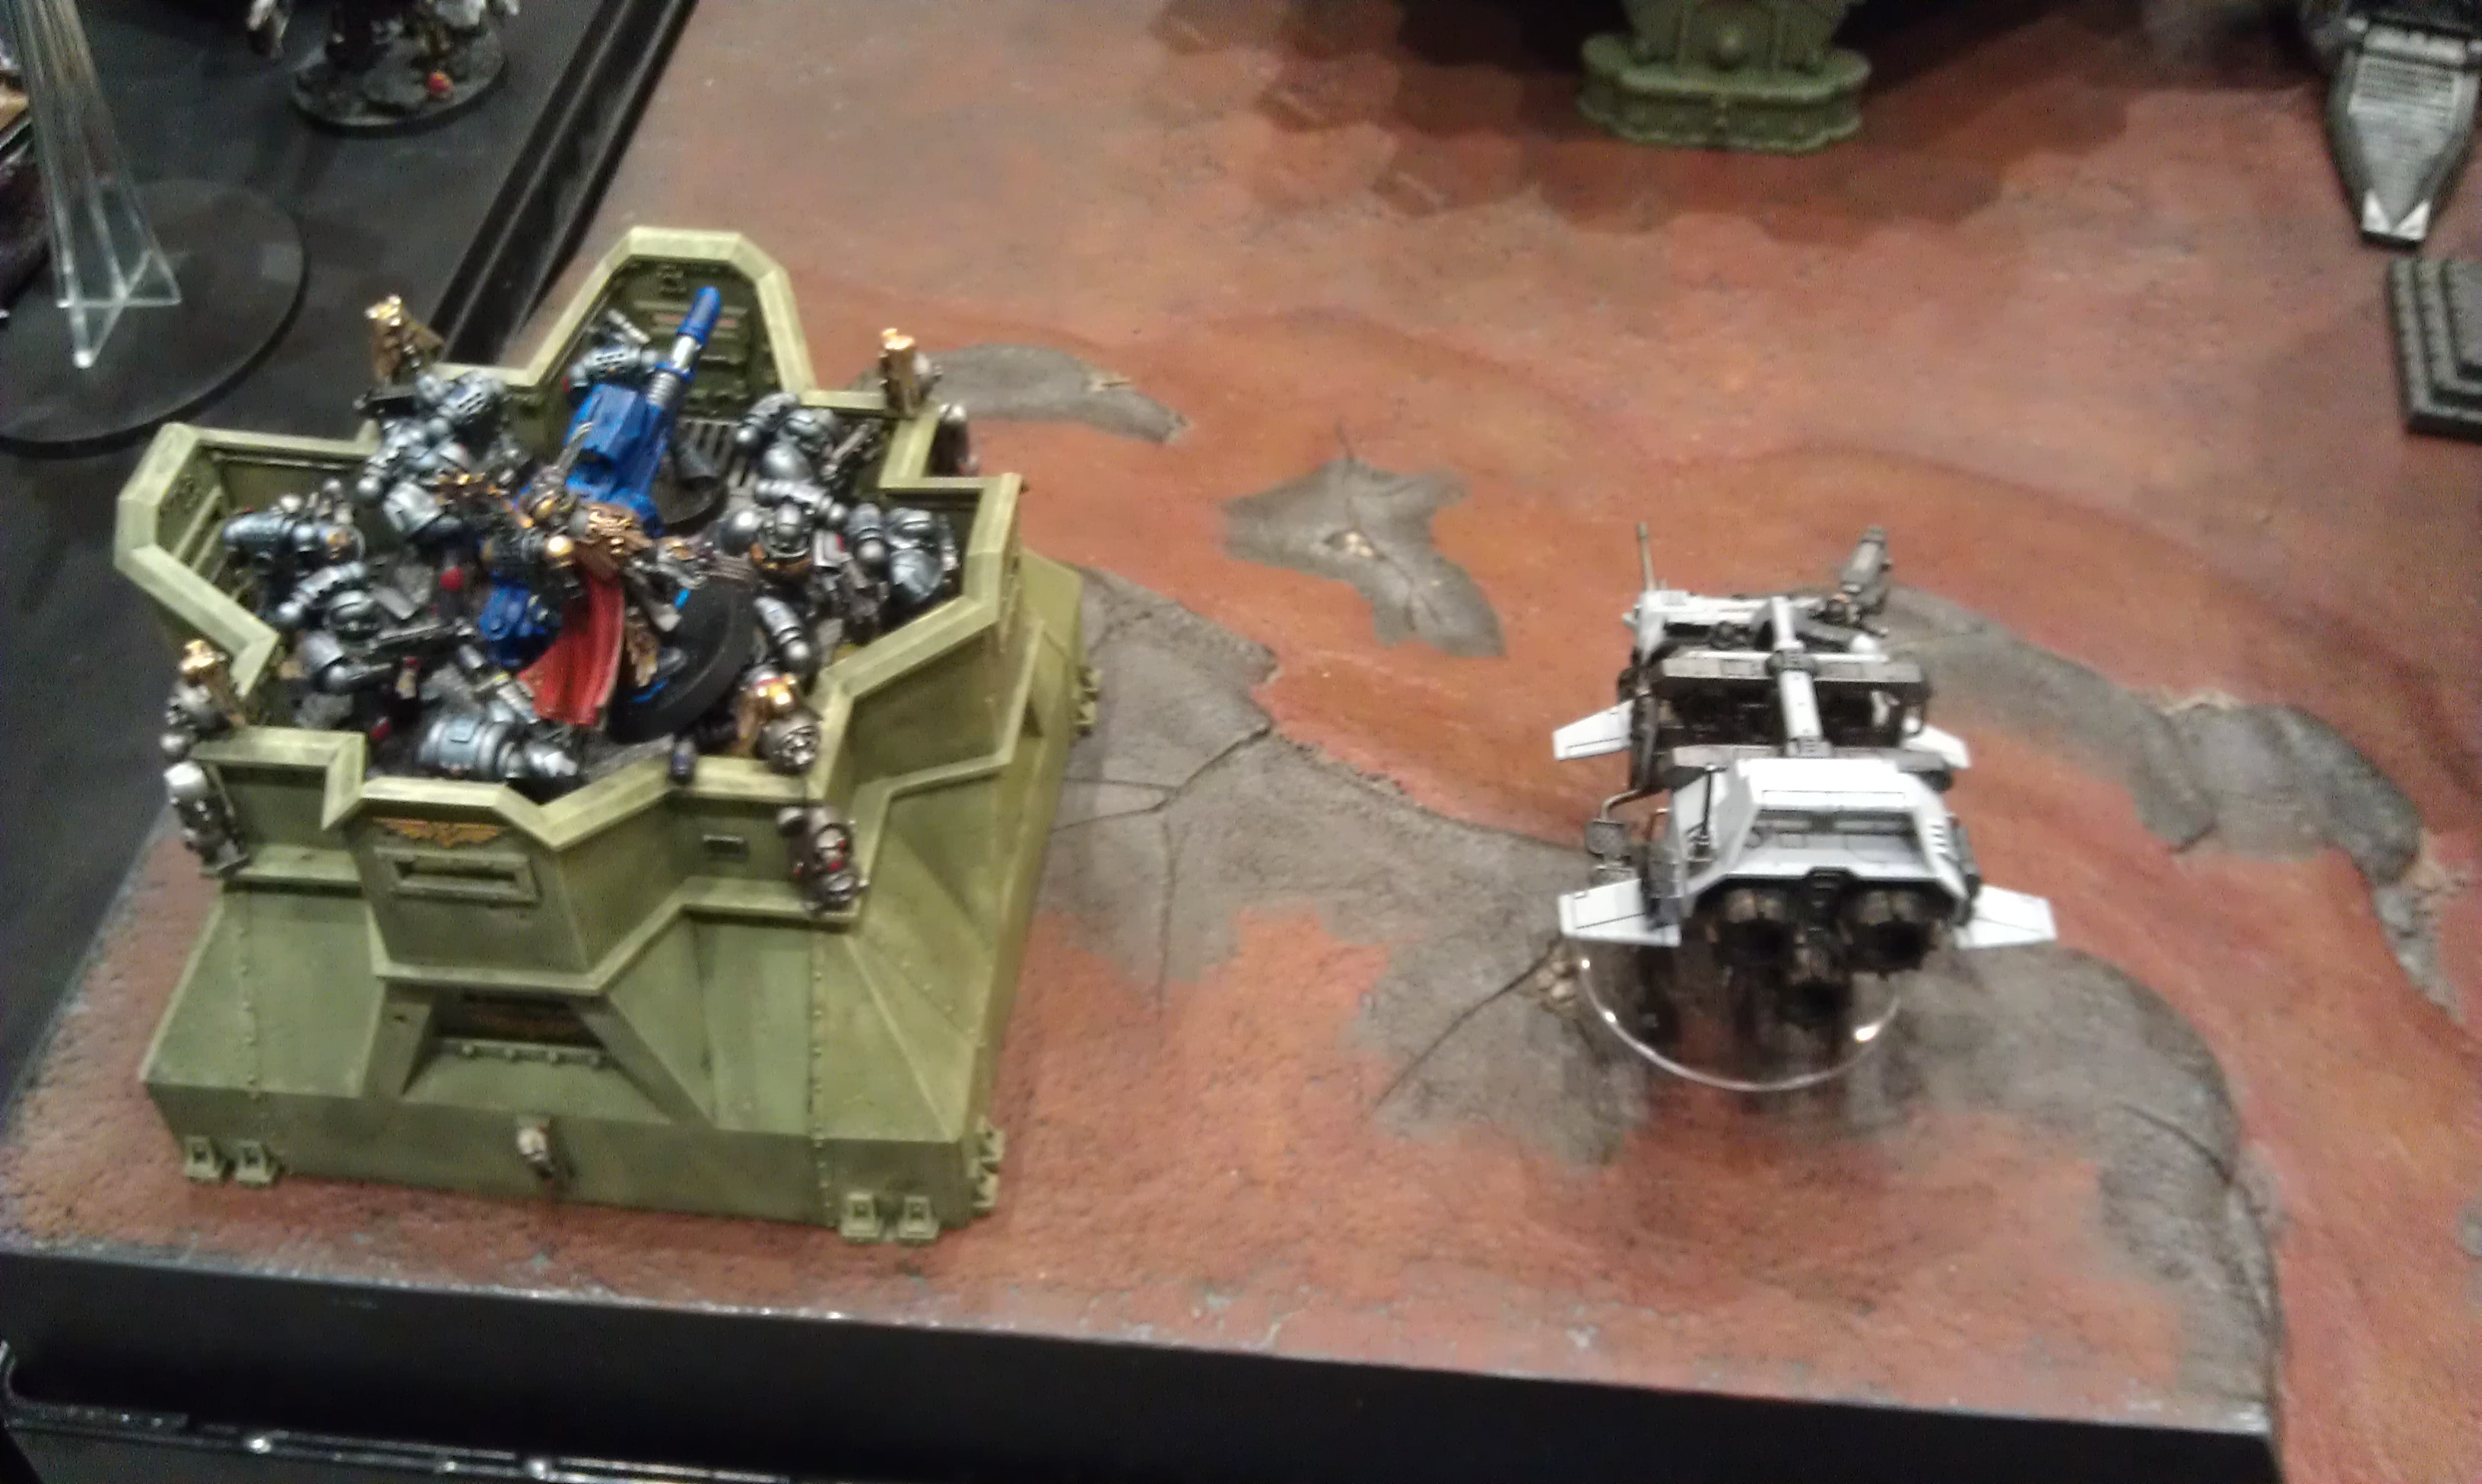
Lord Commander Carab Culln appoints the freshly arrived Star Phantoms to conduct a daring secret raid on the neutral Adeptus Mechanicus controlled system of Angstrom. They attacked the landing zones, disrupting the Secessionist’s collection of vital war supplies after infiltrating a strike force which lay wait on the volcanic surface of Angstrom XIII, sparking the so-called Angstrom incident with the world’s secretive masters. The Executioners are caught loading cruisers to send supplies to the front line.
Objectives
This mission will be a planetstrike mission. There will be three objectives: cargo shuttles on the landing pads. The Loyalists must destroy these cargo shuttles and the vital supplies they contain. Each is treated as a vehicle with an armour value of 12 with 3 hull points. A crew stunned result will delay the shuttle one turn. A wrecked, immobolised or destroyed result will prevent the shuttle from using the Blast Off! mission special rule. If the landing pad a cargo shuttle is on is destroyed, then the shuttle on it takes an automatic penetrating hit.
Strategems:
The Secessionists have the Directional Void Sheets strategem (this strategem is used before the attacker resolves their Firestorm attacks). All of your fortifications and gun emplacements gain a 4+ invulnerable save until the start of the attacker’s movement phase.
The Loyalists have the Ground Observer strategem (this strategem is used before resolving your Firestorm attacks. You can re-roll the scatter dice when making Firestorm attacks).
Set-up
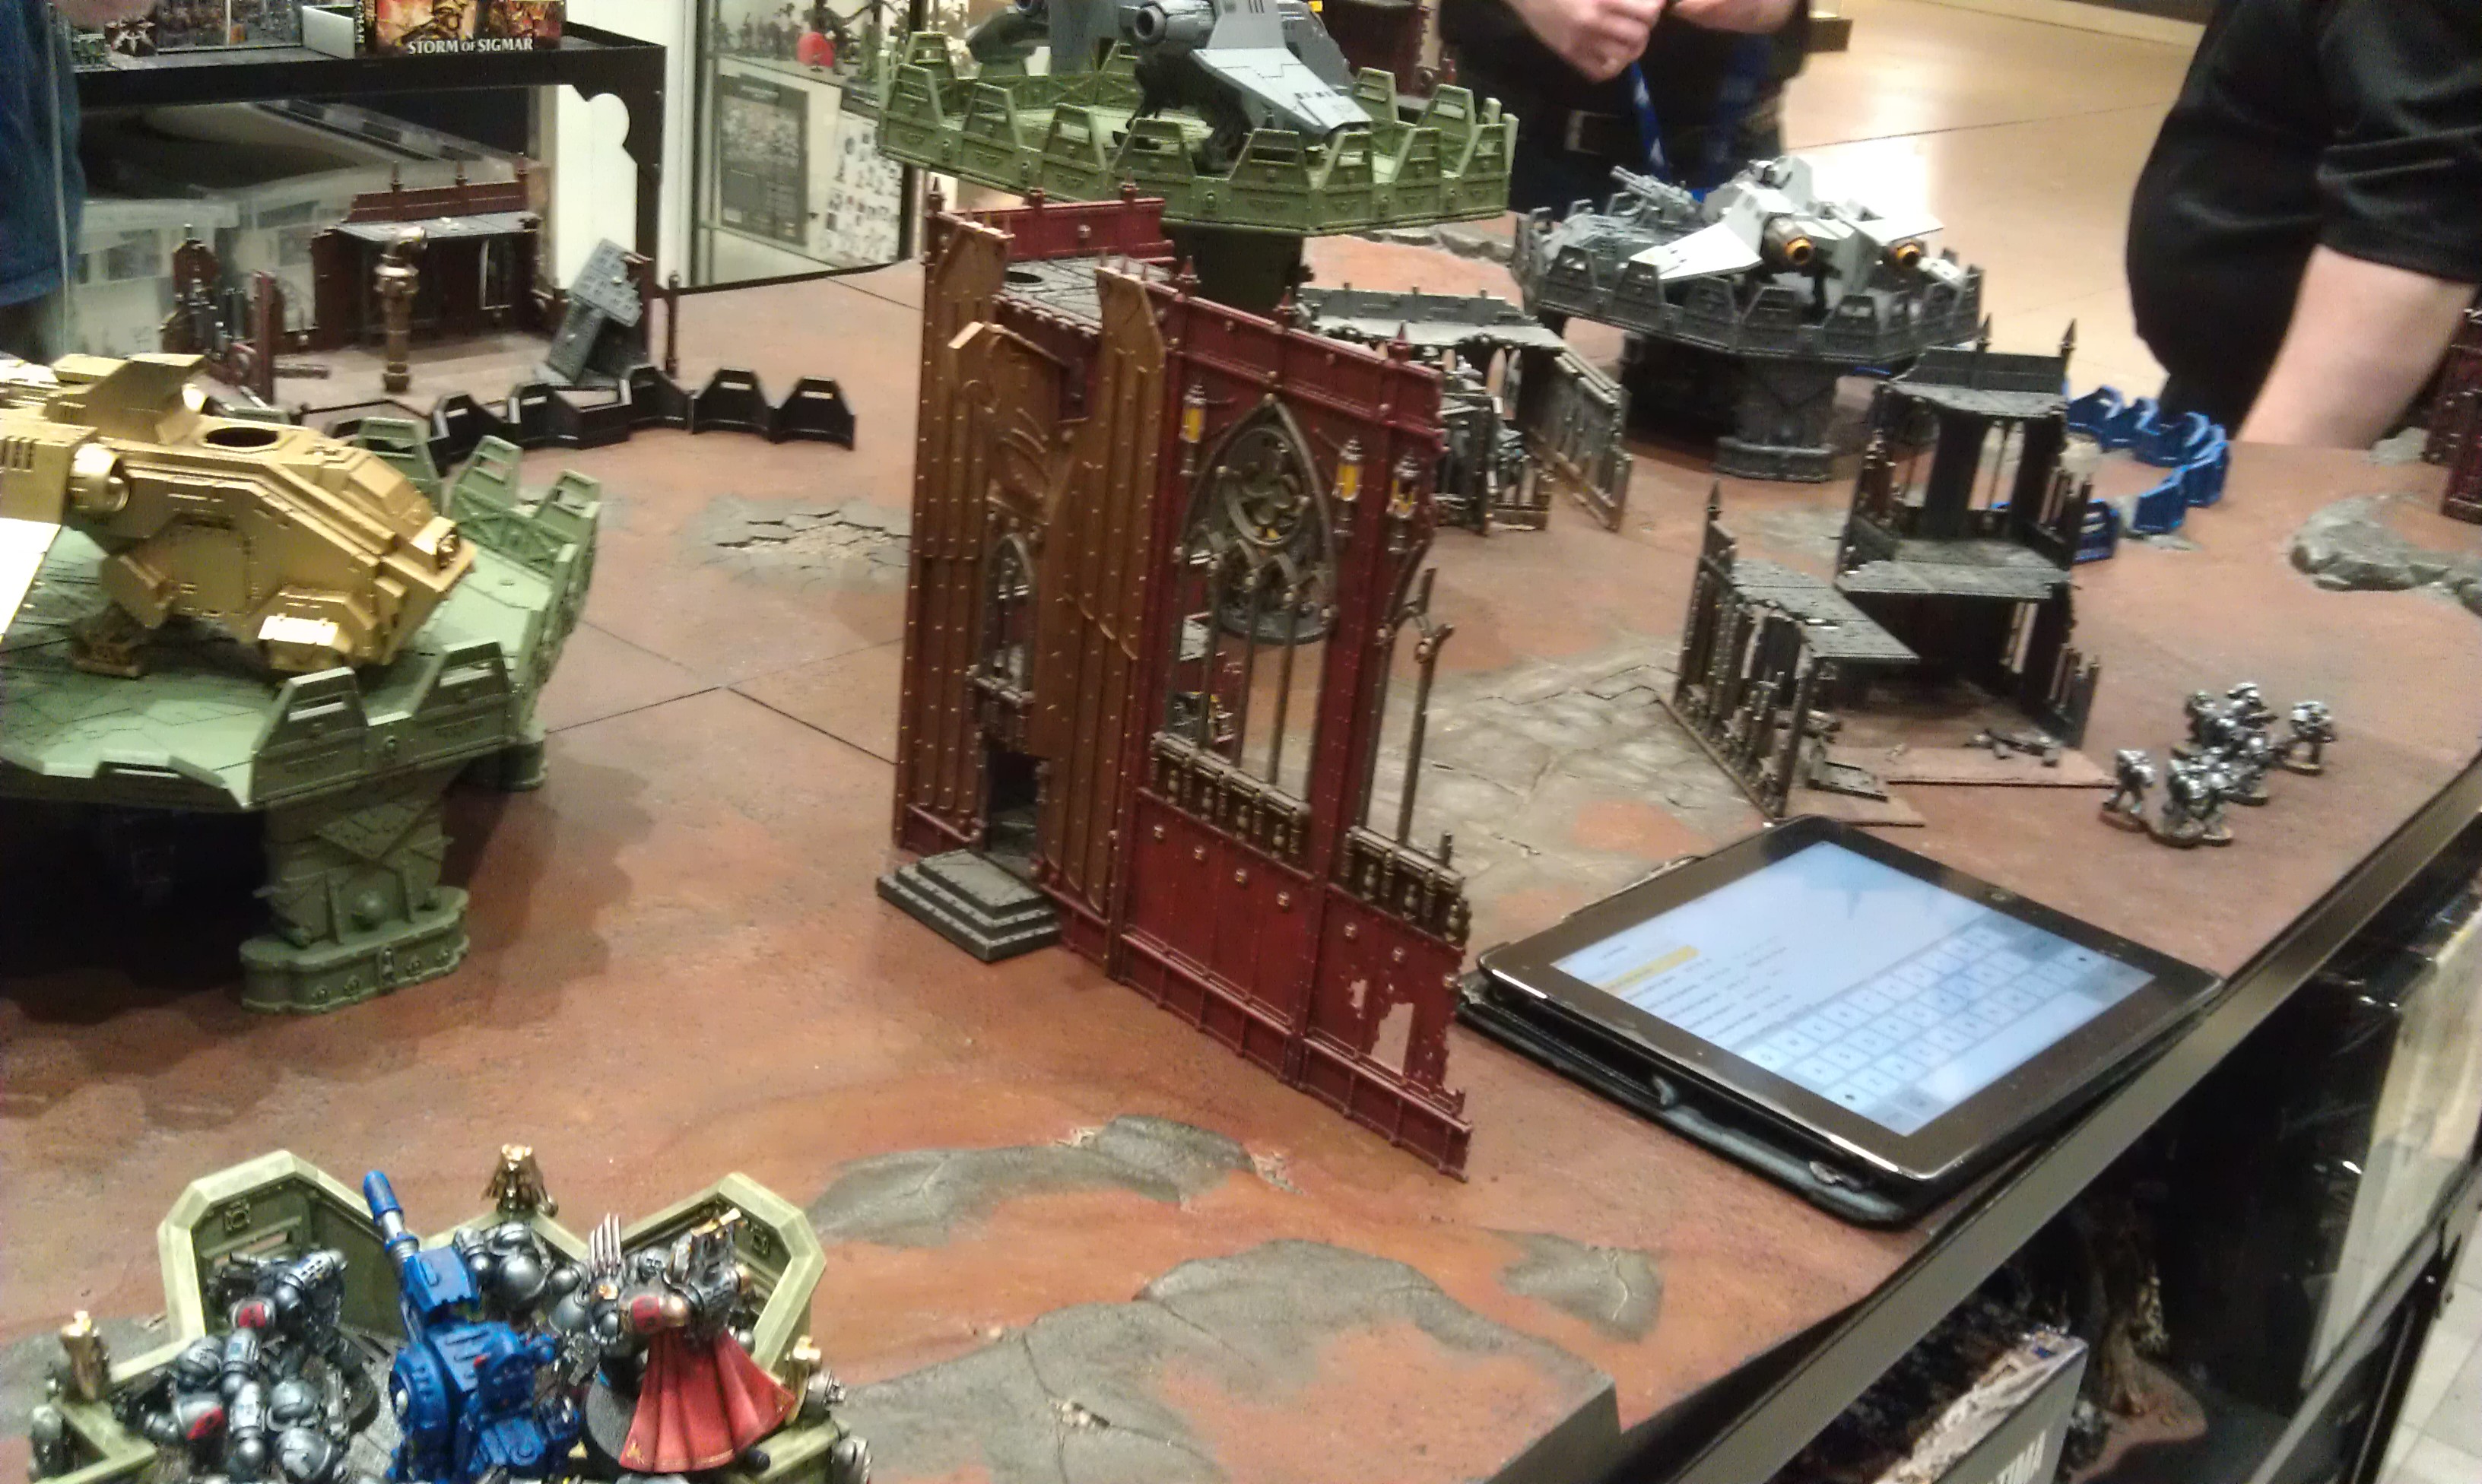
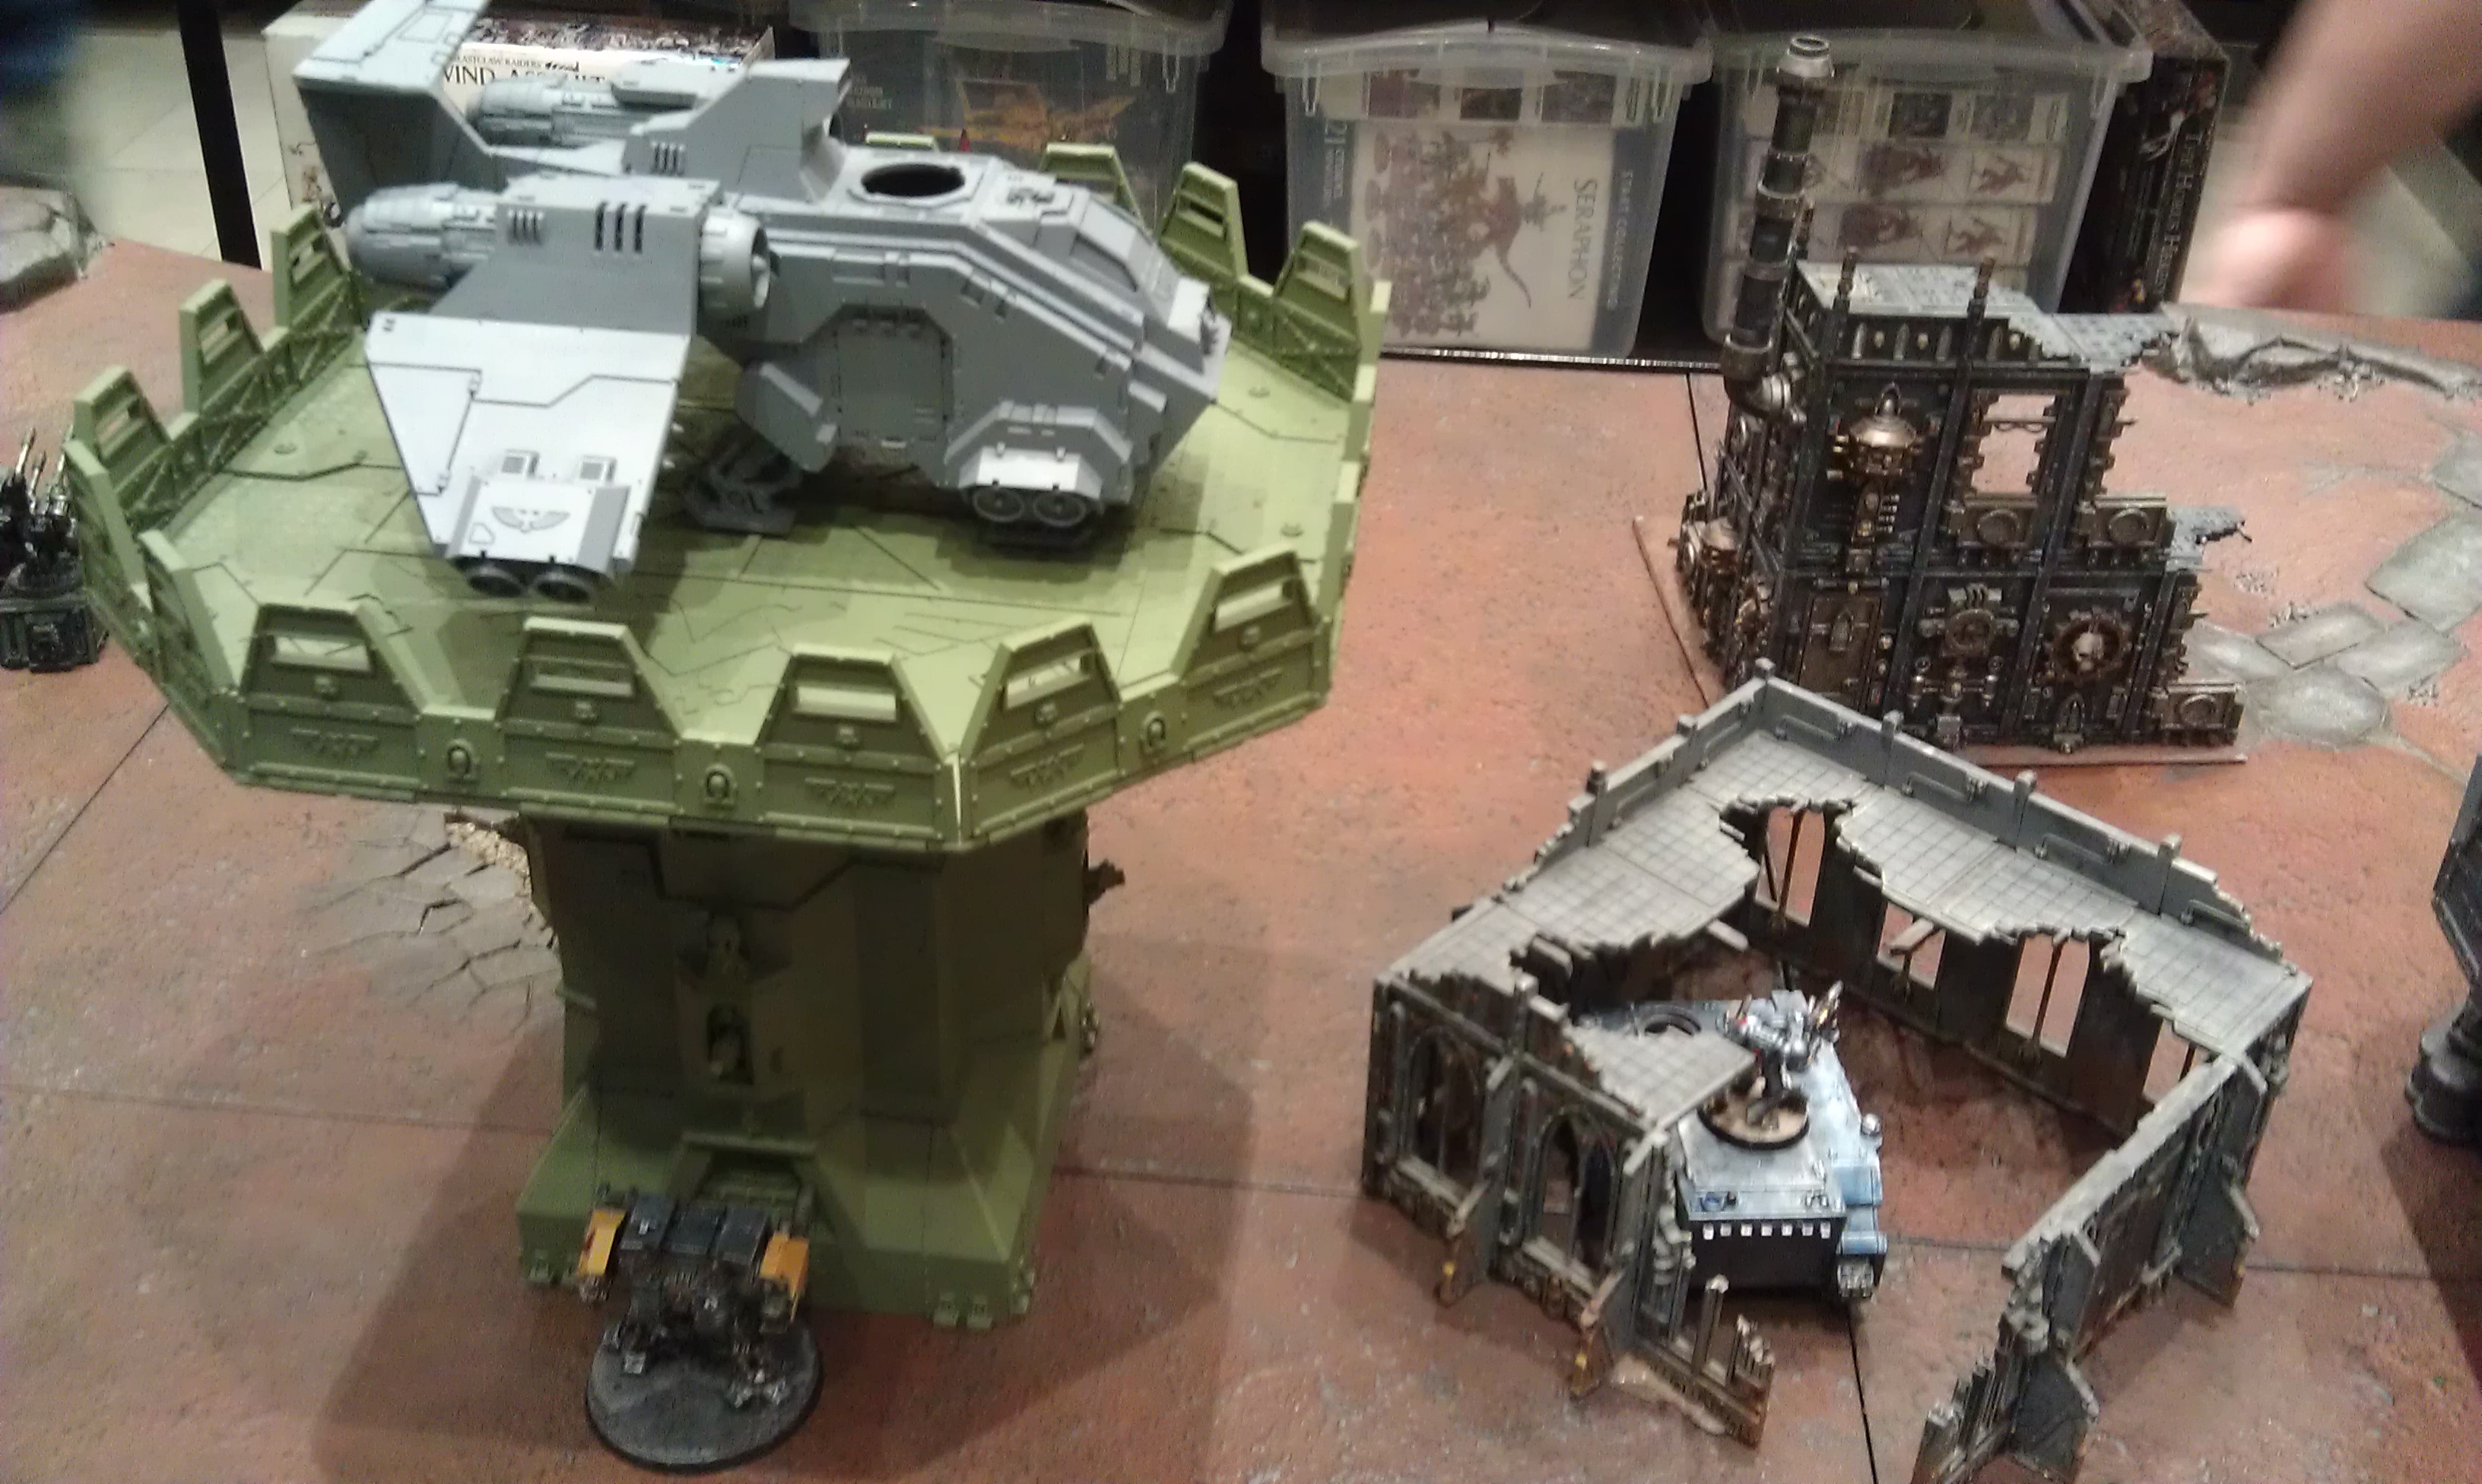
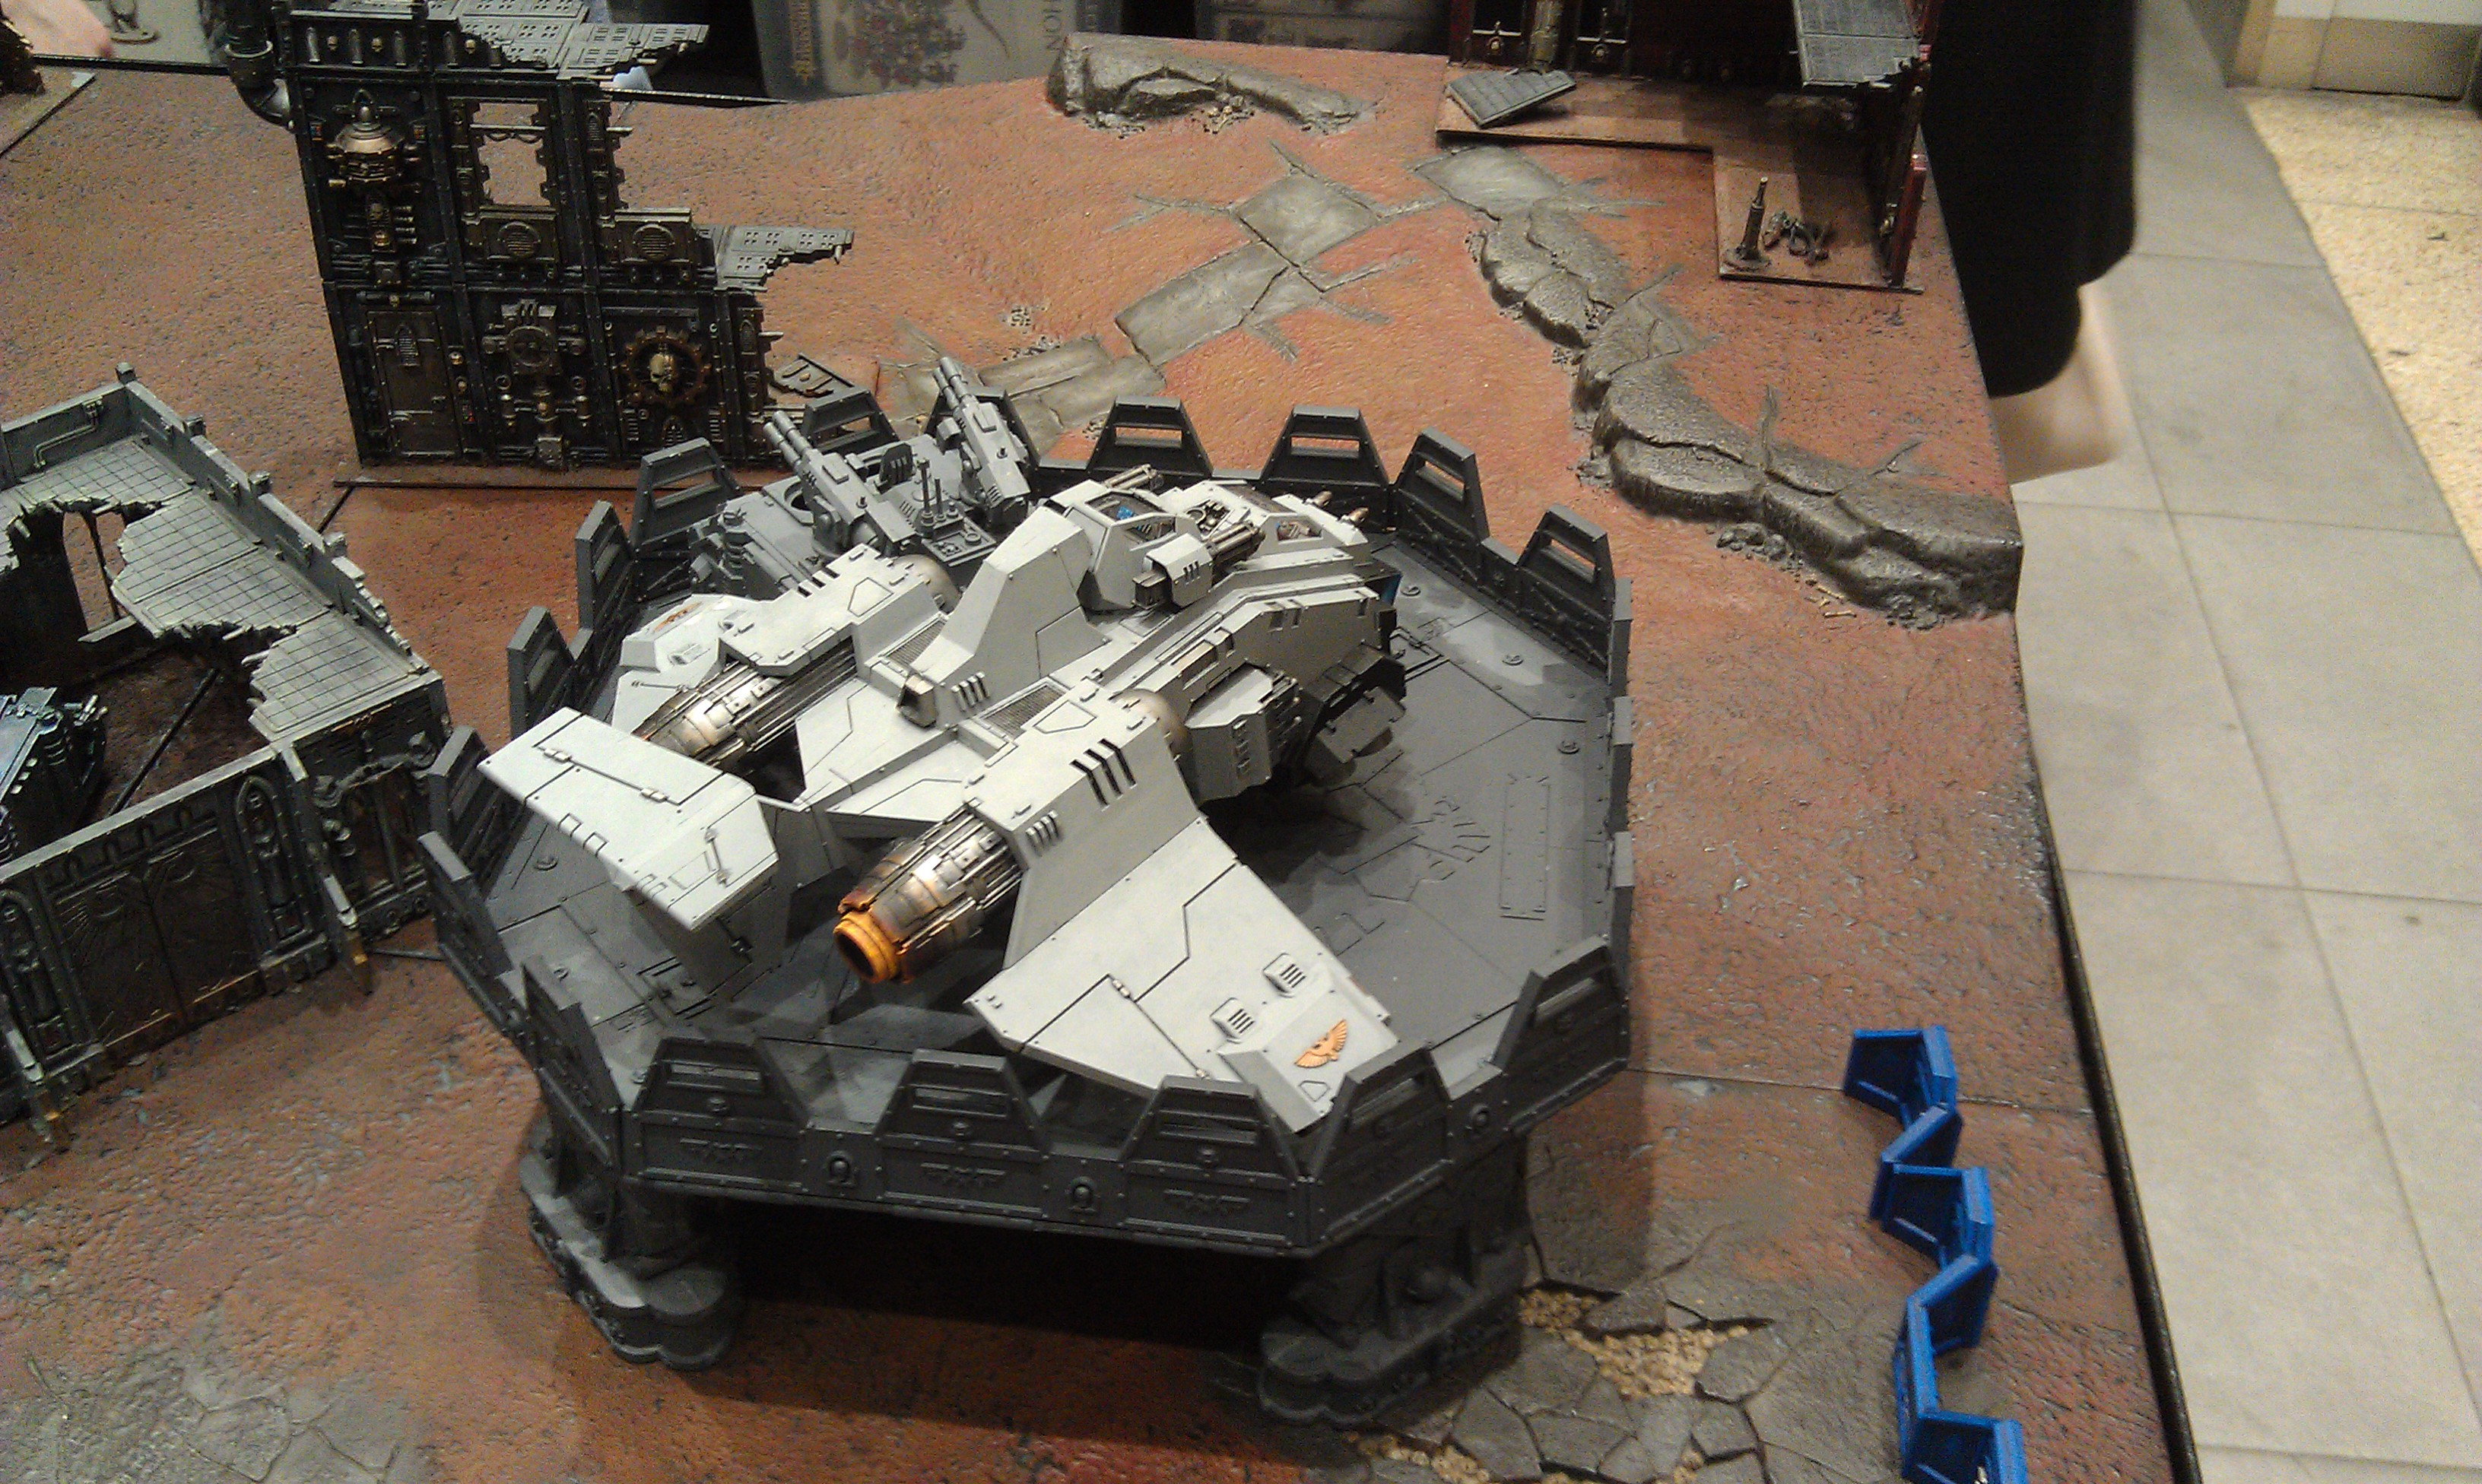
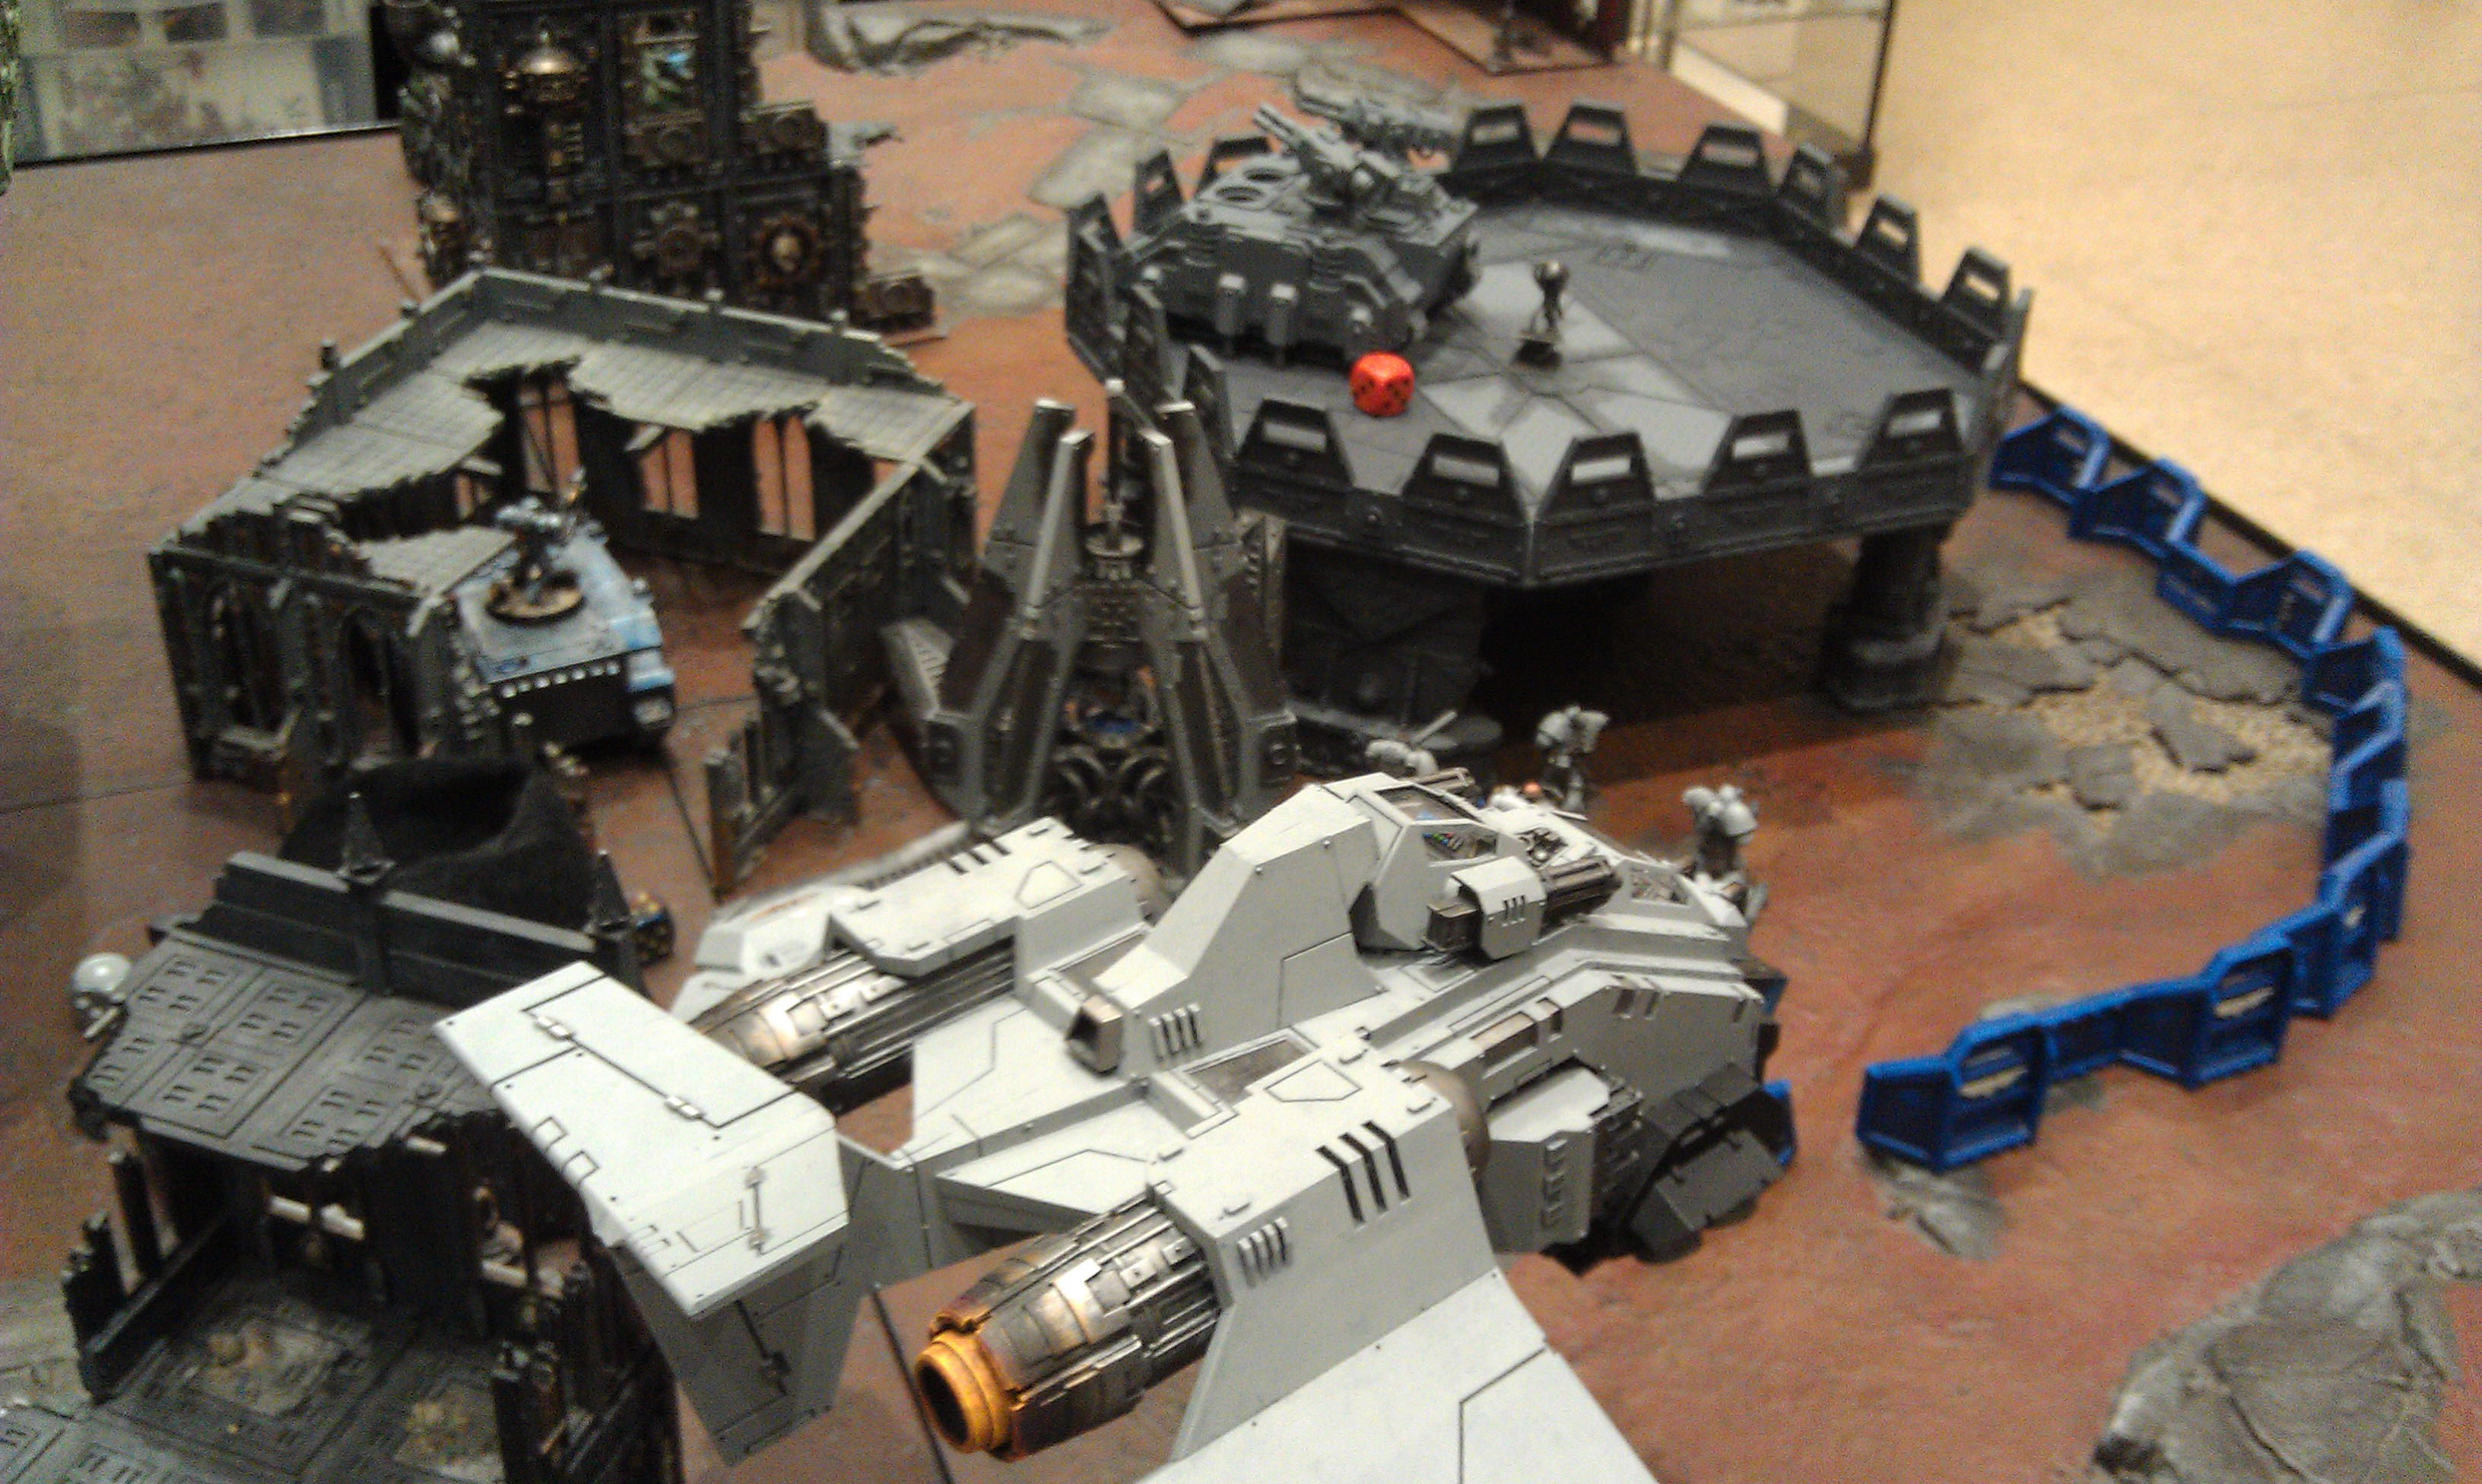
Terrain is set-up as normal and should reflect a barren lunar surface dotted with heavy machinery and pool of molten lava. There will be 3 Skyshield landing pads with a cargo ship placed on each pad. All operate in Shielded mode for the entire game (units on top get a 4+ invulnerable save). Ruins and craters can be used for terrain. The Secessionist player gets to choose where the terrain is placed. There will be no forests.
The Secessionists can choose to place a single bastion and up to two Aegis defence lines, each equipped with an interceptor gun of their choice for free.
For each cargo ship destroyed the Loyalists gain an objective. For each cargo ship that survives or blasted off the Secessionists gain an objective point. The side with the greater number of objectives wins the game. There will be no secondary objectives.
Deployment
The Secessionist player sets up first deploying their force into the central area of the table that is at least 12″ away from the board edge. Unless they have the ability to deep strike, no Secessionist forces may beheld in reserve. The Secessionist must, when possible, deploy at least one unit for each building or gun emplacement that they placed on the battlefield. Reserve rolls may be rolled for starting turn 1. To represent the Star Phantoms surprise attack all successful reserve rolls have to be re-rolled.
The Loyalist will place all models in reserve and can roll for reserves starting turn 1. The Loyalist can deep strike or march a unit from any board edge. All Loyalist units that have the deep strike special rule and deploy via deep strike can charge in the same turn they arrive from reserve. All of the Loyalists infantry, jetbikes and skimmer units that do not have the deep strike special rule gain the deep strike special rule. These units cannot charge in the same turn they arrive from reserves. Any Loyalist that enters from a board edge cannot charge in the same turn they arrive from reserves. Units that disembark from a transport cannot charge in the same turn they arrived from reserve, even if they or their transport have the deep strike special rule.
Units for both sides that fail a morale test run towards the closest board edge.
The First Turn
The Loyalists attackers have the first turn. Their will be no seize the initiative roll.
Special Rules
Firestorm- the Loyalist will make a firestorm attack at the start of their first turn.
- Range- unlimited Str- 9 AP- 3 Type- ordnance 1, barrage, large blast, orbital attack, warscape
- Orbital Attack- these attacks can target any point on the tabletop
- Warscape- if this attack’s blast marker does not hit any models or terrain, the attacker can choose to place a single moonscape crater on the battlefield centered on the blast marker’s hole
- Firestorm- the attacker rolls a D3 and adds the number of buildings that are on the table to the result (aegis defence line does not count as a building). Each section of amuulti-part building counts as a separate building. The total is the number of Firestorm Attacks that the attacker makes.
Blast-off- At the beginning of each turn, the Secessionist player can attempt to launch one of their cargo shuttles to safety. If they succeed they claim it as a taken objective and it cannot be destroyed. The roll to achieve this on the first turn is 6+, the second turn needs a 5+, the third and subsequent turns needs a 4+. This means with some lucky rolls the Secessionist player can win in three turns.
Hellish Environment- Angstrom is an infernal volcanic world plagued by frequent storms of burning cinder ash. Roll a D6 at the start of every game turn. If a 6 is rolled, the following applies for this turn:
- the night fighting rule is in effect
- infantry treat all open ground as difficult terrain and all skimmers and flyers on the table suffer an automatic glancing hit
- cargo shuttles may not blast off this turn
Ending the Game
The game continues until all cargo shuttles are either destroyed or have escaped, or until six full game turns have elapsed.
Star Phantoms
HQ:
Captain w/ Storm Shield, Power Axe and Artificer Armour
Captain w/ Power Sword, Power Fist and Artificer Armour
Librarian w/ Digital Weapons and Level 2 Telepathy (which didn’t help)
Troops:
5 Scouts w/ Shotguns and Melta Bombs
5 Scouts w/ Shotguns and Melta Bombs
9 Tactical Marines w/ Meltagun and Melta Bombs
9 Tactical Marines w/ Plasma Gun, Lightning claw and Melta Bombs
Elites:
5 Sternguard Veterans w/ Combi-Melta+Plasma, and Melta Bombs
Fast Attack:
6 Assault Marines w/ Power Fist, Combat Shield, Jump Packs, Flamer and Veteran Upgrade
Heavy Support:
Storm Raven w/ Hurricane Bolters
Transports:
Drop Pod w/ Deathwind Launcher
Drop Pod w/ Deathwind Launcher
Drop Pod
Landspeeder Storm
Landspeeder Storm
Allies
HQ:
Tempestus Command Squad w/ Power Weapon and Hotshot Volley Guns
Troops:
Tempestus Scions w/ Flamer and Meltagun
Transports:
Taurox w/ Twin-Linked Gatling
Taurox w/ Missile Pod
Executioners
HQ:
Captain Dantith- pair lightning claws, artificer armour, auspex, meltabomb
Troops:
Tactical Squad Dorn’s Will (10 models)- combi-melta, melta, multi-melta, Rhino
Tactical squad Traitor’s Bane (10 models)- combi-melta, melta, multi-melta
Fast:
Stormhawk Interceptor- lascannon, typhoon missiles
Elite:
Venerable Chaplain Dreadnought Elias – flamestorm cannon, heavy flamer, Drop-pod
Venerable Dreadnought Talus- multi-melta, heavy flamer
Dreadnought Markus- multi-melta, heavy flamer
Heavy:
Predator Triton- autocannon turret, lascannon sponsons
Predator Ventris- autocannon turret, lascannon sponsons
Stalker Aegis- Icarus Stormcannon Array
Battle Stratagems: Dave took Minefields so anything arriving by reserve on a 4+ takes damage. The other was the ability that on a 4+ Dave could choose how Andrews model are deployed when arriving from reserve. Andrew’s strategems were not documented.
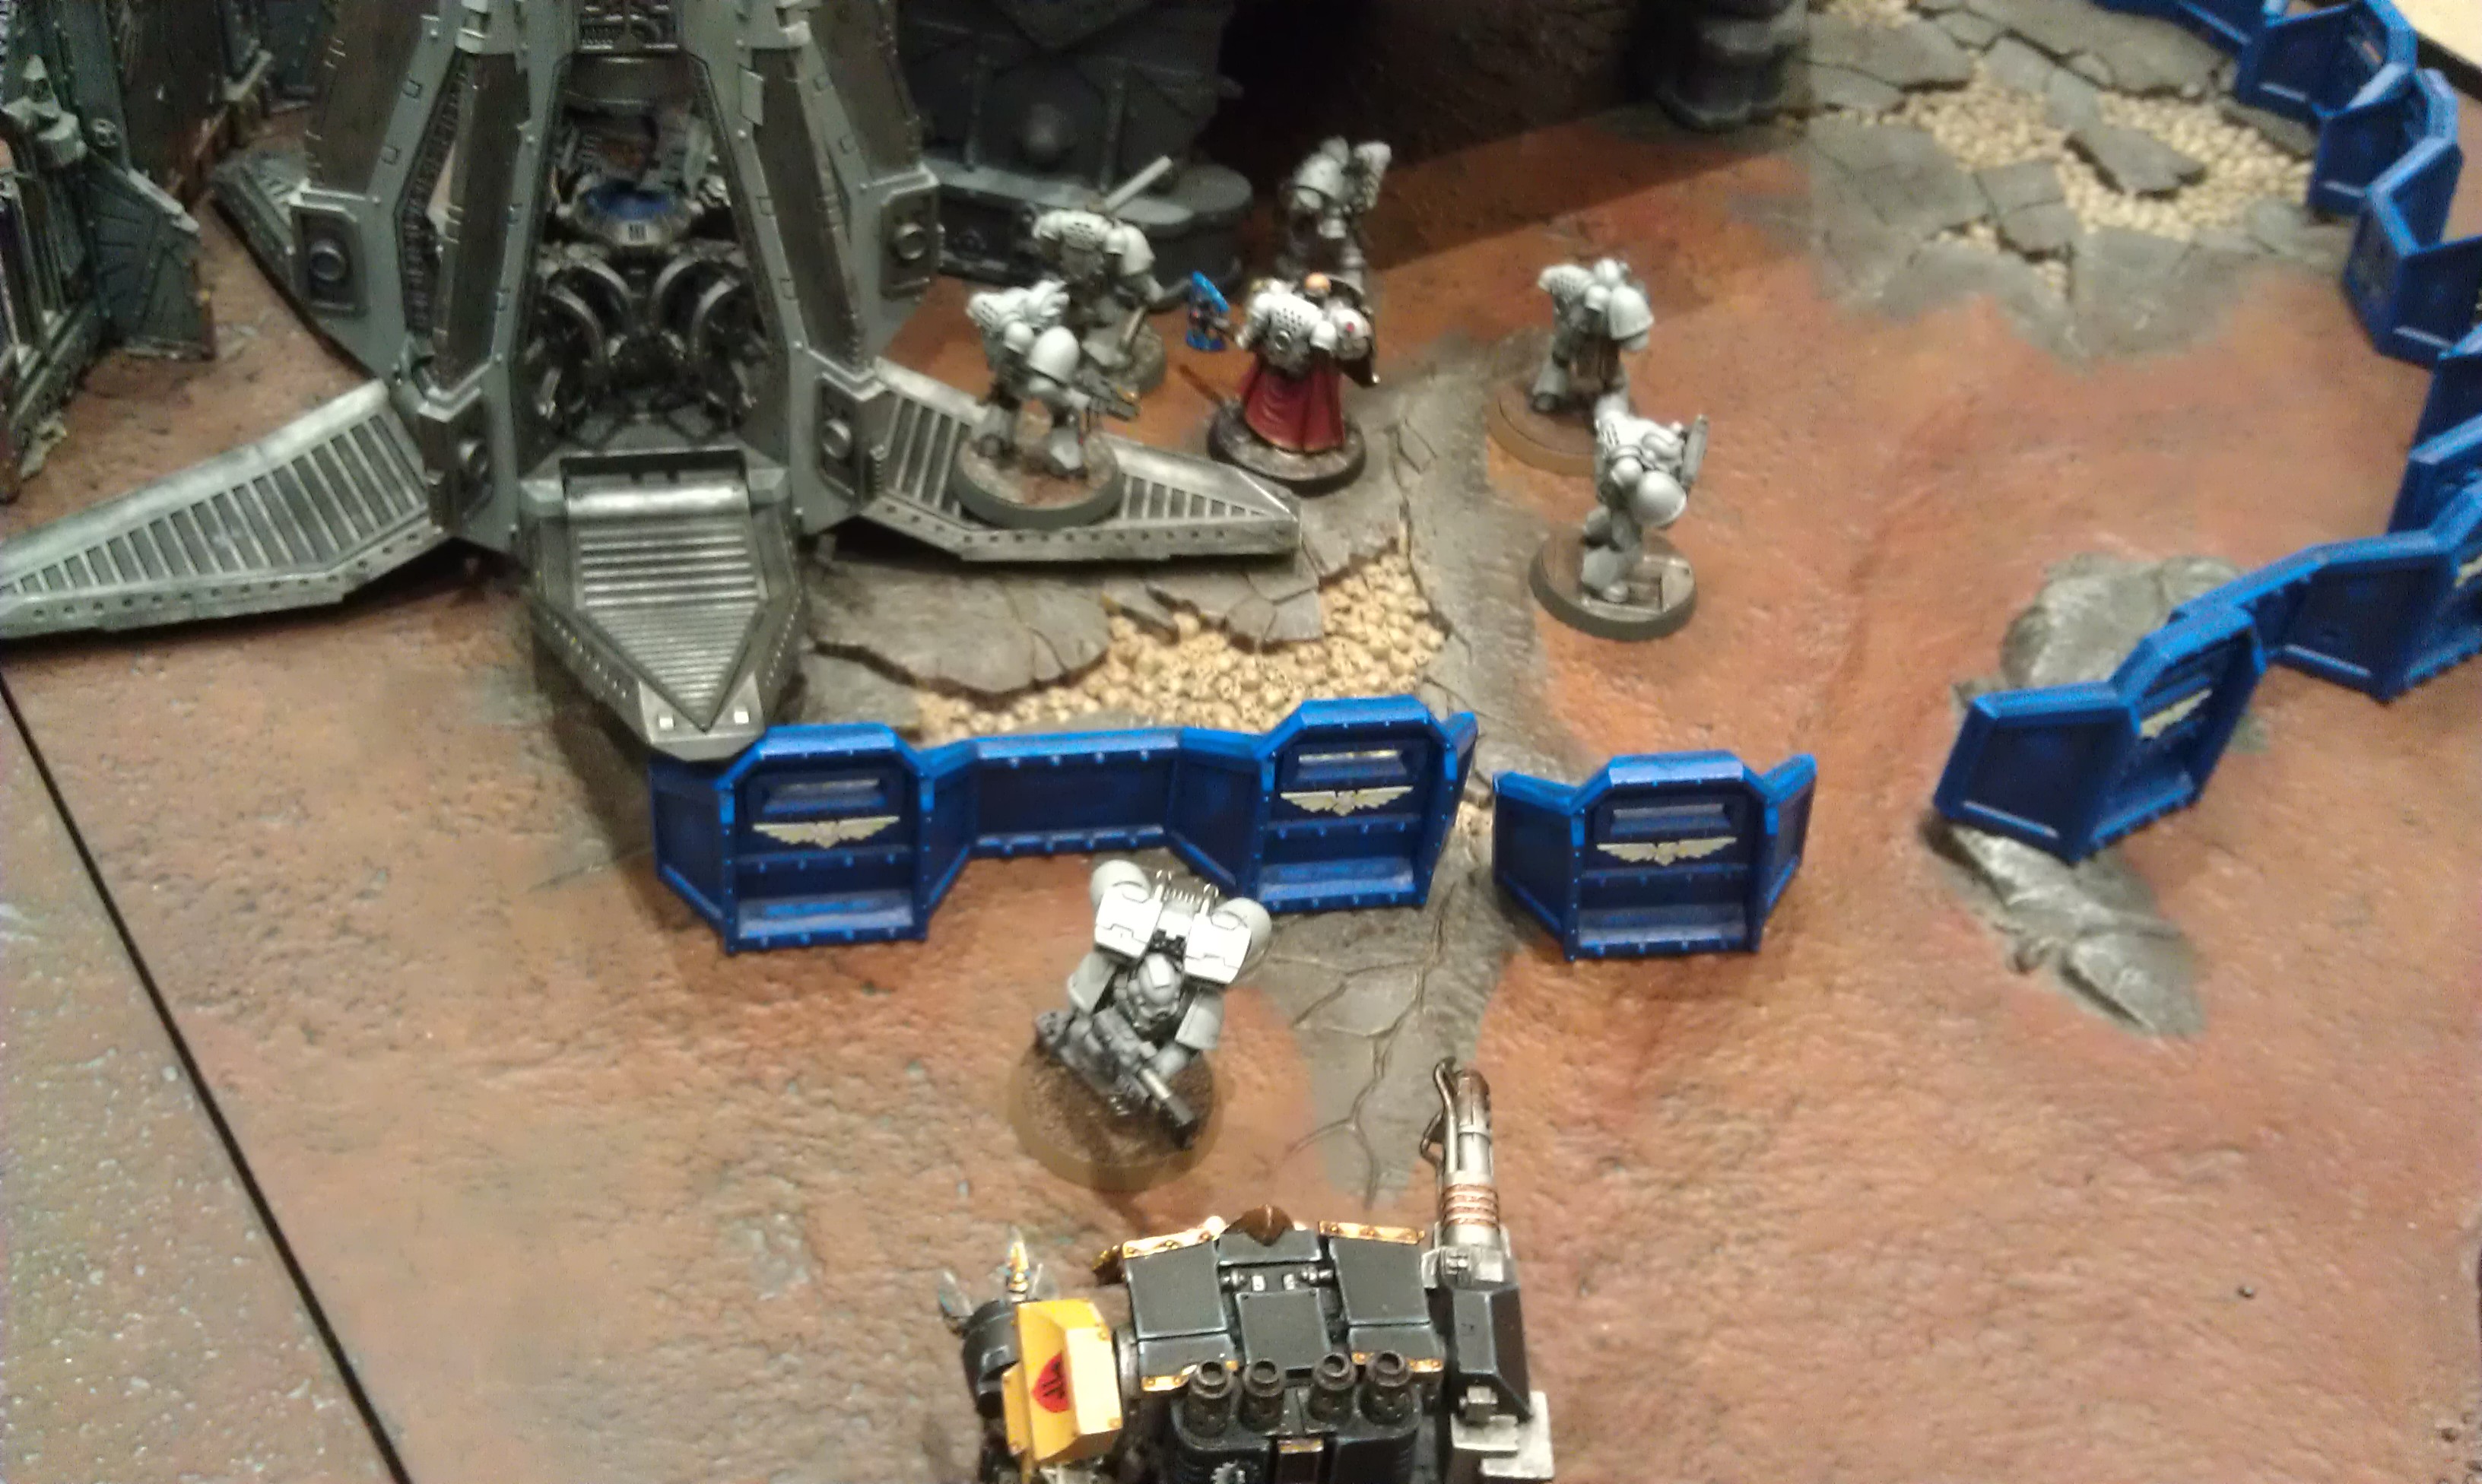
Andrew and David placed all 3 of the landing pads on the centre line equally spaced apart from each other. Buildings were placed around the landing pads due to the battefield being a Forgeworld. David then deployed his defences, which he placed 1 aegis line with quad gun north of the first skyshield. Then another aegis line, without a weapon battery) next to the third skyshield. Finally, David placed a bunker with Icarus Lascannon in the corner of the battlefield south of the gold Storm Raven.

Andrew choose his deployment and arrival zone to be the opposite side from the bunker with the lascannon. David began to deploy first by placing both the Predators under the 1st and 3rd landing pads to give them some protection. Squad Dorn’s Will deployed inside their Rhino in the ruins of a building next to the centre landing pad. Captain Dantith and squad Traitor’s Bane deployed inside the bunker with icarus lascannon.
Dreadnought Markus was set up behind the centre landing pad with Talus deployed behind him in a nearby building in case someone went after the brother dreadnought. Elias remained in orbit for quick response with Drop-pod. Stalker Aegis deployed on landing pad 3 to make up for the lack of AA guns over there. The Stormhawk was also placed in reserve acting as C.A.P. or close air patrol.
Turn 1
Andrew rolls for the number of firestorm attacks, plus four attacks due to three landing pads and a bunker. Andrew unfortunately rolls a one for 5 total. He places the first one over top of a transport and drifts a full 11 inches into no mans land. The second hits a transport dead on but fails to damage it. The third attack drifts far and misses much like the first. The fourth drifts off the intended transport but moves far enough to land directly on another transport. It fails to cause any damage though. Finally the last firestorm attack lands dead on target on a transport and clips the Stalker Defence Line as well. It fails to damage the transport but glances the defence line.

Andrew declares a dogfight challenge with his Stormraven in hopes to win the roll off and avoid being caught instead by the Interceptor. The Interceptor catches on quickly to the incoming transport and manages to react quicker at first. It is outmaneuvered at the last moment leaving it unable to attack with the majority of its weapons and only clips the wing with a glancing hit.

The minefield traps fail to go off and do any damage to Andrews inbound units. David’s other stratagem allows him to deploy a unit of Scouts in a Land Speeder Storm and the Stormraven, which was apparently was knocked off course by the short lived dogfight. The Land Speeder Storm ends up deployed next to Captain Dantith and his unit. The Stormraven comes in off David’s board edge at an angled towards the board edge.


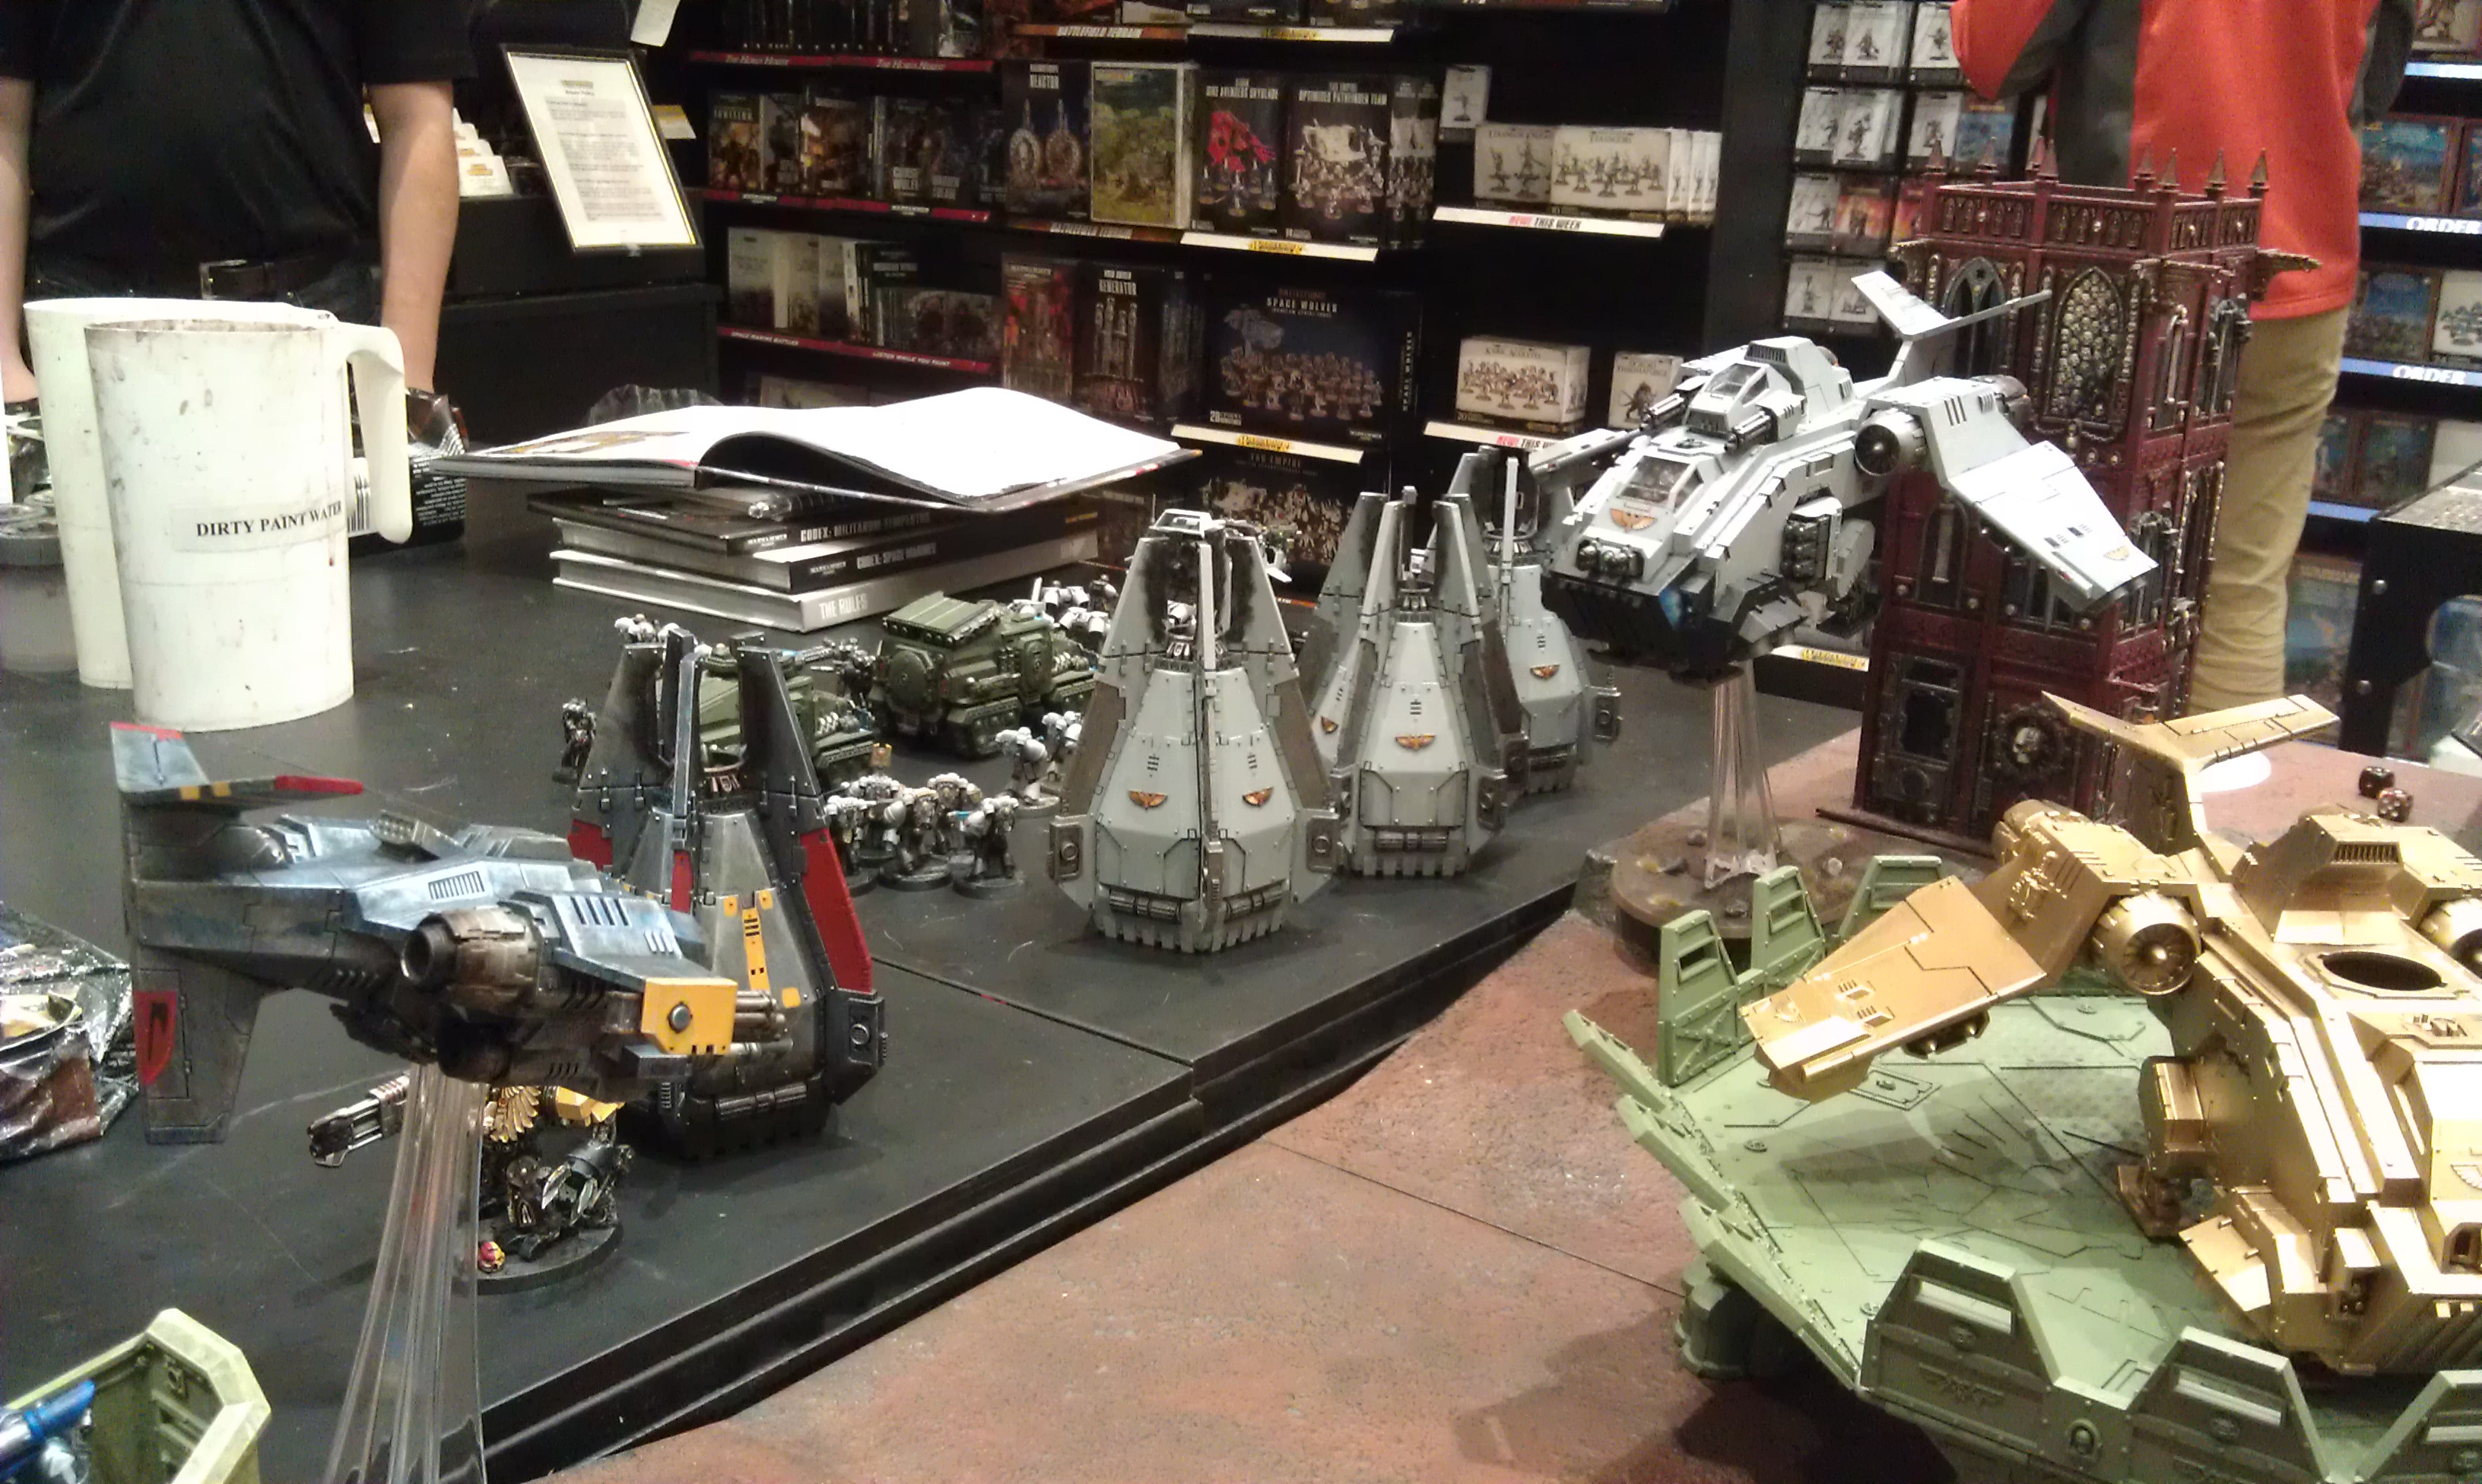
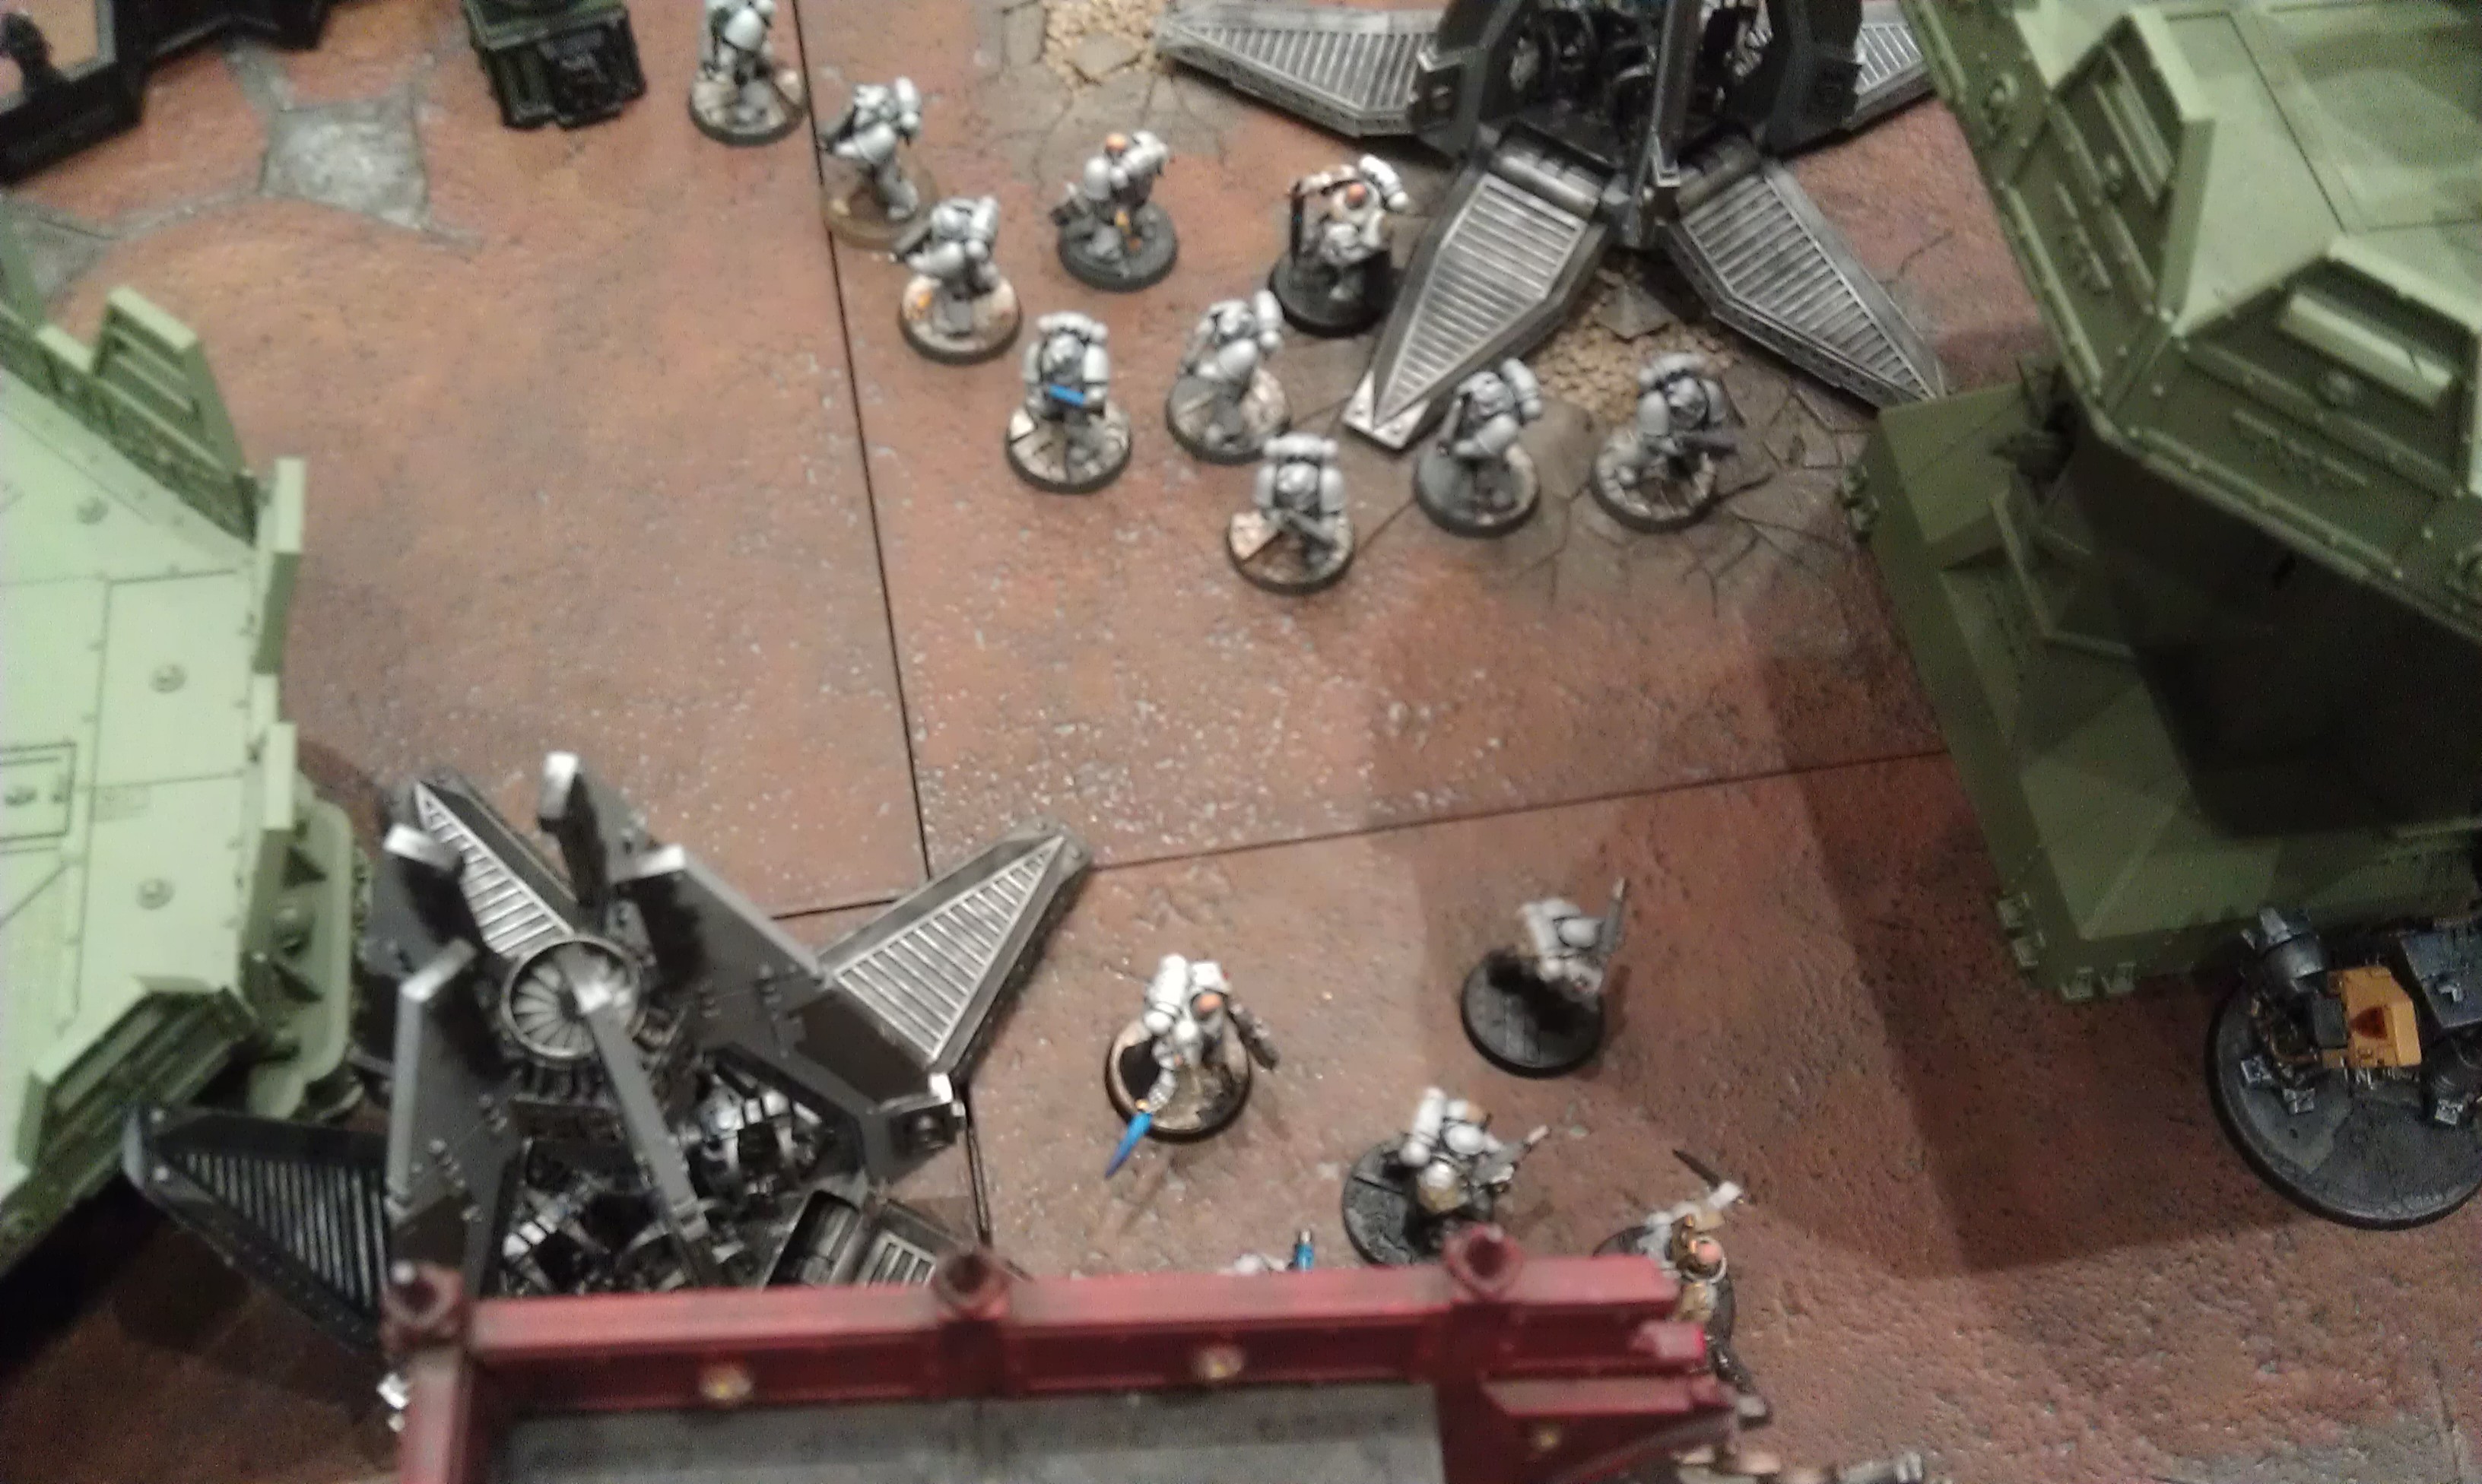
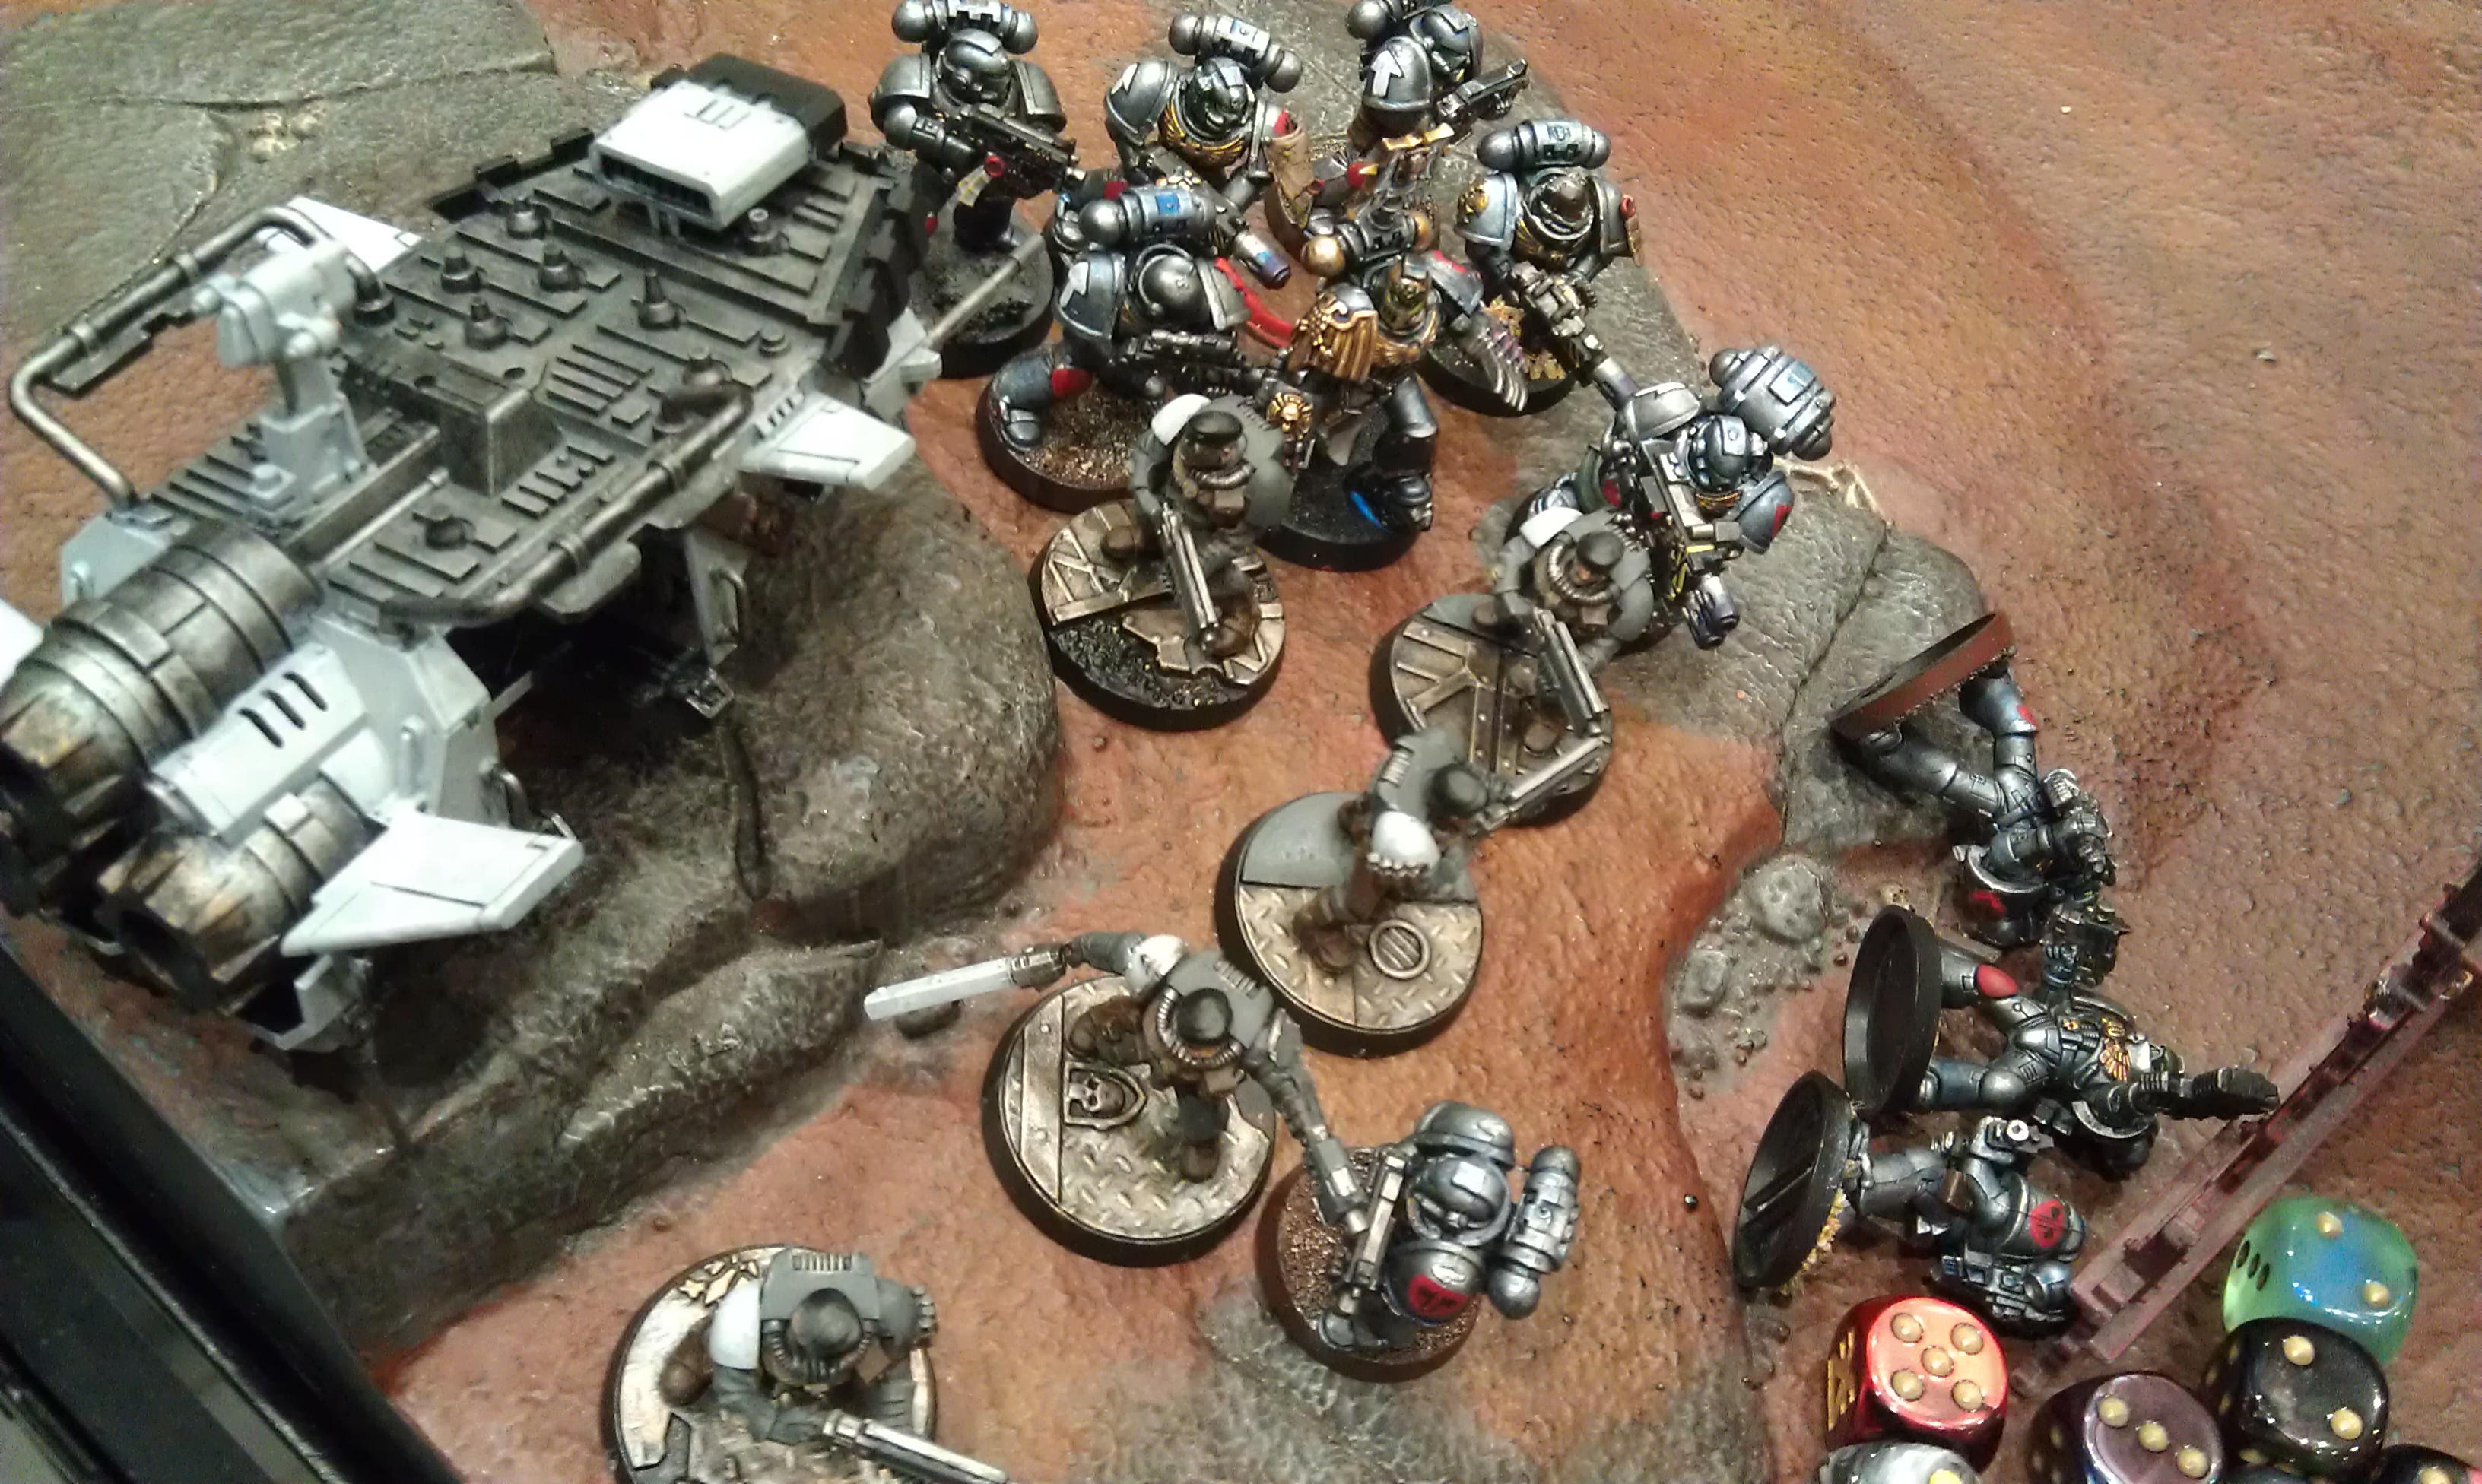
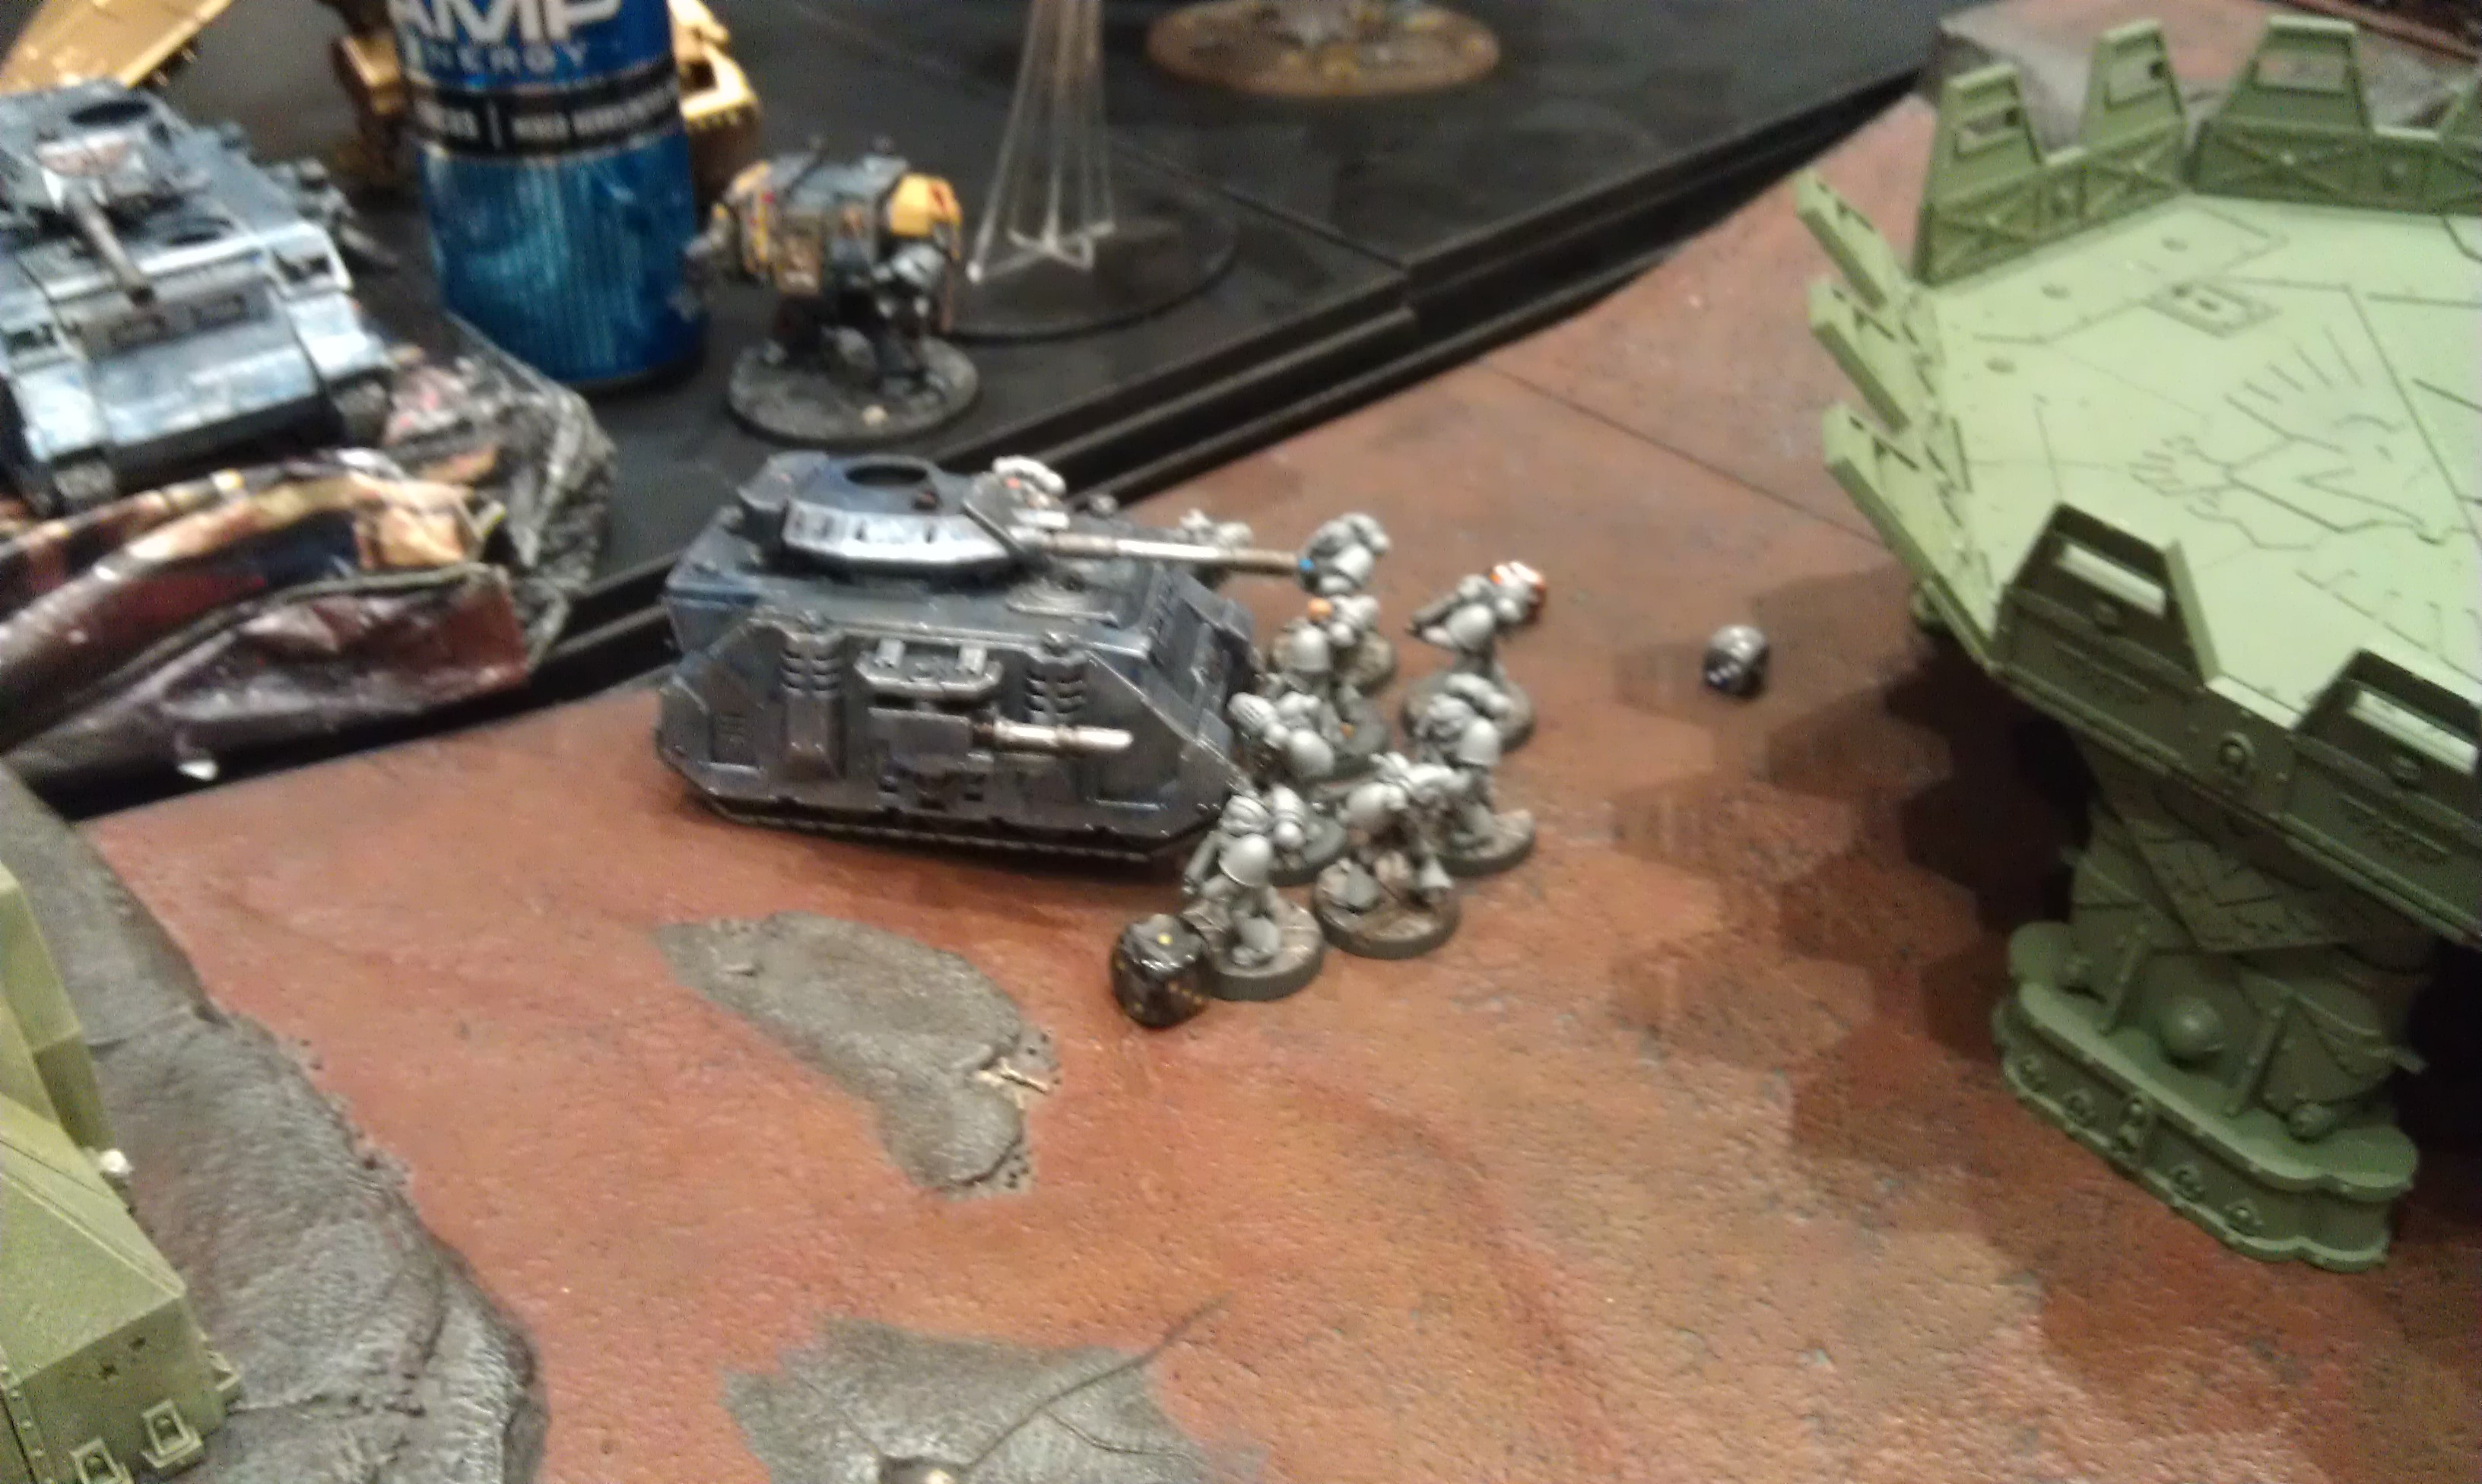
Two of Andrew’s Drop-pods land next to two of the transports. One deploys a Sternguard squad with a Librarian and the other carries a Tactical squad with a Captain. The last of his Drop-pods carrying another Tactical squad deploys next to the third transport. Both of his Tempestus squads appear in their Taurox transports behind a building in his deployment zone. At this point in time David’s interceptor guns open up on Andrew’s Stormraven causing it to crash and burn into the third tactical squad. The squad on the ground survives, however, the crash kills four of the six Assault marines being carried inside.

The Sternguard aim at Dreadnought Markus with their combi melta’s and get an explode result. One of the Taurox opens fire on the Stalker Aegis knocking off another hullpoint with another glancing hit. Shots were taken at the transports and despite many hits none of them penetrate through the armour to do any damage.

The Executioners now retaliate. David rolls for a transports to blast off and rolls a 6.
One away, two to go. The Stormhawk Interceptor fails to arrive, apparently keeping lookout for more aircraft. Chaplain Dreadnought Elias having been alerted to the danger planetside deploys rapidly by Drop-pod and lands next to what remains of Andrews Assault squad and the nearby Tactical squad with captain.
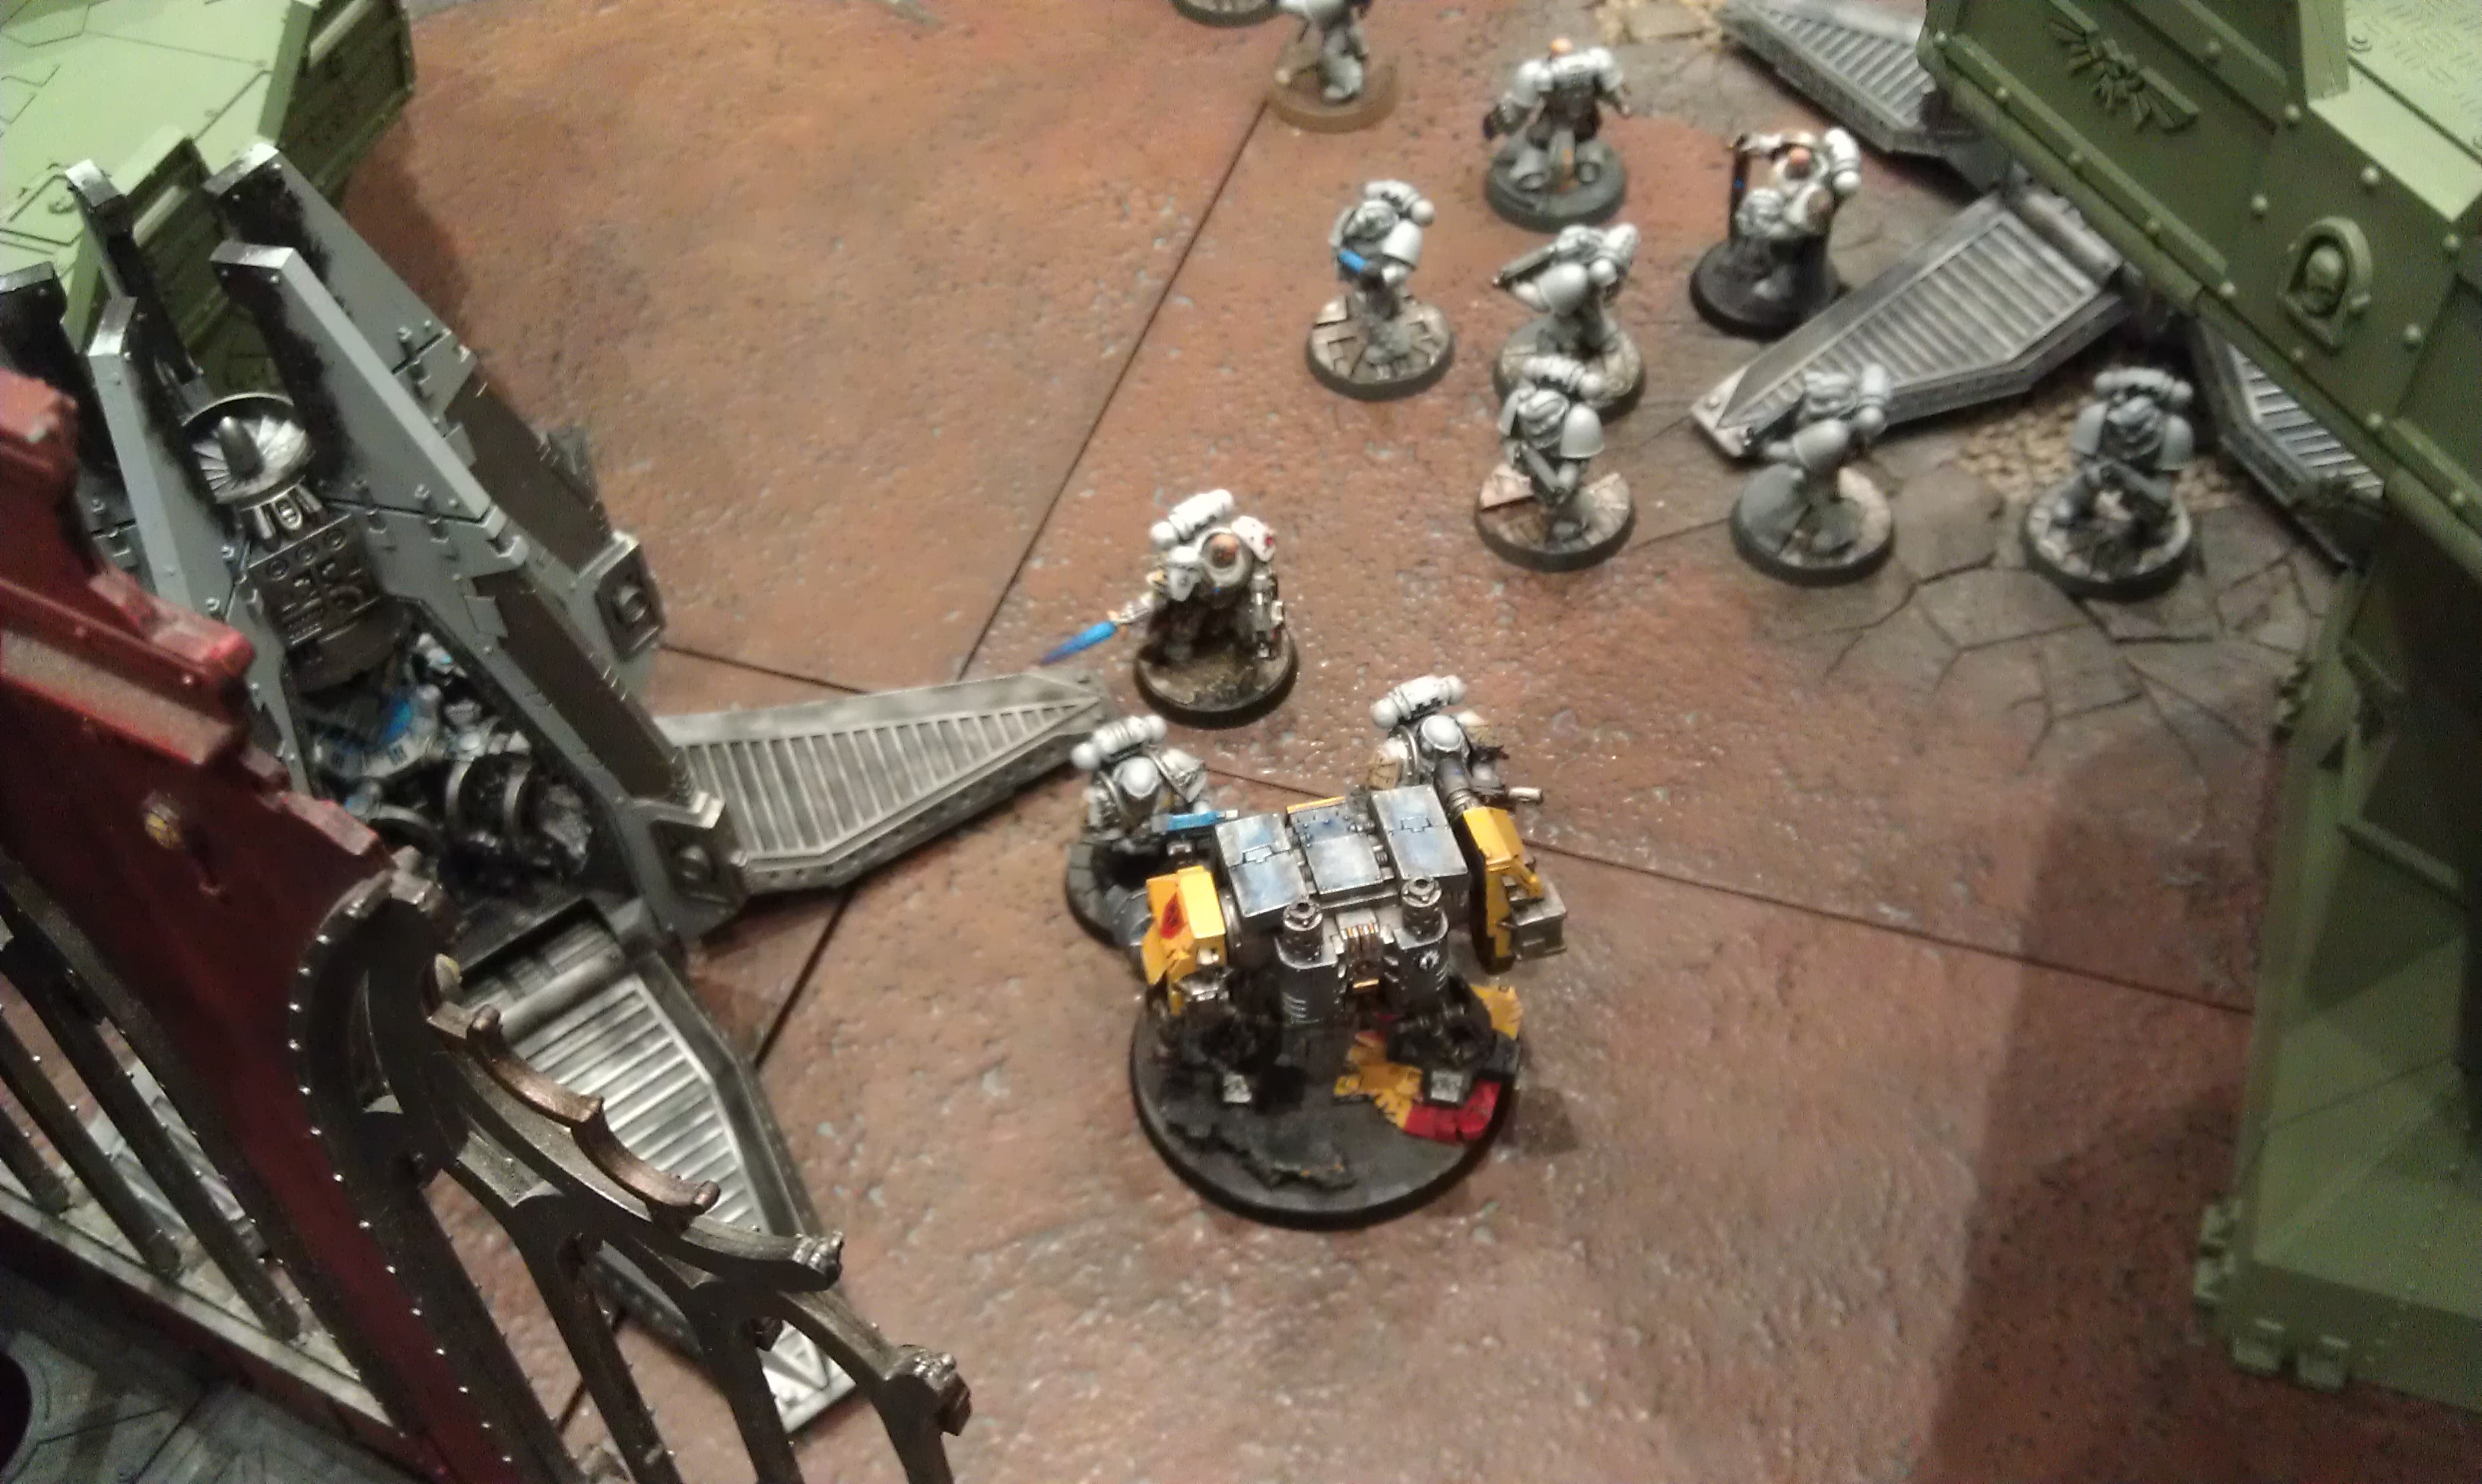
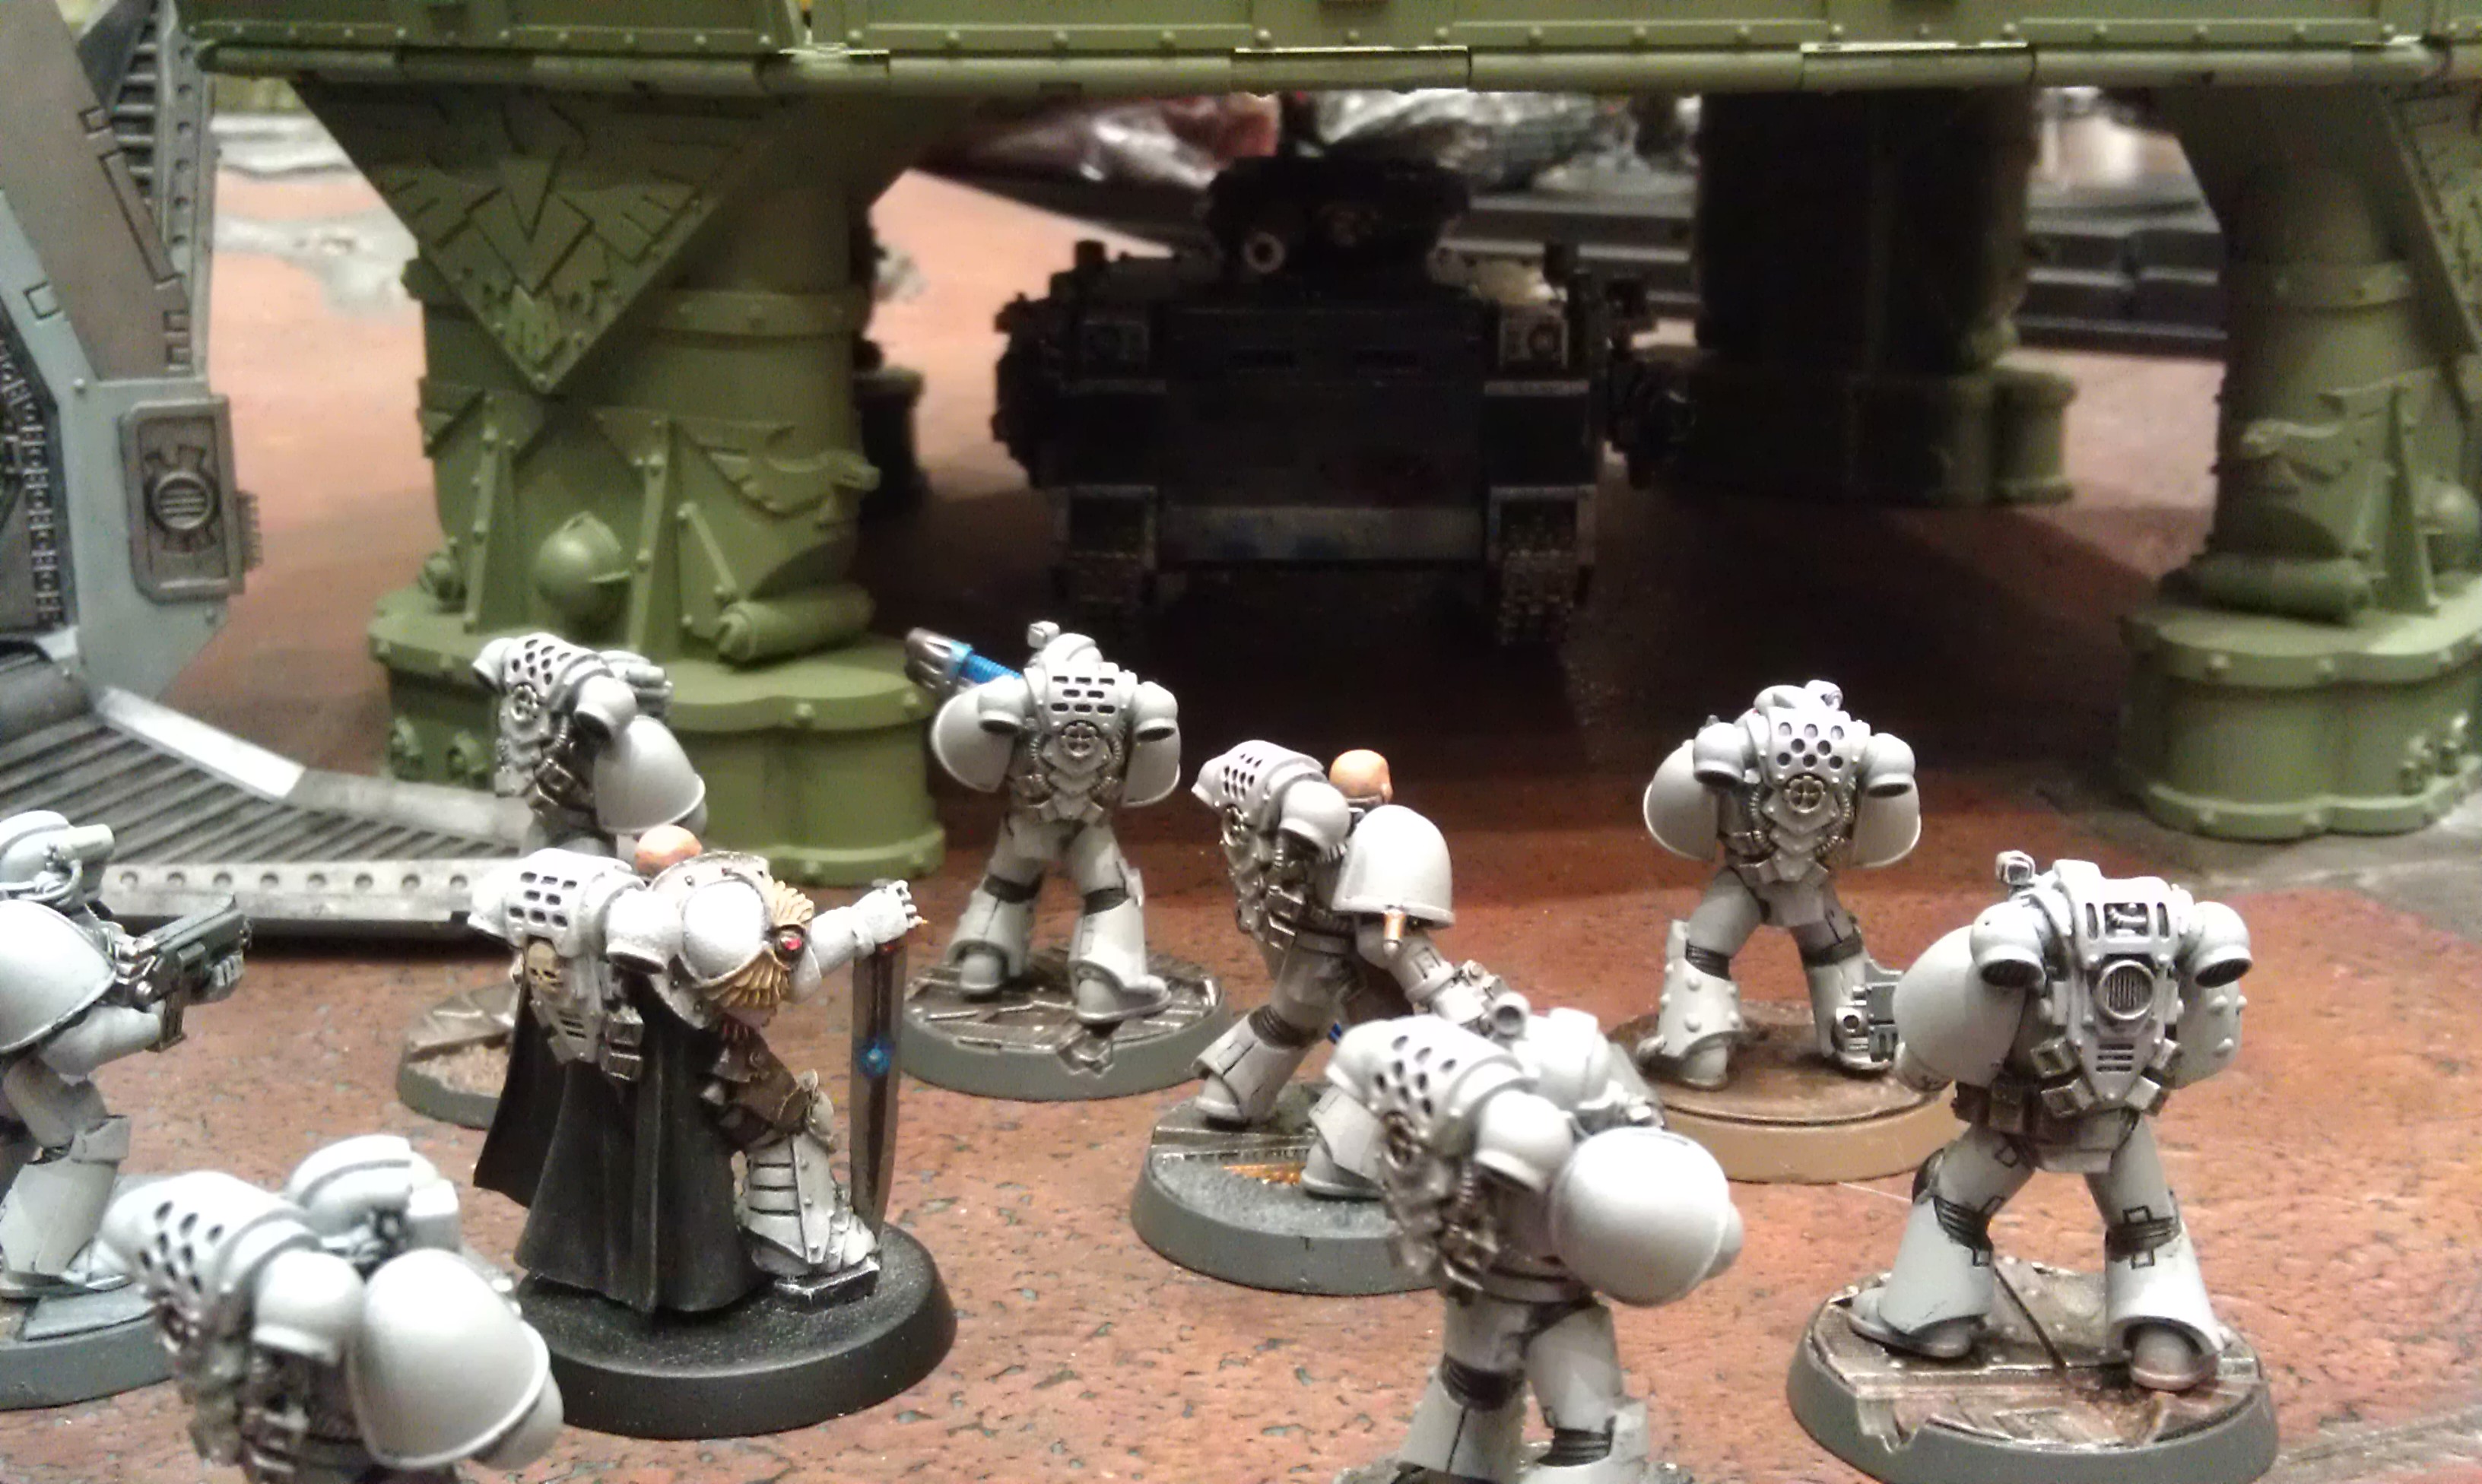
Dantith and his escort exit the bunker with lascannon to move towards the Scouts in their Land Speeder Storm, who forgot to take advantage of their crafts speed to escape. Venerable Dreadnought Talus moved out from behind the building he was in and moves up nice and close to Andrew’s Librarian and Sternguard.
Elias takes aim and with a thunderous roar unleashes an inferno that engulfs both members of the assault squad and a number of the Tactical marines. The Assault Marine Sergeant and three of the Tactical Marines are killed.

Predator Triton, deployed under the now empty skyshield, engaged the Tempestus Scion Prime’s Taurox. It explodes and forces the prime almost flee off the table. (much to Andrews surprise as he forgot the predator was there.) Opening fire with bolt pistols, Captain Dantith and his escort knock out the land speeder storm and prepare to charge the disembarked Scouts.

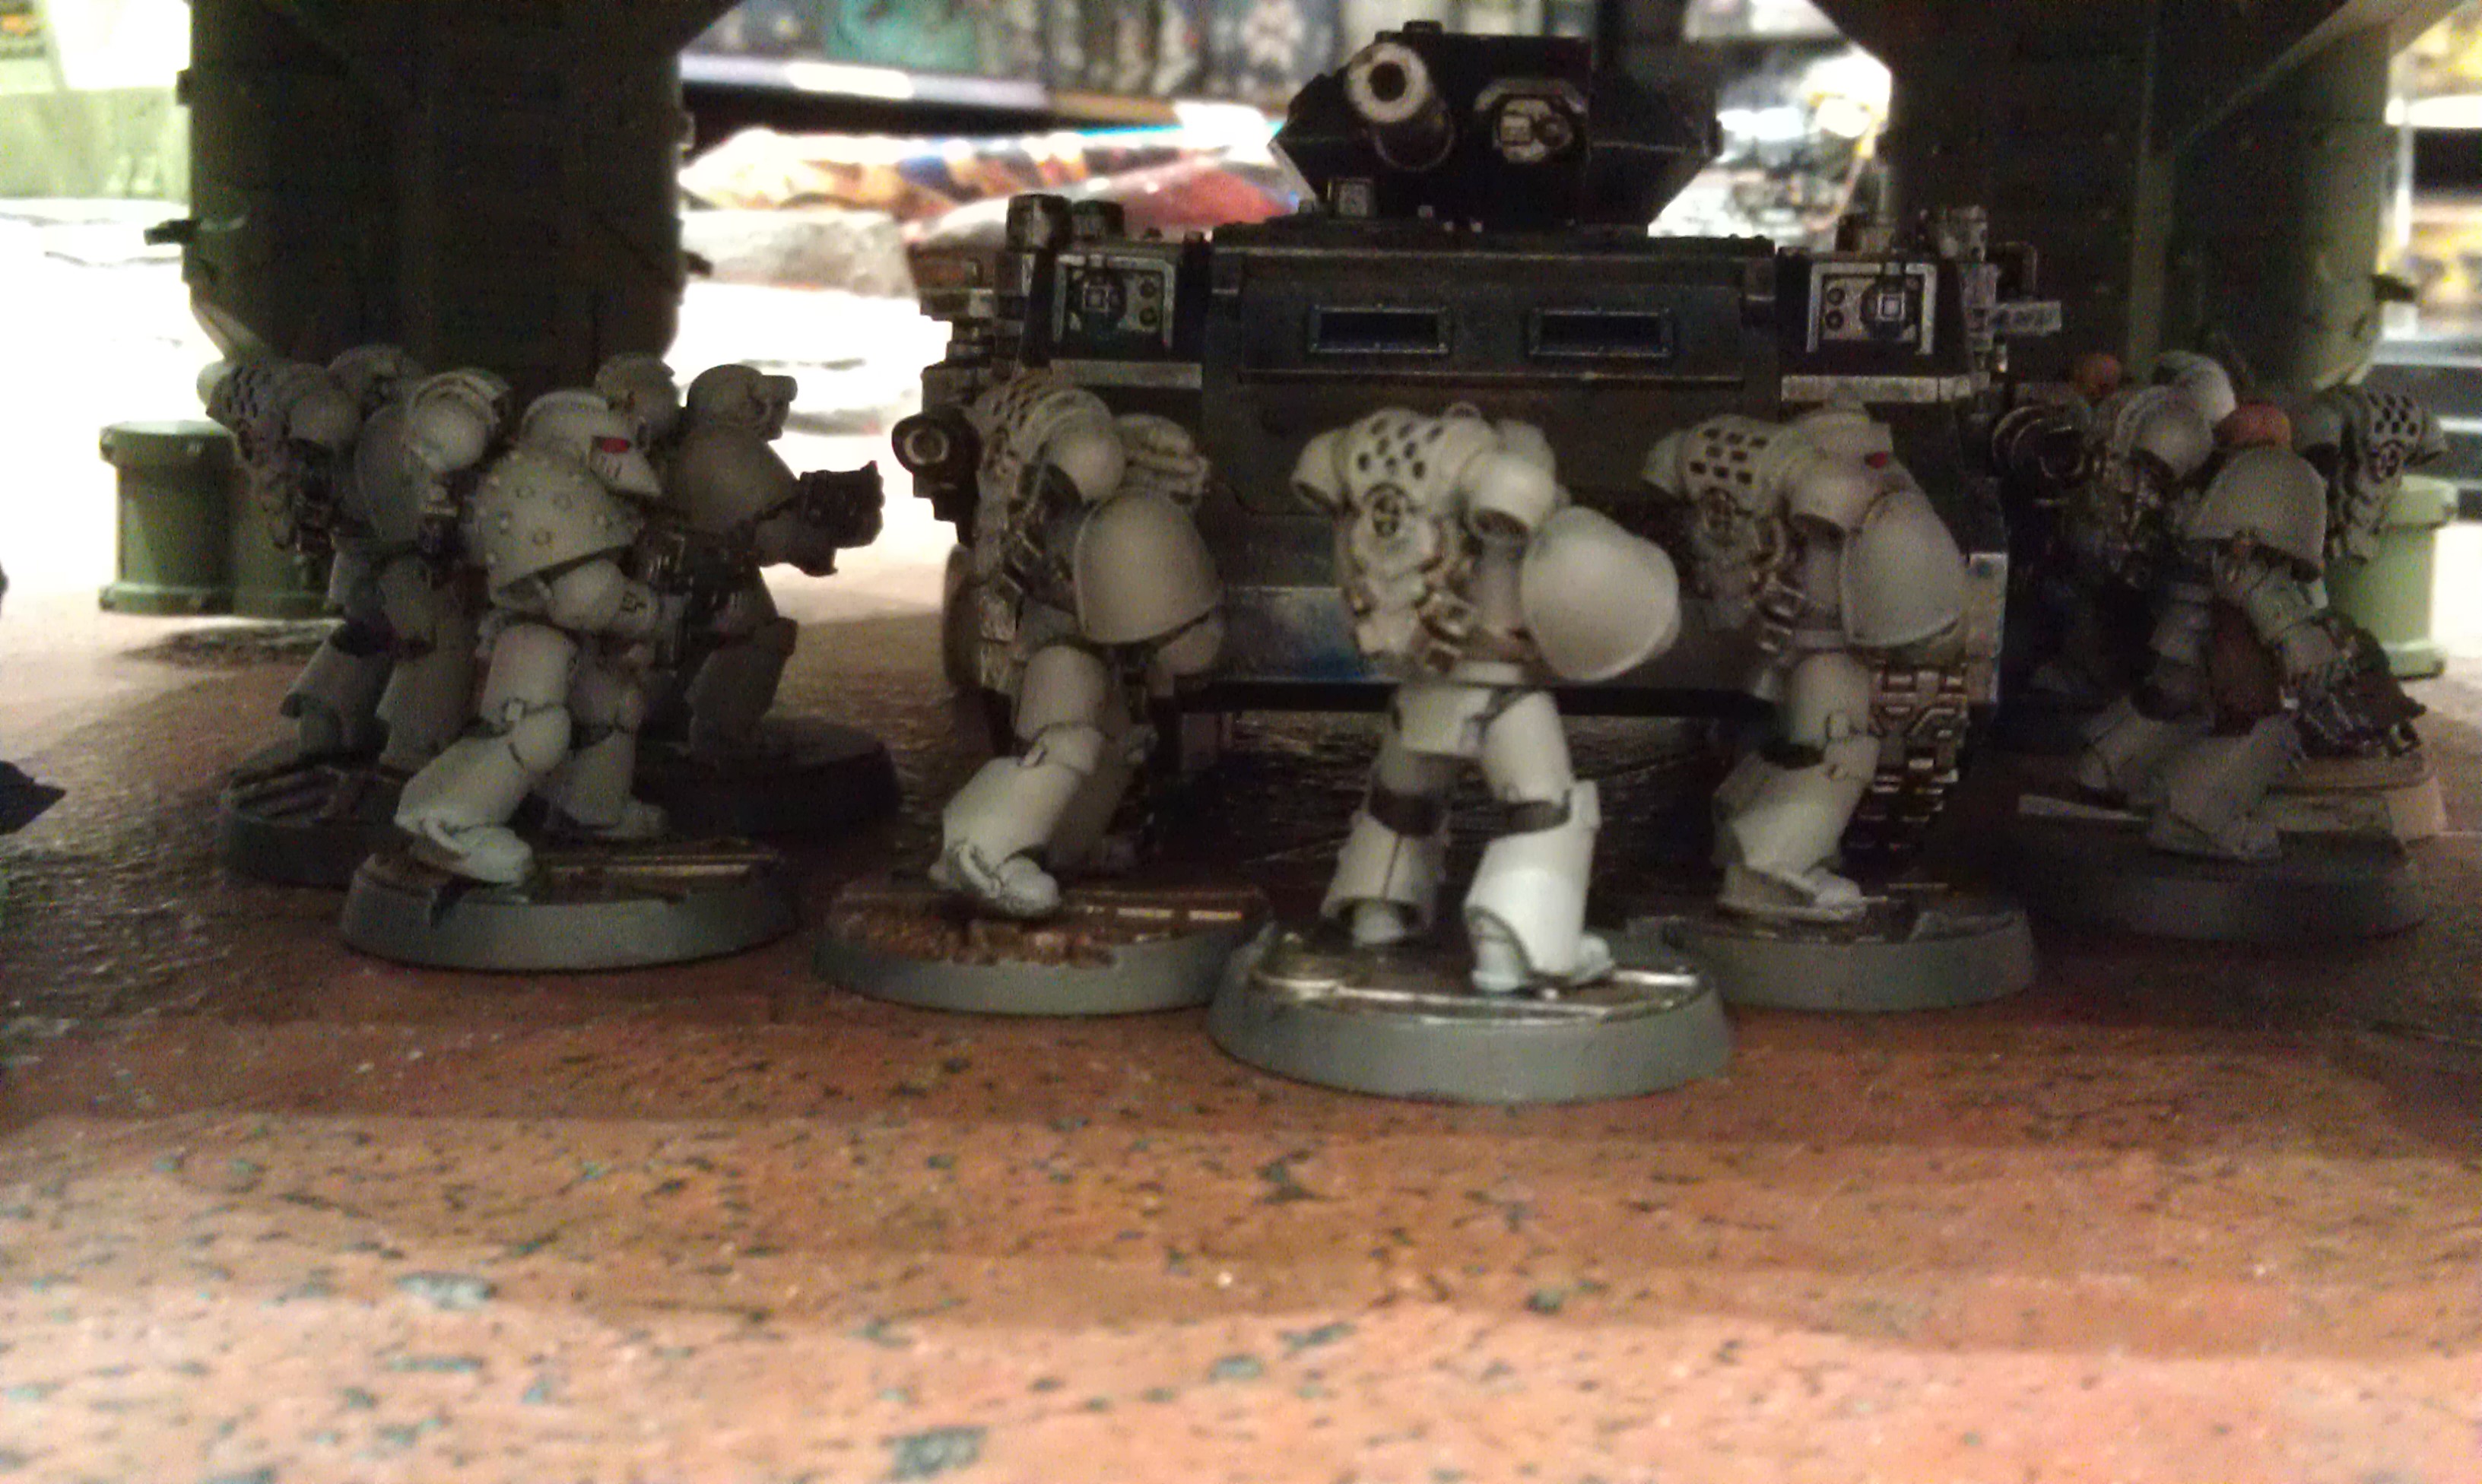
Dreadnought Talus engages the Sternguard and kills three from the combined fire of heavy flamer and multi-melta. Finally, Predator Ventris opens fire and kills one Tactical marine from the other captain’s escort of tactical marines.
Captain Dantith and Tactical squad Traitor’s Bane charge into the Scouts while Andrew’s Sternguard and Librarian get charged by Venerable Talus. The scouts are overrun and the Sternguard are wiped out, however, the Star Phantom Librarian stays and continues to fight. The Executioners take no wounds.
Turn 2
The Scion Prime manages to rally and moves towards Predator Triton. The last unit of Scouts in reserve arrive but David’s drop zone denial ability kicks in again and they land next to Captain Dantith. The Scouts disembark and move towards the Tactical squad that had emerged from a Rhino. The second unit of Scions, still in their Taurox, advance quickly towards Predator Triton.

The Star Phantom’s warlord, having found his target escape his wrath, turns around and spots Elias. He accepts his fate and advances towards the Venerable Dreadnought. Meanwhile the last Assault Marine jumps away to chase after the Rhino Dorn’s Will and its Tactical Marines. The Tactical squad that has a Captain with power fist advances towards Ventris.

A krak grenade is thrown at the front armour of Ventris to soften it up for the Captain’s powerfist. The Taurox still on the table engages Triton in its hiding place and blows a hullpoint off it, leaving it stunned. The Assault Marine lines up the Executioner marines and opens up with his flamer. Sadly the Assault Marine as well as the newly arrived Scouts and land speeder and fail to kill a single marine with all that fire.
The Assault Marine and the 5 Scouts charge into the fray against the Executioner Tactical squad. Despite all their attacks again not a single Executioner falls. The Executioners cut down one of the Scouts as well as the Assault Marine. The scouts are caught trying to flee so the fight continues.
Dreadnought Talus mercifully ends his duel with the Star Phantoms Librarian after hitting and wounding with all four attacks. The Star Phantoms Captain with powerfist charges into Ventris and a shakes the Predator.

The Star Phantoms warlord charges into the Chaplain Dreadnought and Elias’ overwatch kills all but three of the Tactical escort. The three survivors are smashed into oblivion by Elias’ fist, leaving the Captain to duel the Dreadnought on his own. The Captain fails to glance it with a krak grenade.
With two transports remaining the Executioners prepare for the next to depart. A flight path is inputted into the computer and gets the all clear to take off and the second transport takes off. One transport remains, still in the process of fueling.
Ventris attempts to back up away from the Captain with a power fist. Venerable Talus moves towards the Drop Pods to clear them away from the field. Captain Dantith and party move towards the second Land Speeder Storm. A Rhino drives through the walls of the building it was hiding in to try and line up some side armour shots with its storm bolter on the last surviving Taurox. The Stormhawk Interceptor, still flying air convey protection runs, doesn’t arrive to the table must have left to escort the second storm raven.
The Rhino aims and gets a lucky hit, successfully glancing the Taurox. The Predator Ventris decides to fire instead of drive further and snap fires all its shots. The crew manage to wound the power fist captain with its autocannon, which infuriates the captain more. Dantith and his escort open up with bolt pistols and krak grenades and much like the previous Land Speeder Storm, break it open and wreck it. No other shooting occurs as everyone else is unable too or is in combat.
Dreadnought Talus charges the first Drop Pod and effortlessly tears it apart causing it to explode. Dorn’s Will pummel the last of the Scouts to death with their bolters without loss. Elias catches the Star Phantoms warlord and kills him after Andrew fails one save.
Turn 3
Seeing how two of the transports have escaped and the Star Phantoms turn their attention on the final transport to start shooting at it. The Scions hop out of the Taurox and move in closer to Triton with their meltas. The captain with a power fist advances closer to Predator Ventis.
The Scions engage the Predator with their meltas and effortlessly get revenge for all the trouble it has given them. The Predator explodes violently but the Scrions manage to duck out of the blast range.

Their Taurox opens up on the last transport and manage to hit and glance it twice but the skyshields invulnerable save protects the transport. Finally, all the surviving Drop Pods target Tactical squad Dorn’s Will and using their deathwind launchers kill half the squad.
The captain with a powerfist charges once more into the last Predator on the field and tears it open with ease. This is the only combat of the turn.
The transport checks all its systems but does not have enough fuel to depart the atmosphere. The Star Phantoms will have another chance to destroy the transport. The Stormhawk Interceptor finally arrives and lines up to engage the captain and the last members of his tactical squad. Talus moves towards the next Drop Pod. Elias supports Talus and moves towards the third Drop Pod. The five remaining Executioners move into range to open fire on the last of the Star Phantoms.
Both of the Tactical squads open fire on the last of the Star Phantoms but only manage to pick off a couple of them. The Stormhawk Interceptor engages and kills all but the Star Phantoms Captain and one Tactical Marine. Talus open fires on the Drop Pod in front of it but only manages to knock off its weapon.
Talus and Elias charge into close combat with their chosen Drop Pod targets. Both Drop Pods explode.
Turn 4
Andrew takes his final Star Phantoms and tucks them in close to the wrecked Predator preventing anyone from shooting at them and bunkering down to survive the game. The Scions move away from Elias and hop into the building. Their taurox remains where it is.
The Taurox opens fire on the final transport still on its landing pad and this time successfully penetrates the armour. David fails to save it but only shakes the transport and slow down the launch.
Elias moves in closer to the Scions to get ready to BBQ them with his weapons when David remembers to roll for the last transport. David rolls successfully and escapes the table.The game ends after that with all three transports escaping for an Executioners victory.
Conclusion
Things went from bad to worse really quick for the Star Phantoms. The Executioners were well prepared for their arrival and were able to execute their plan flawlessly. With a lot of dice luck it is possible for the Secessionist player to win this game in three turns and David almost pulled it off in three.
This game concludes phase three and it was dominated by the Secessionists. Winning phase three grants the Secessionists an extra strategem point for the phase four Zone Mortalis games. We’ll see if the Loyalists have any push back for phase four.
Thanks David for writing the batrep. Thanks for reading.


Nice report, cheers to all for putting it together. There was perhaps too much text at the start, gets a bit wordy. Fun though.
LikeLiked by 1 person
By: Rory on April 4, 2017
at 9:31 am
It is. I was unsure what to remove and in the end stayed with the length. It’s a bit more complicated special scenario in Imperial Armour so I figured I’d include it all for those who may want to try this out for themselves.
LikeLike
By: Turkadactyl on April 4, 2017
at 10:07 am