This Badab War match was supposed to happen during Phase I. Jerrod and Will’s schedules were not aligning to well prior to Christmas. Story wise I envisioned the Salamanders and Lamenters meeting up prior to the Minotaurs arrival. With six participants I’m strapped for match-ups so better late than never. This was a mission I designed myself. I was a wee bit overboard with special rules at first. What can I say, seventh edition is all about special rules so why not complicate the game further. Well, game time happened and it’s a mission I designed so I can change what I want.

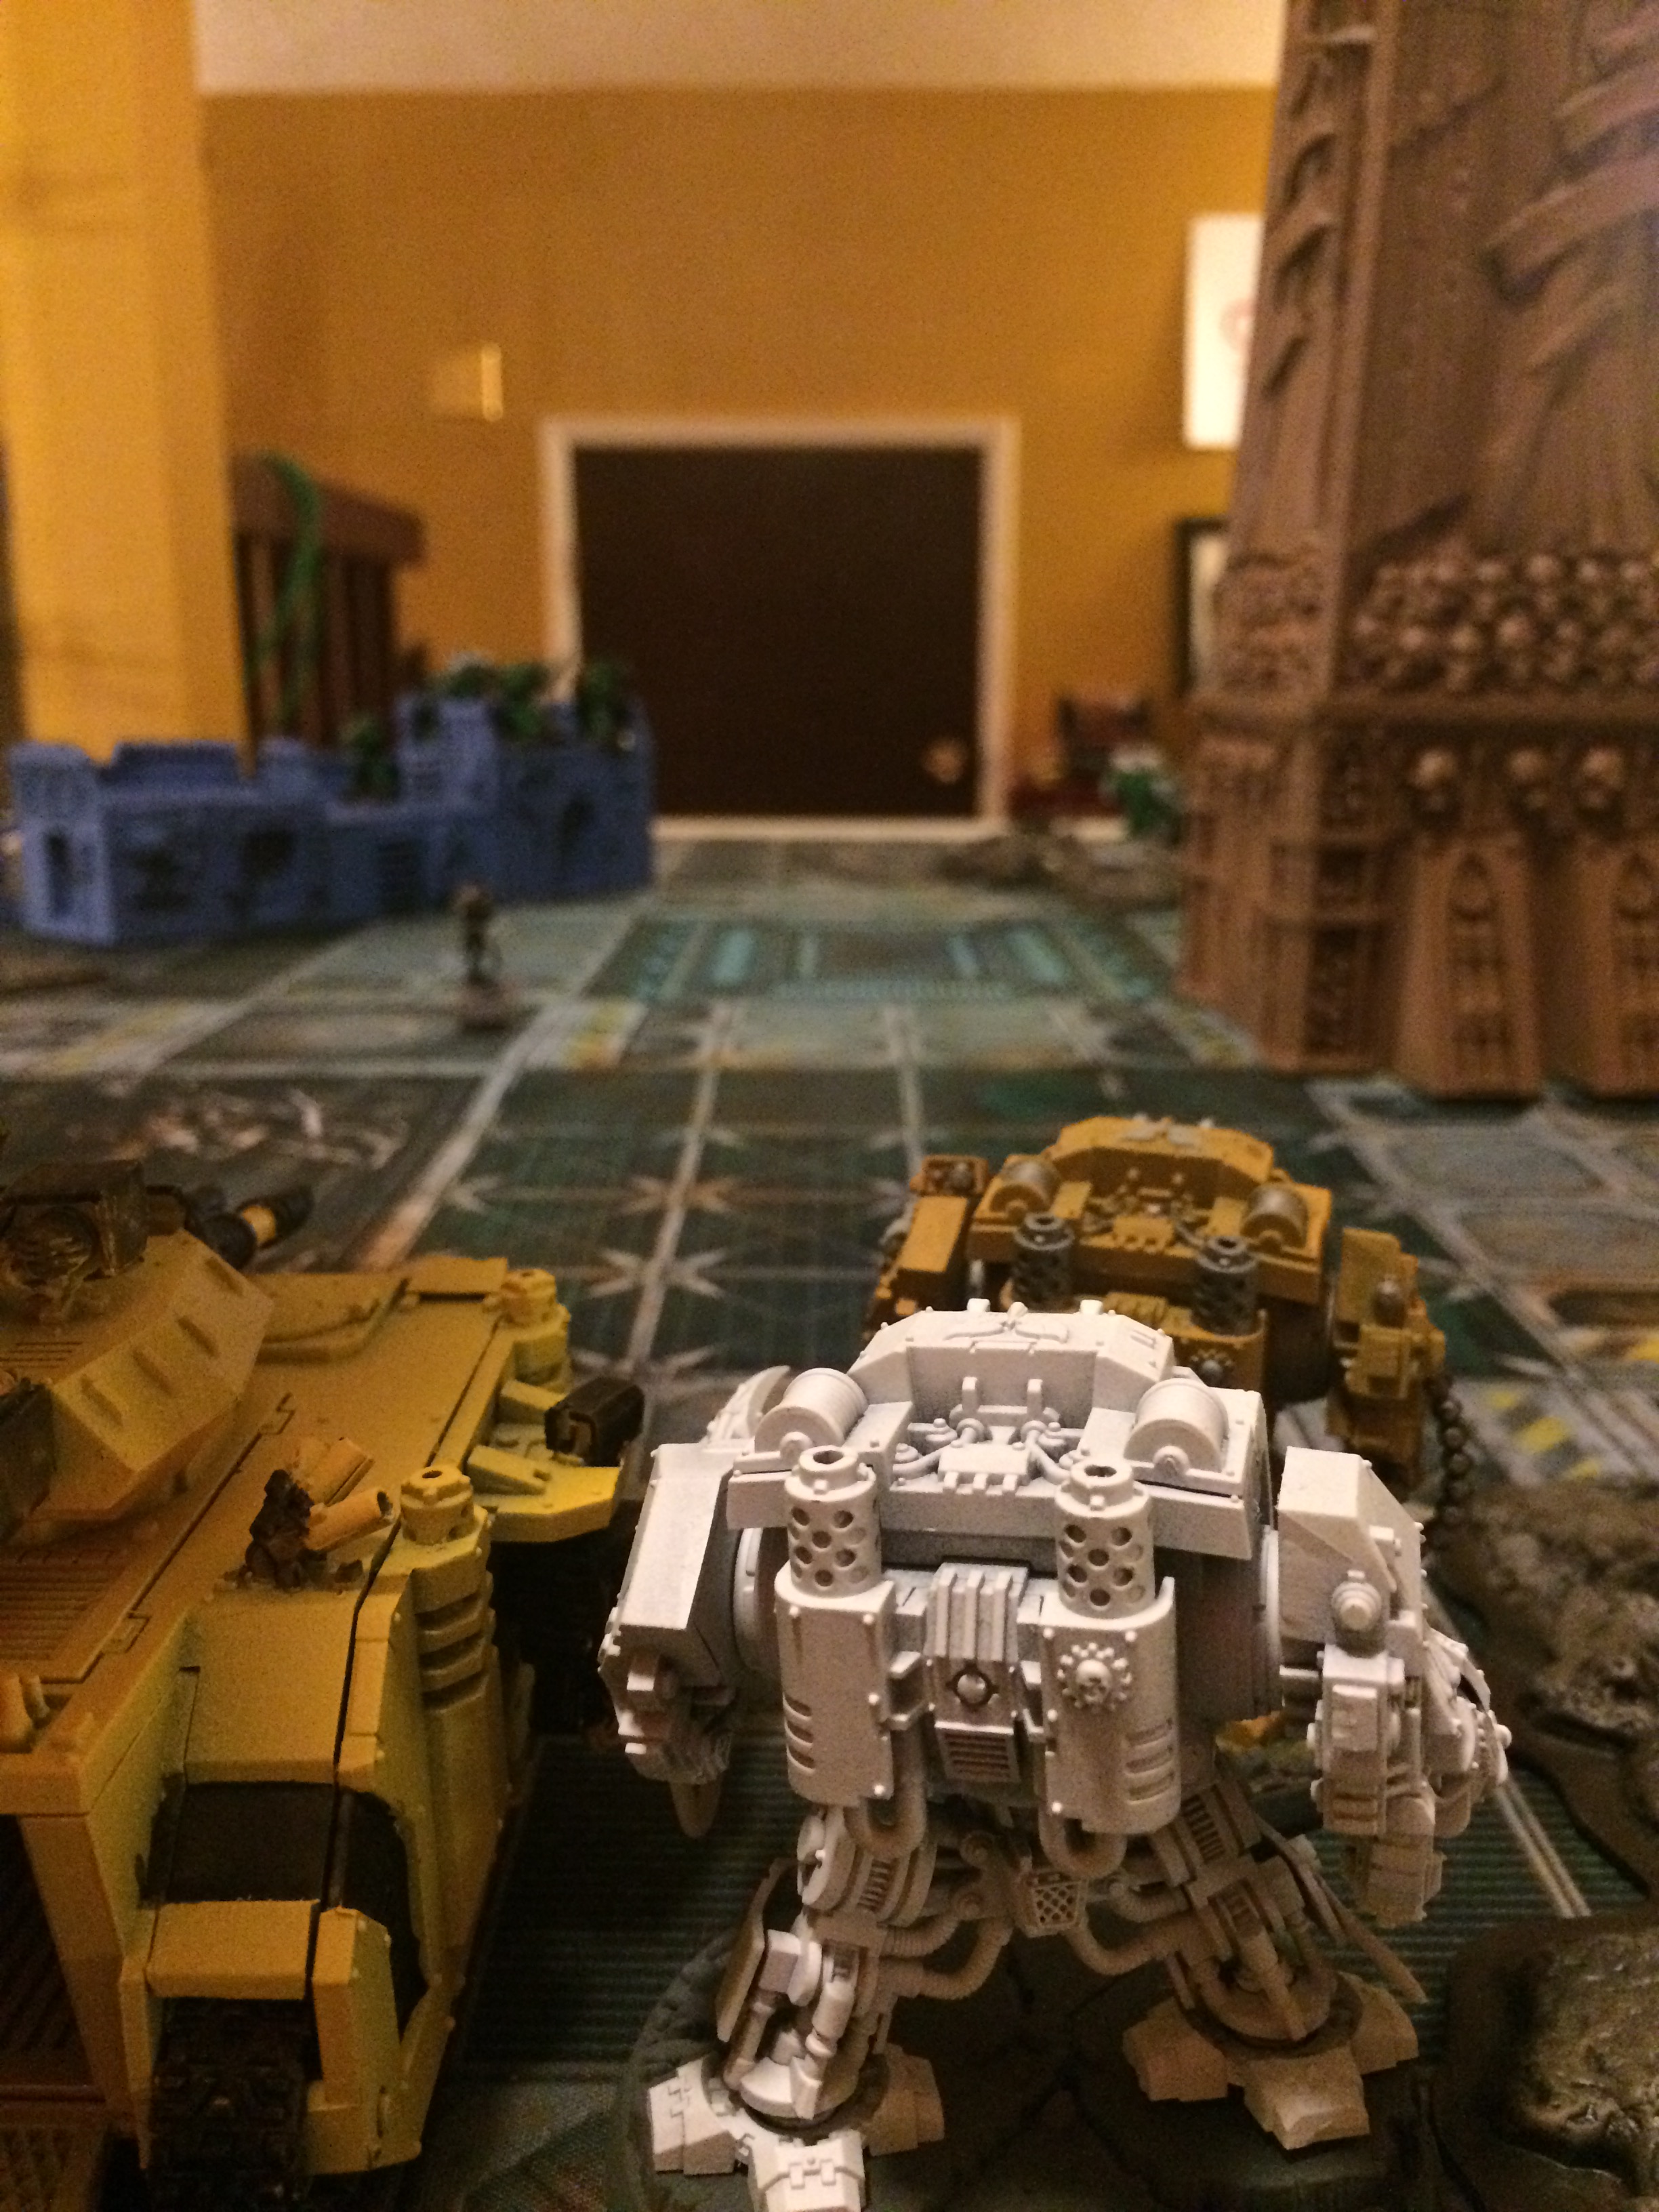
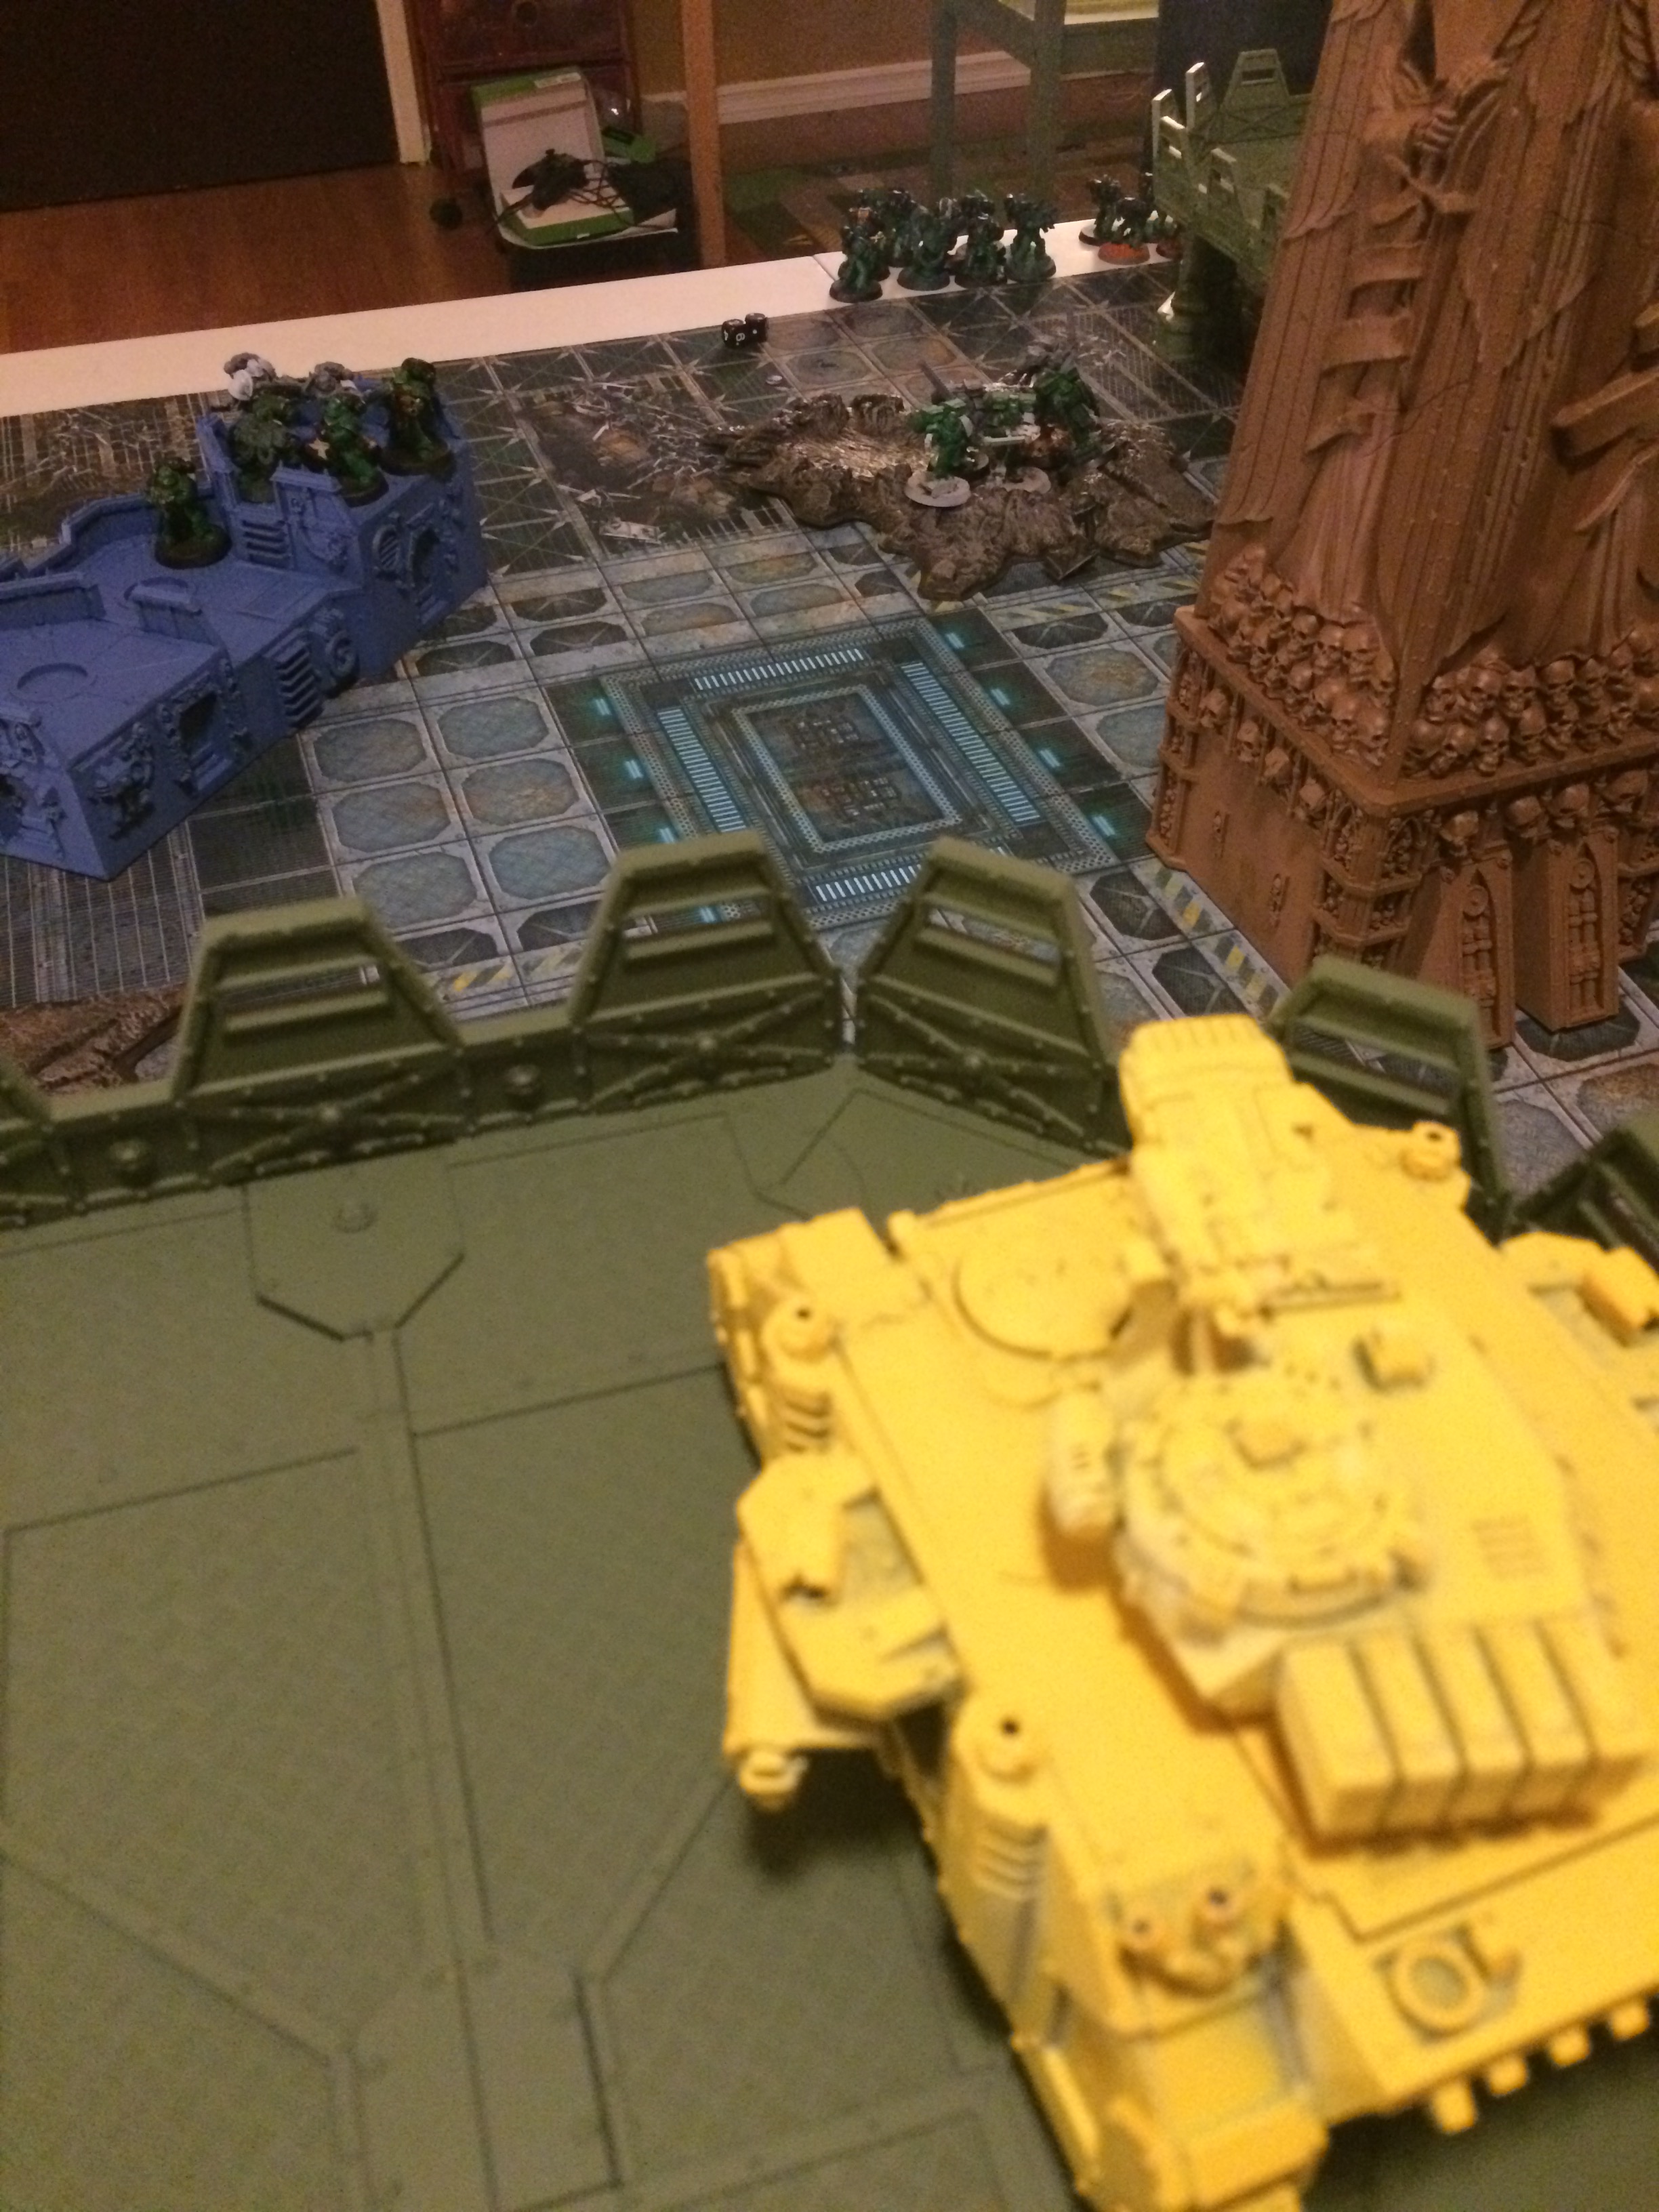
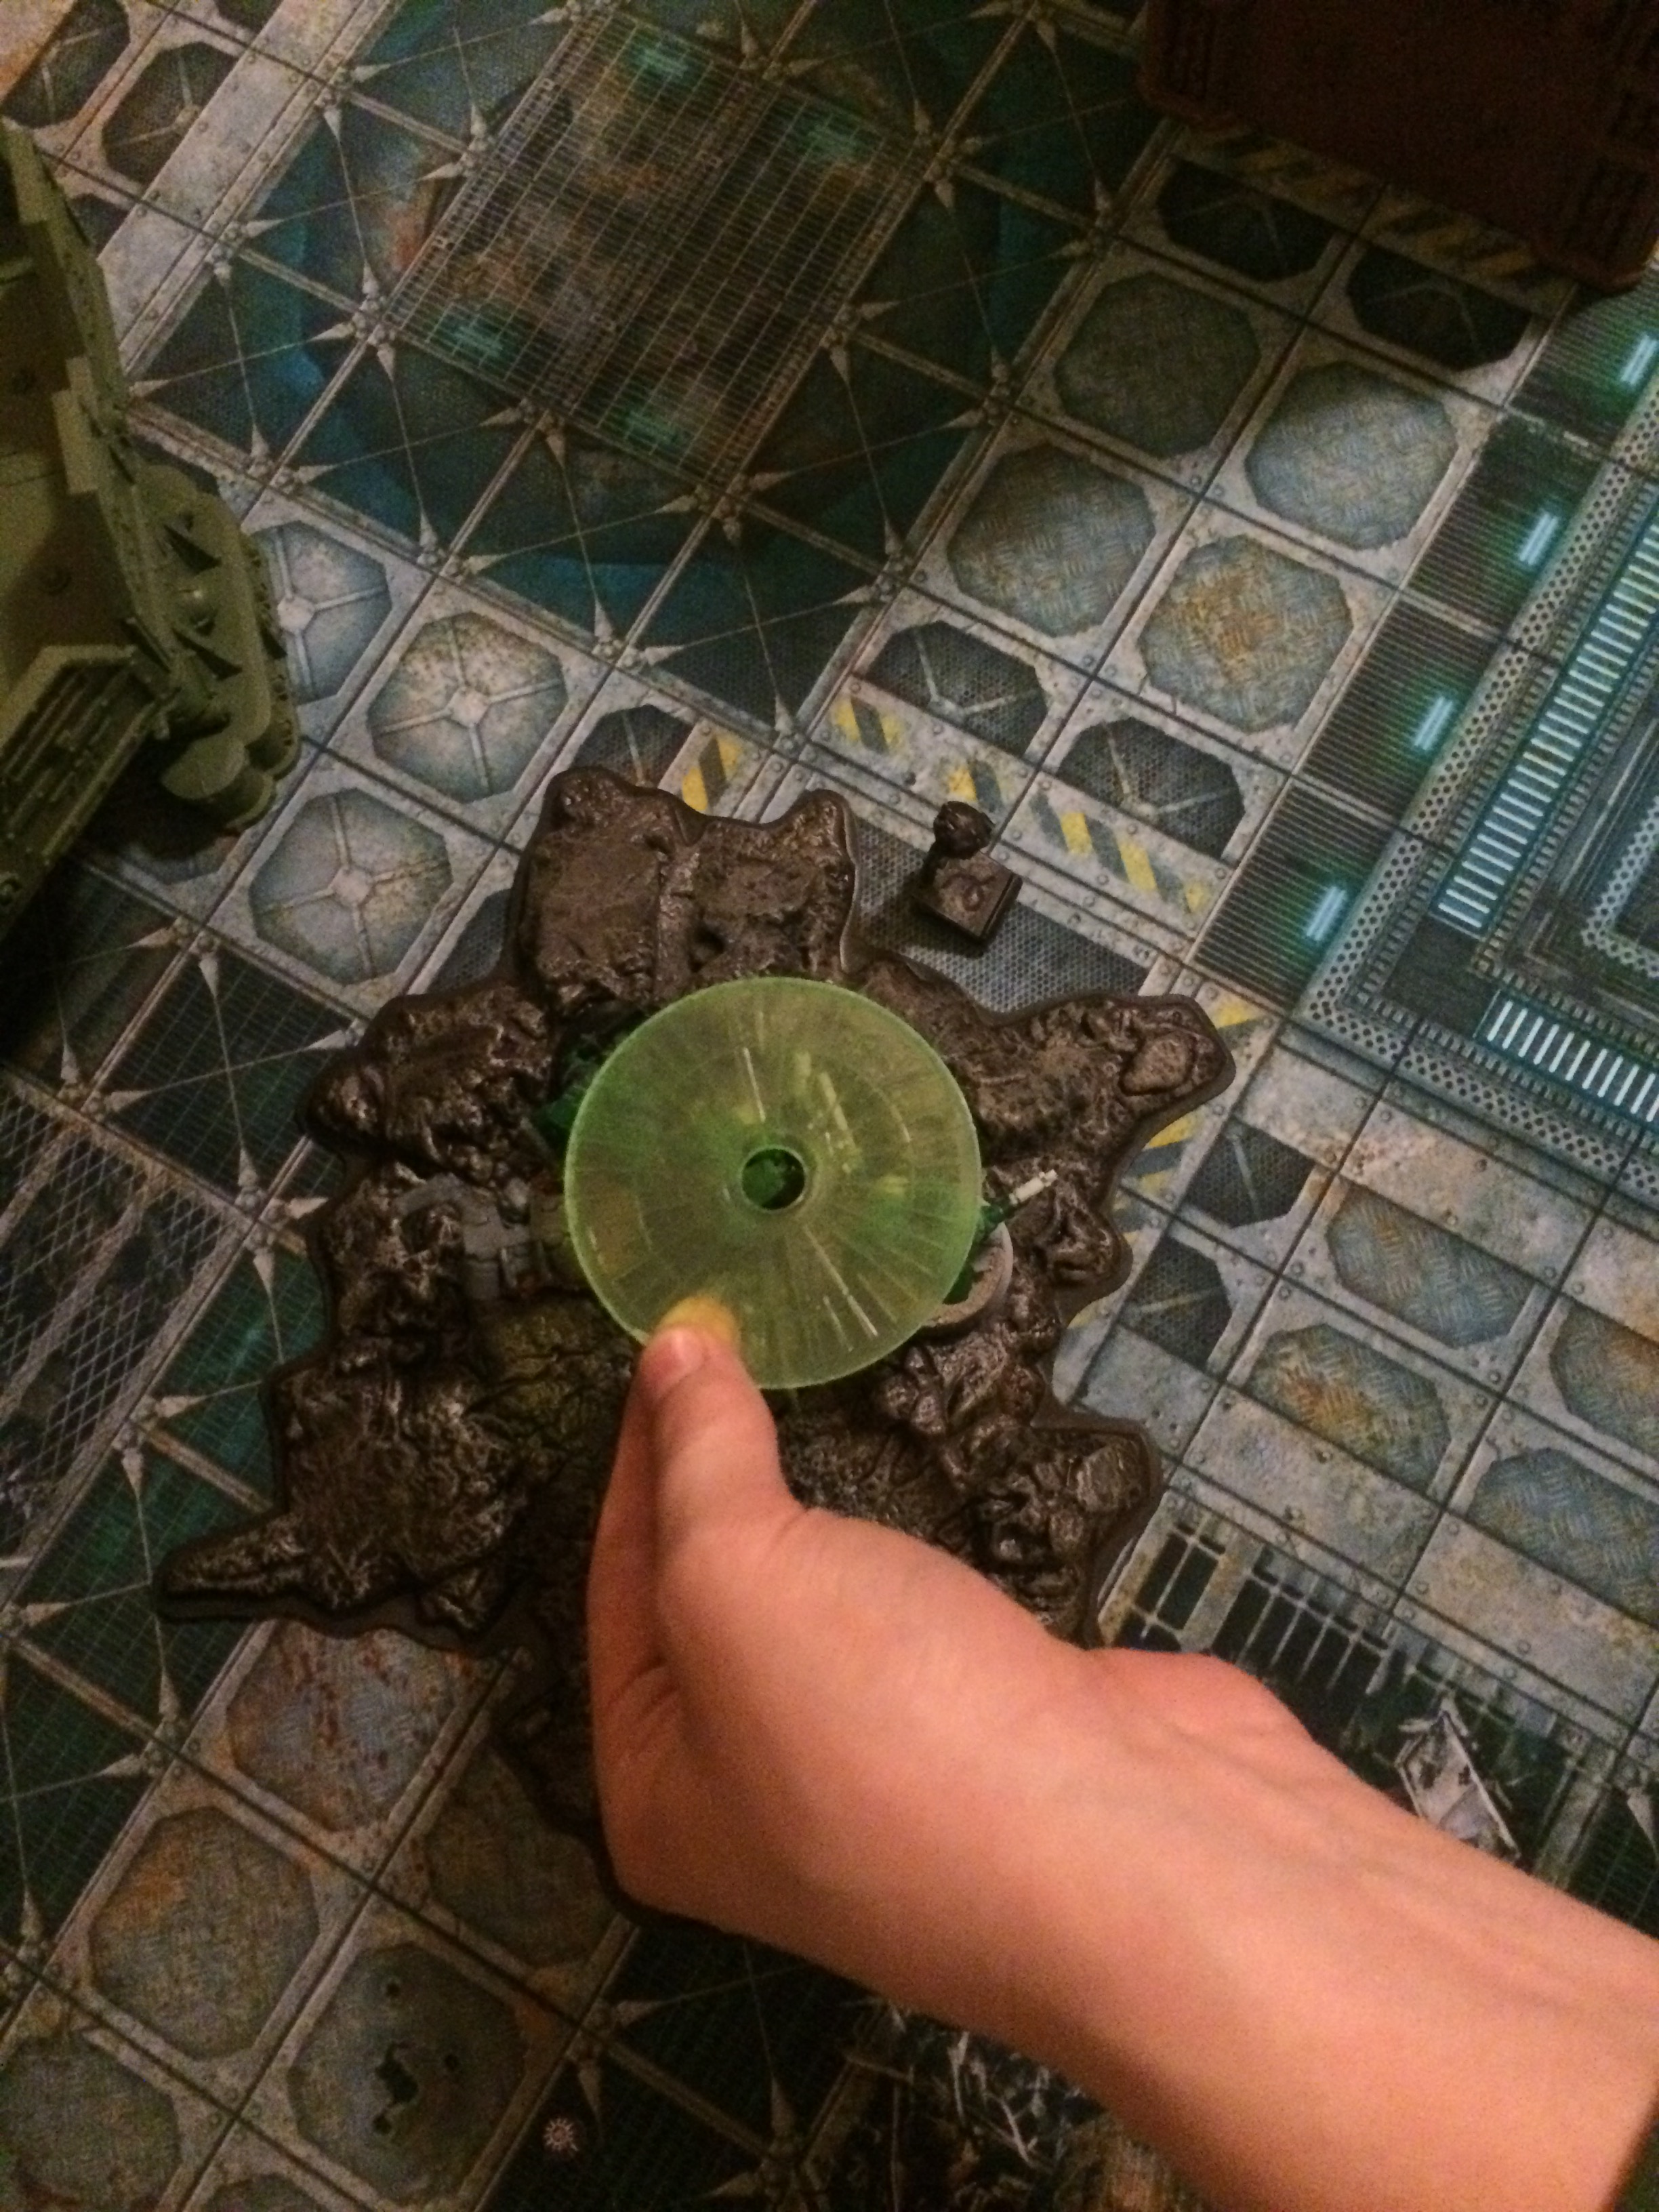
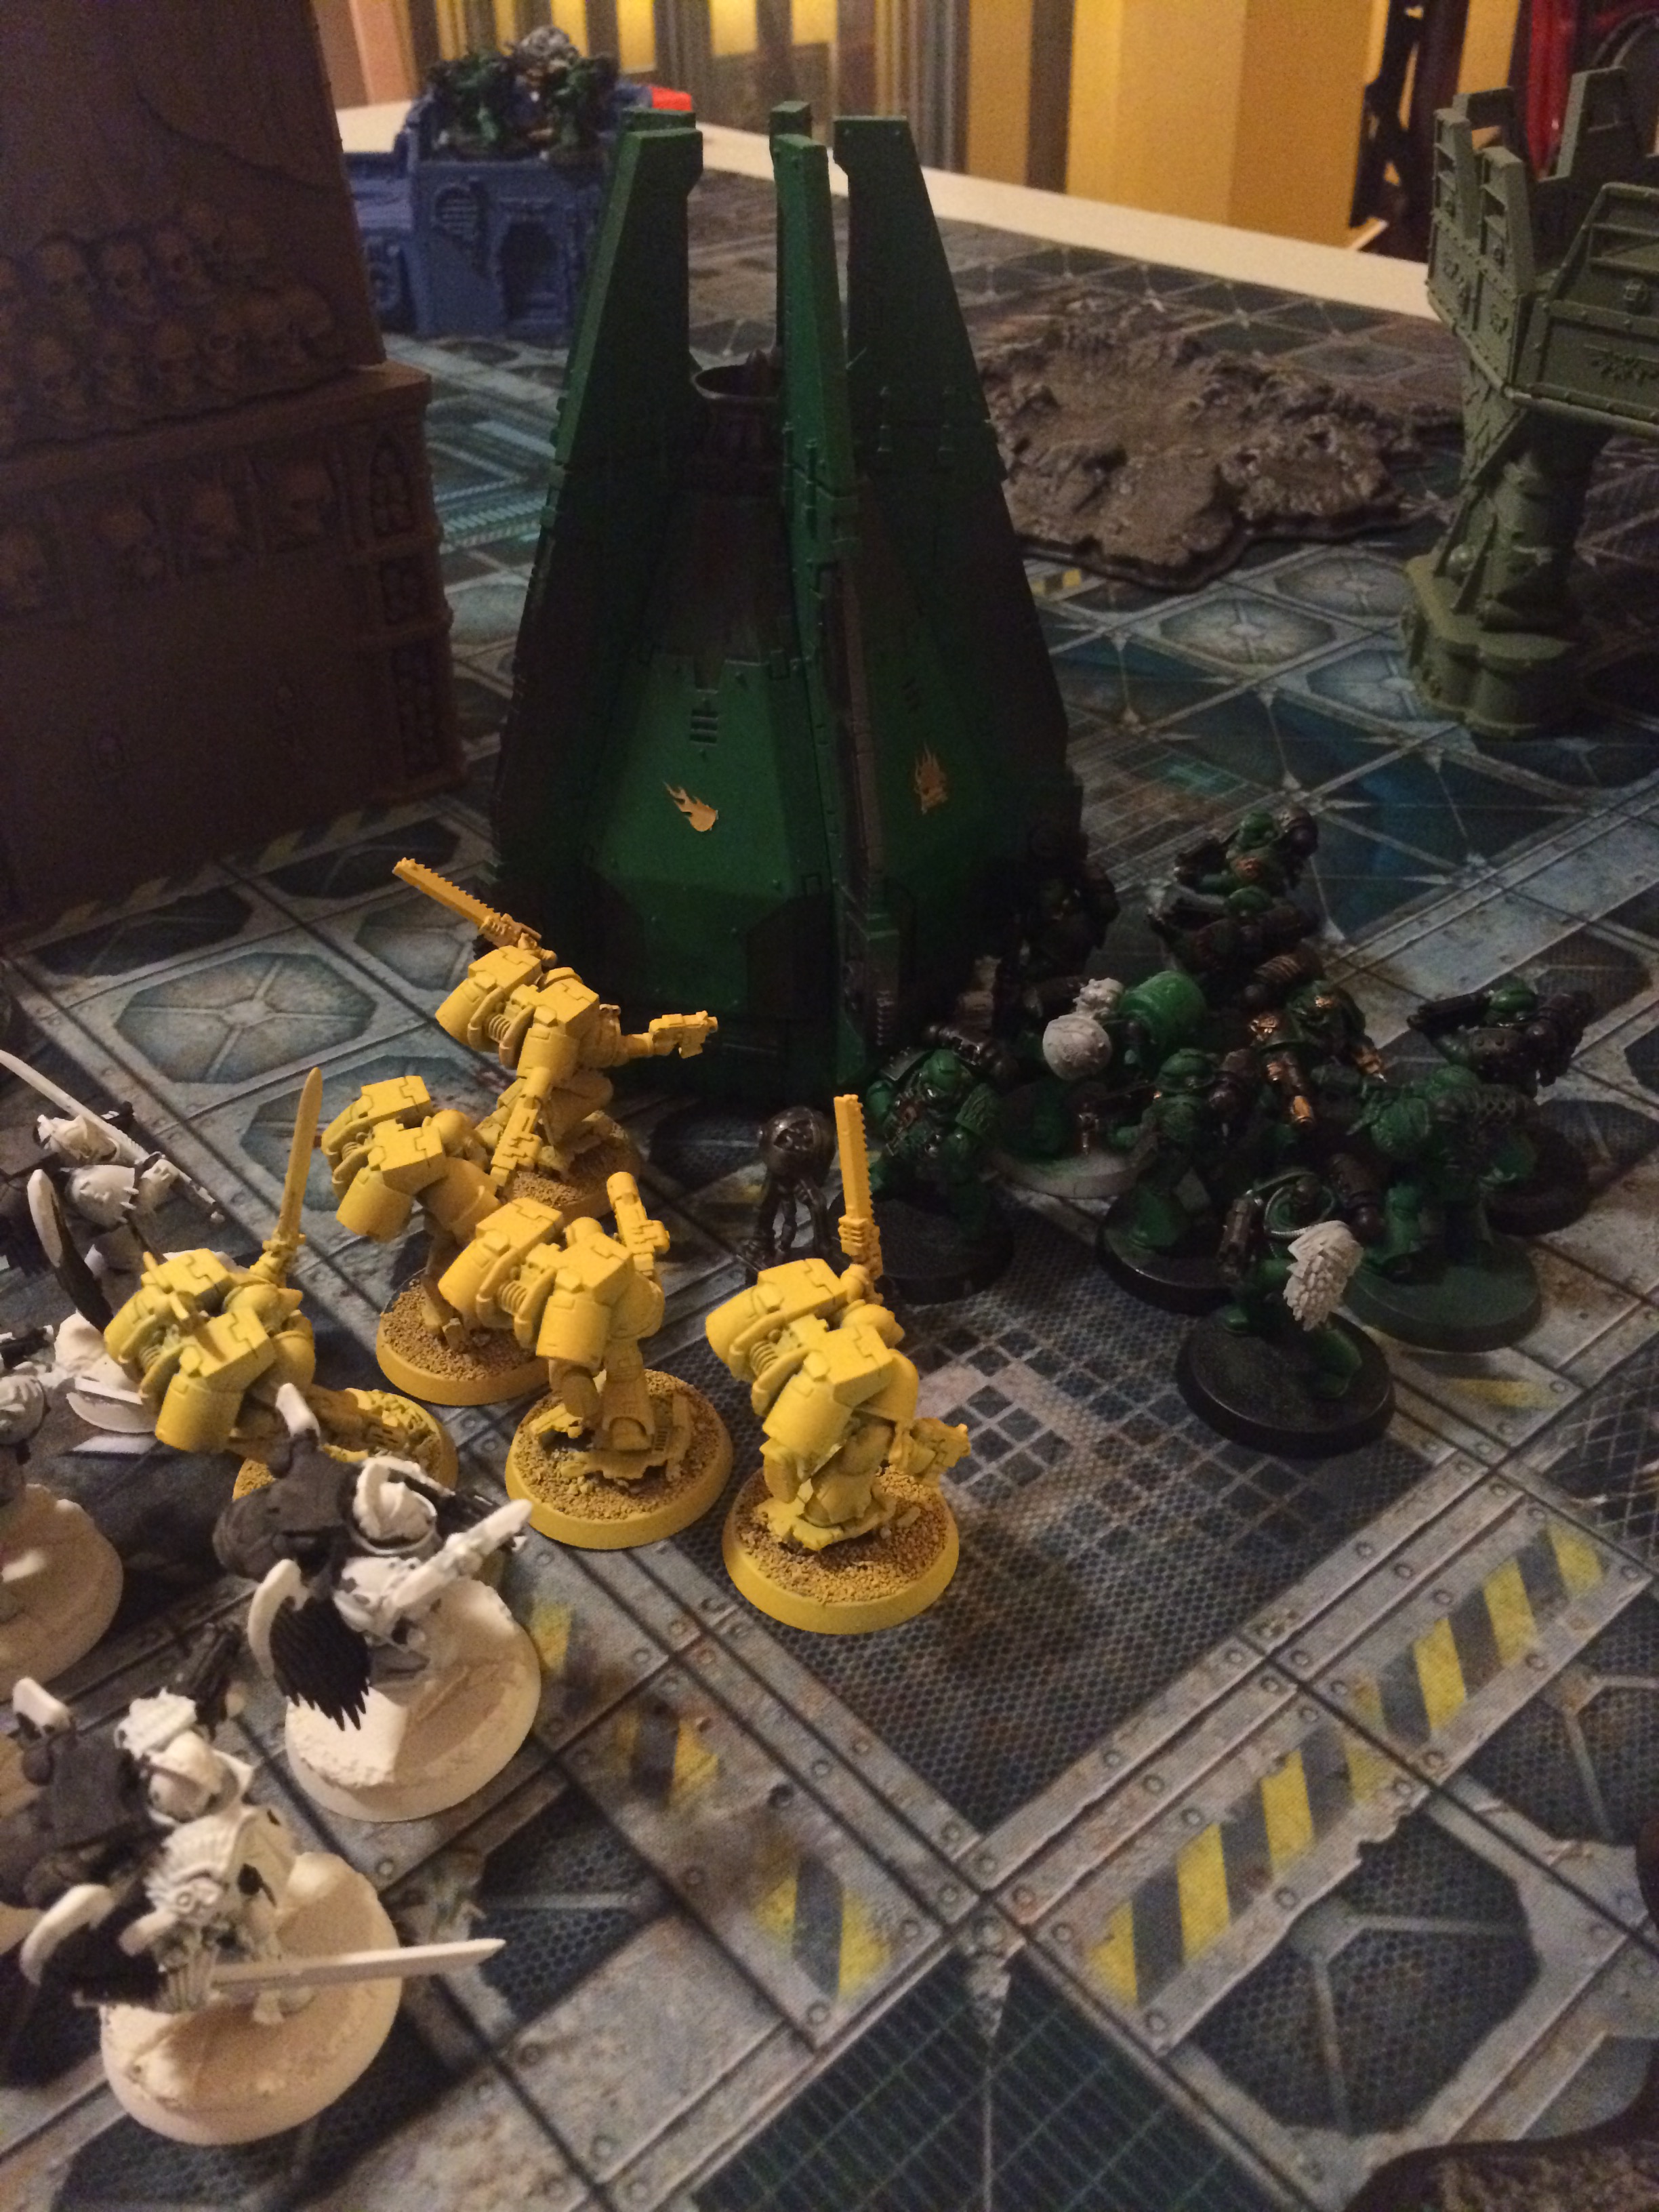
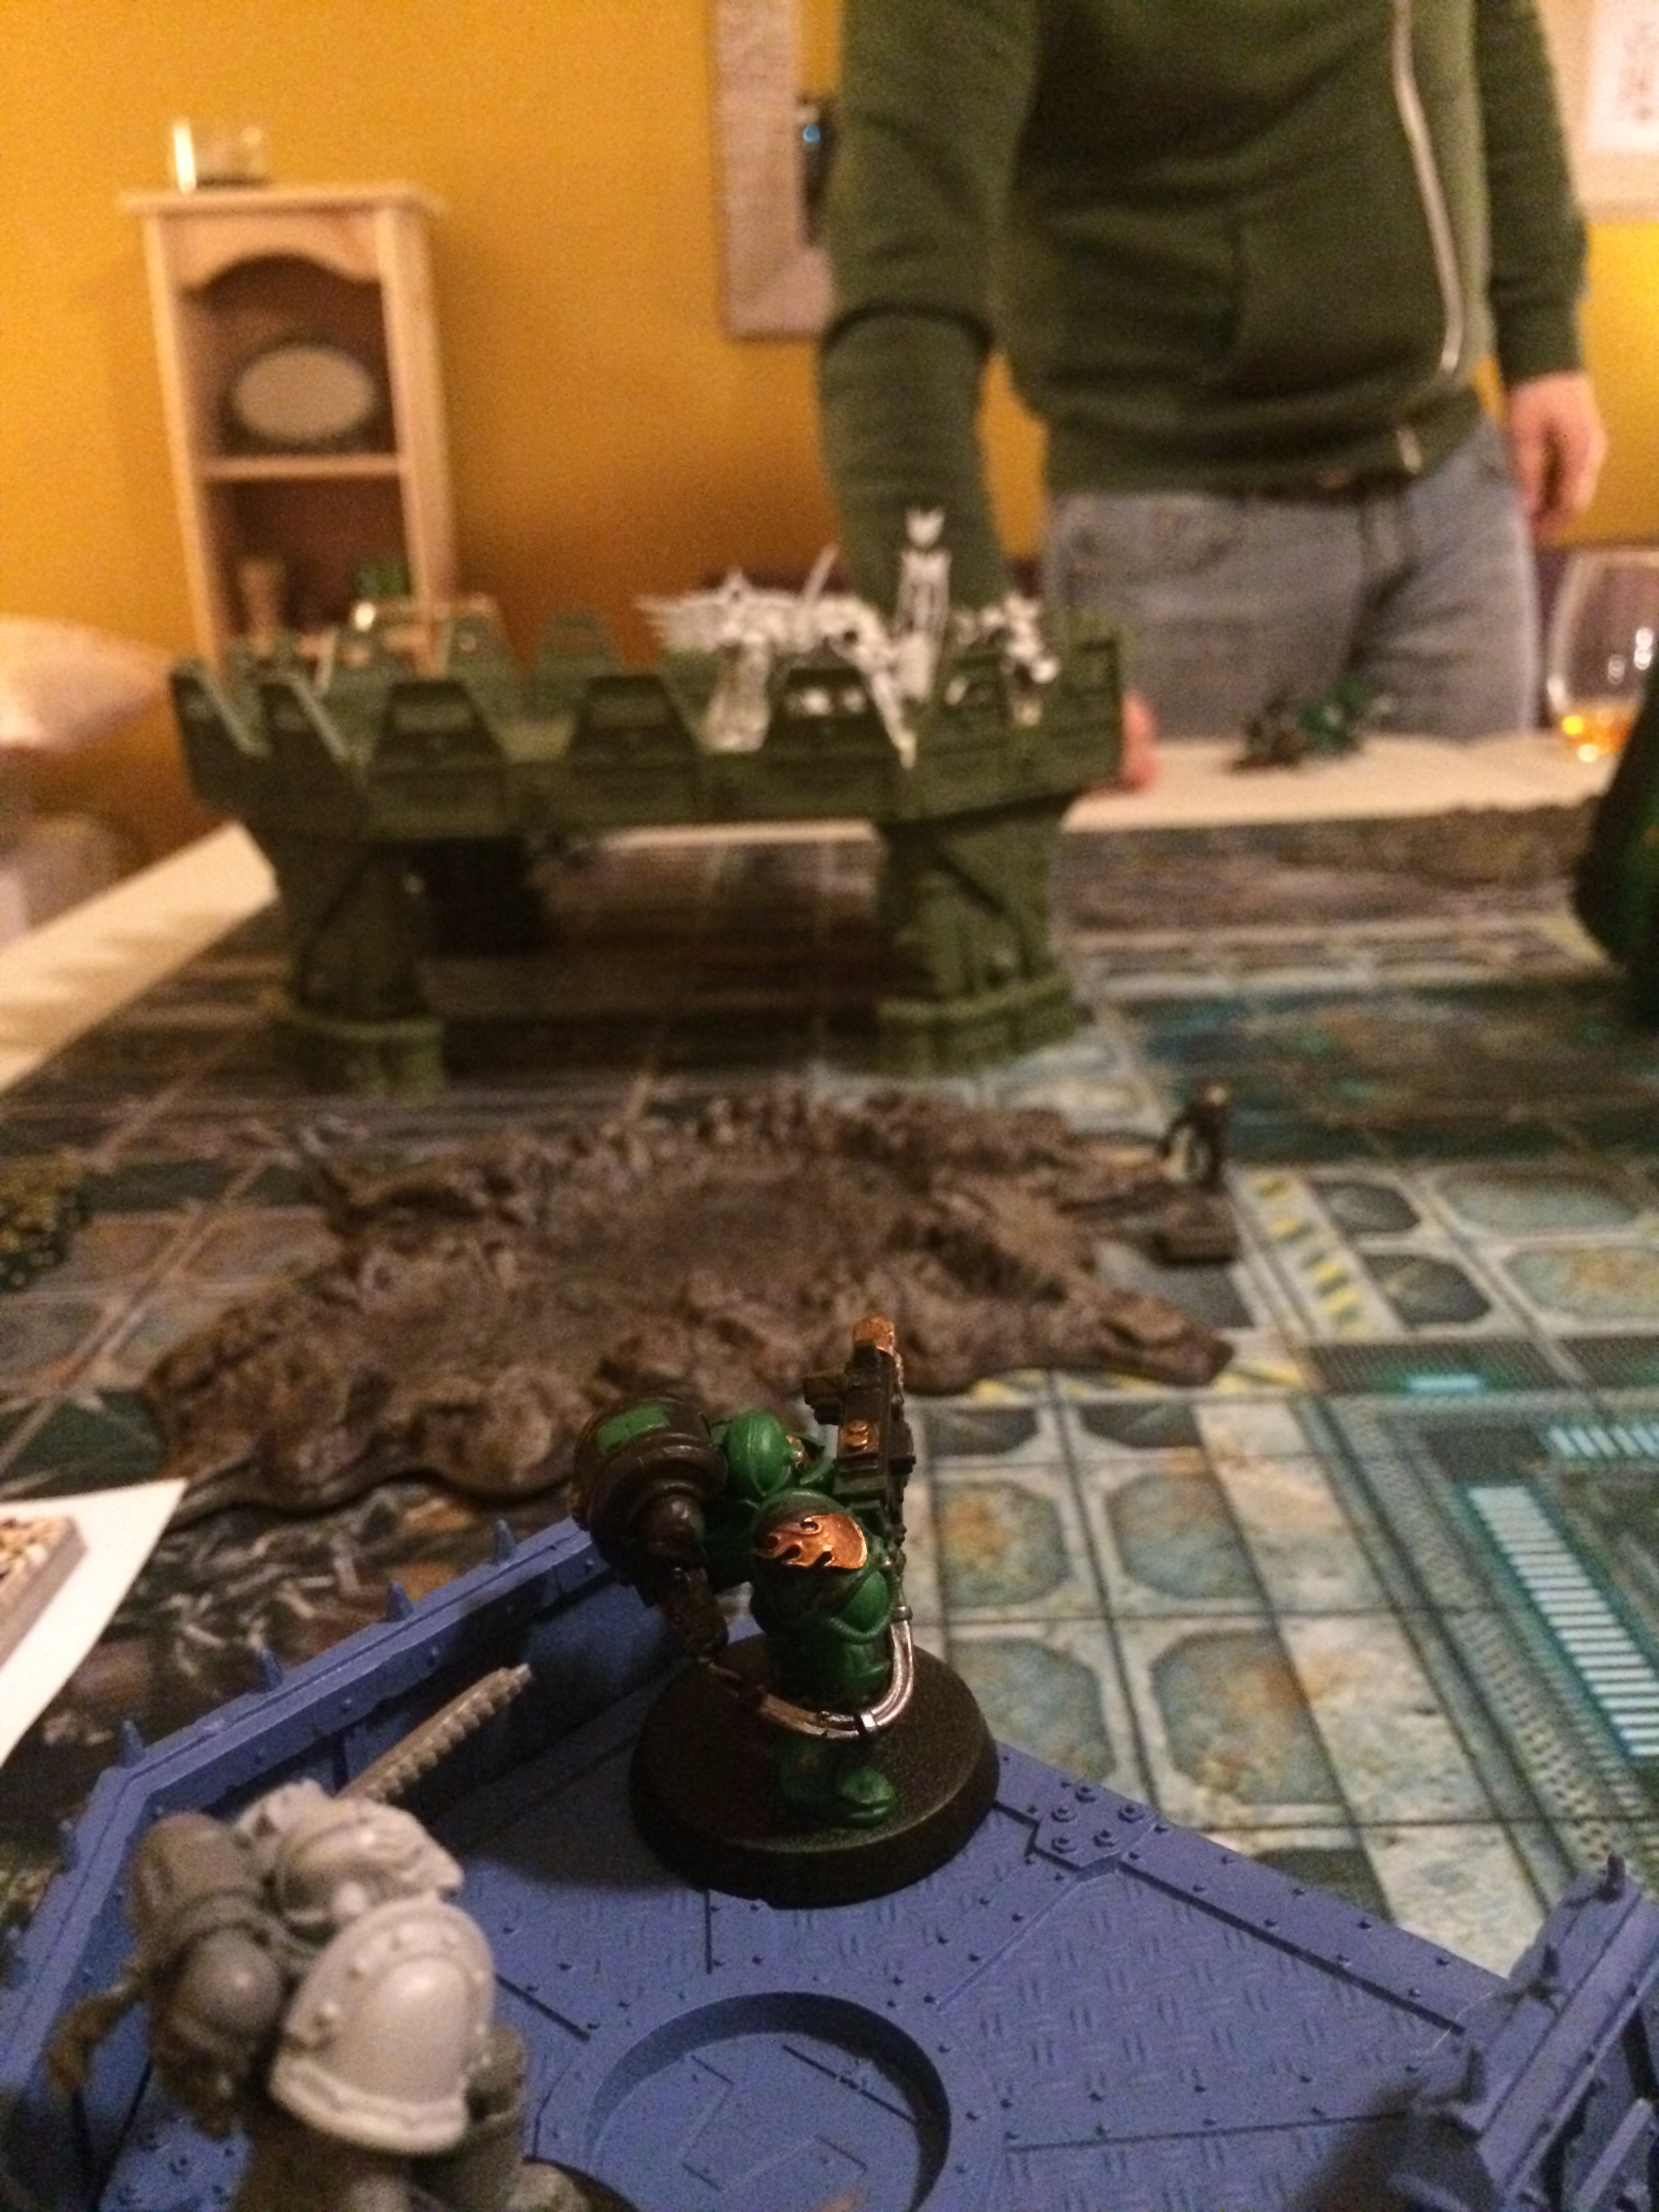
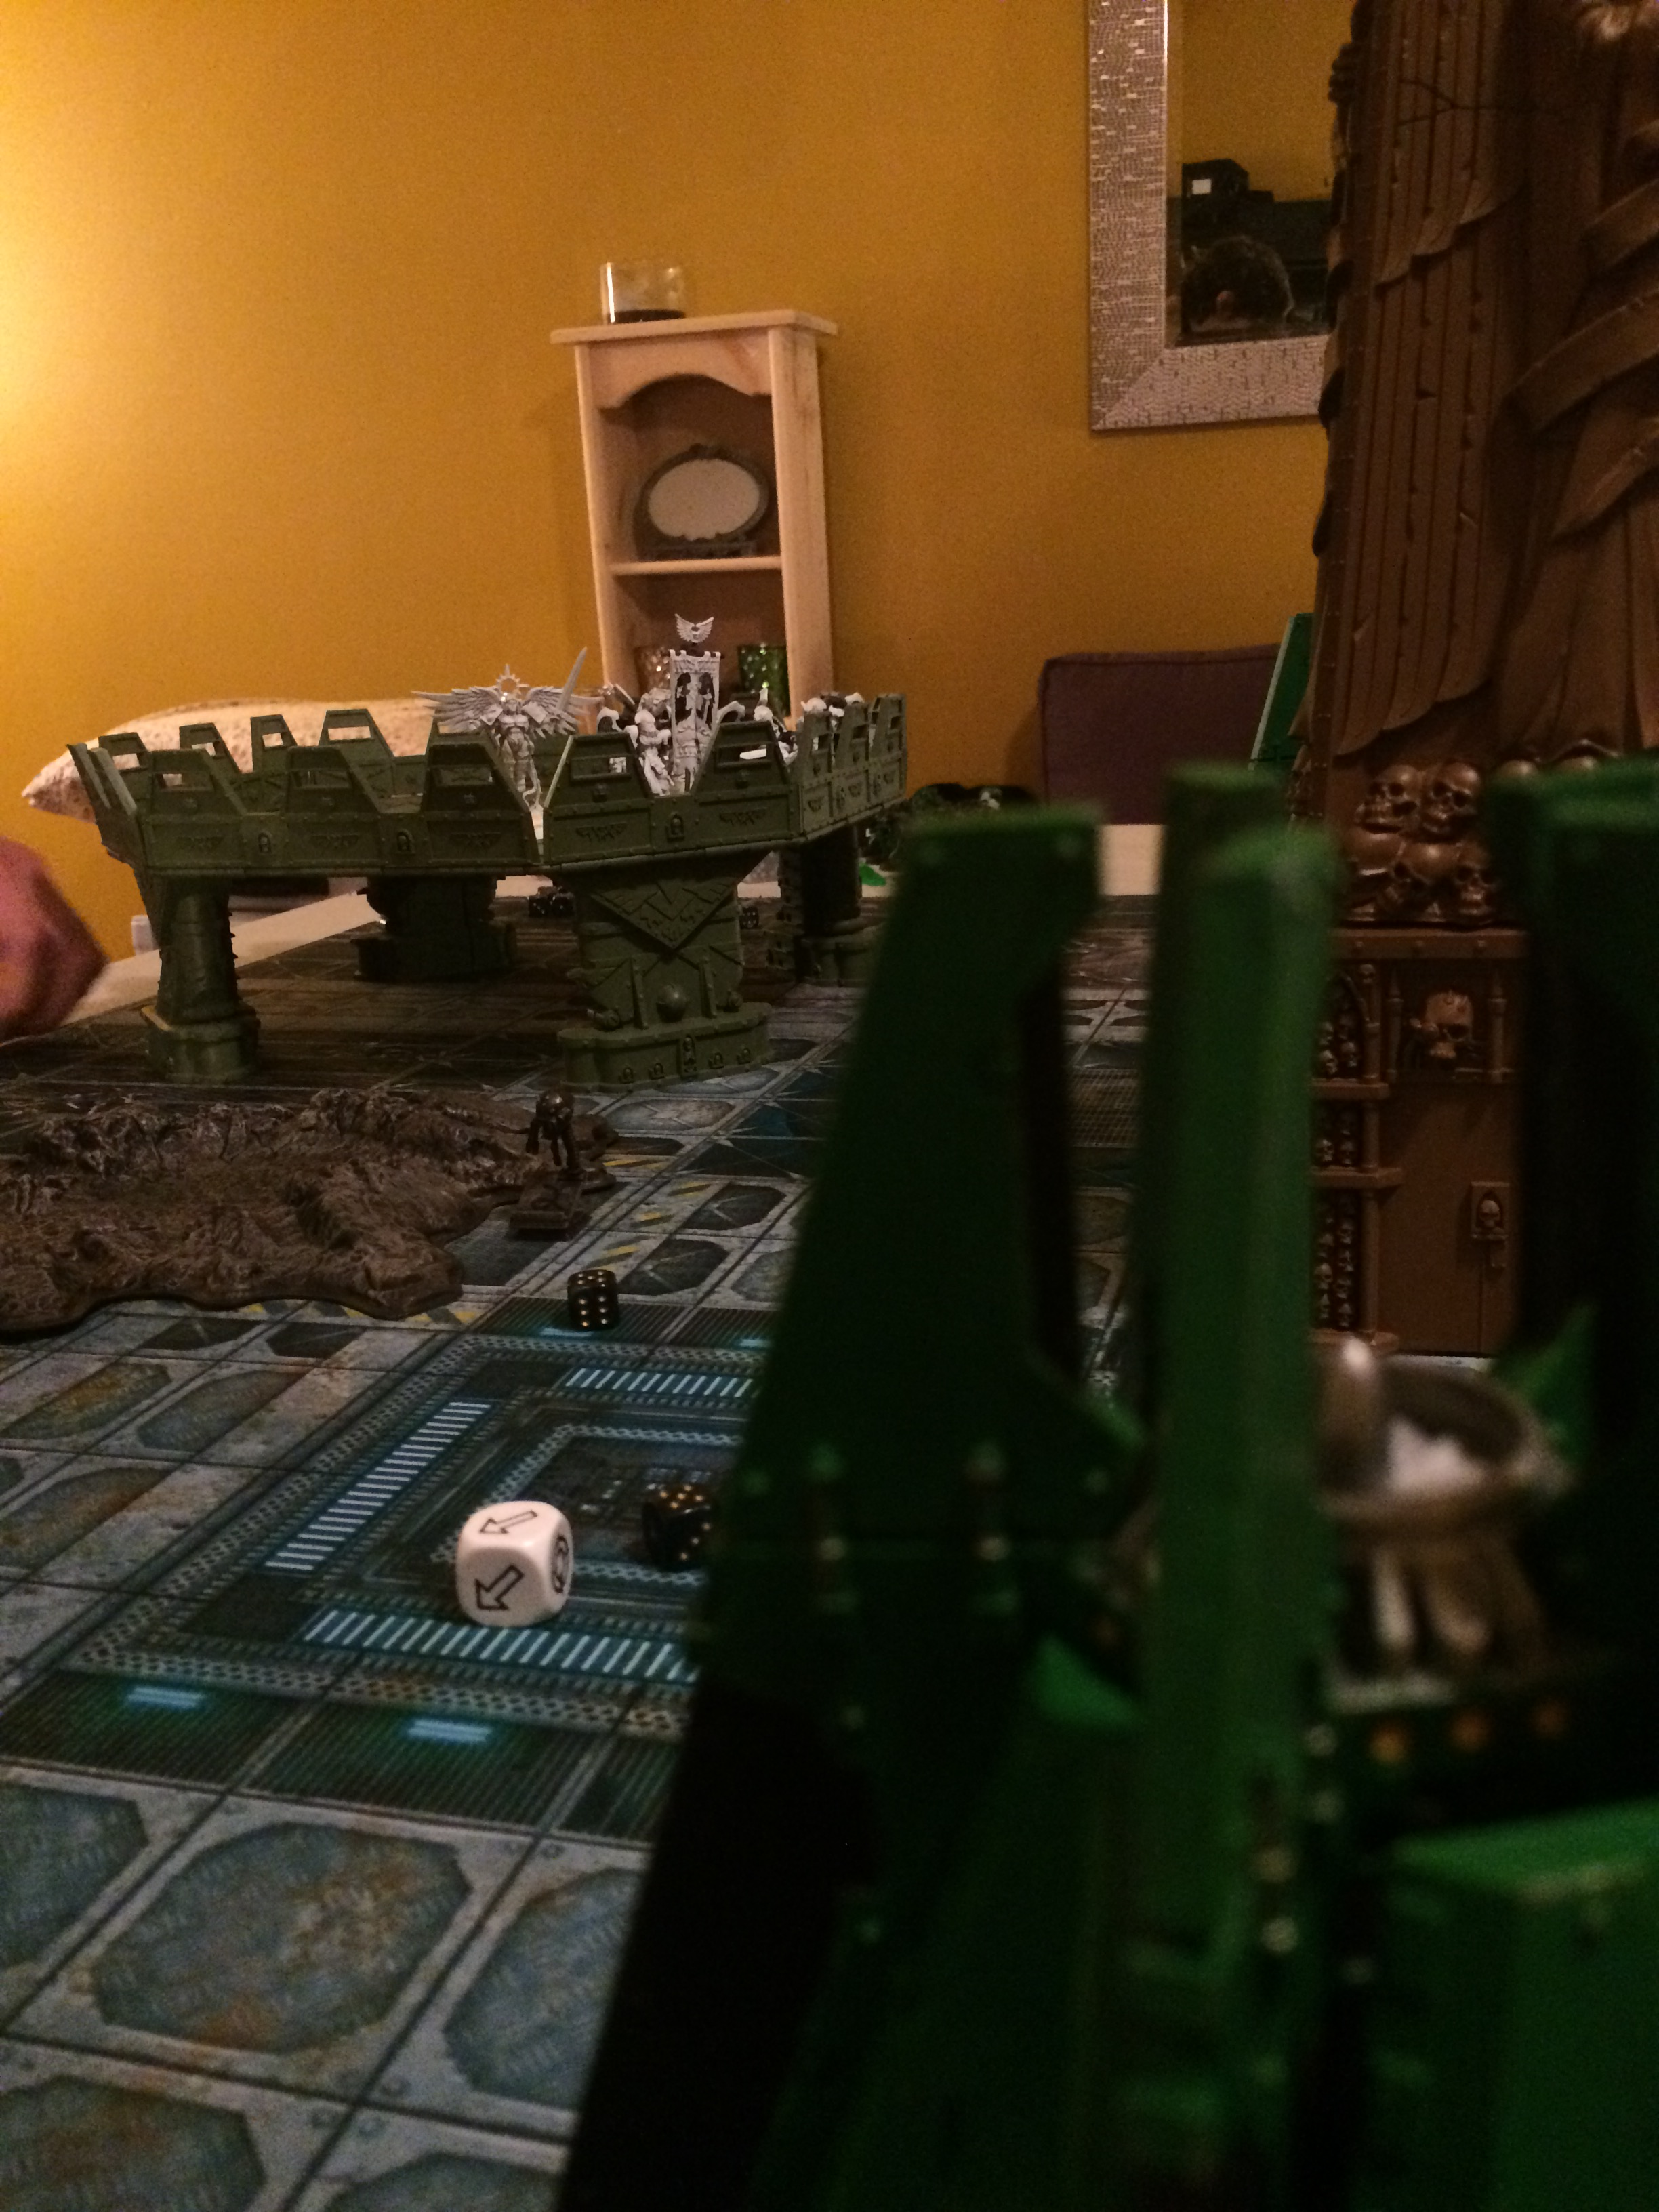
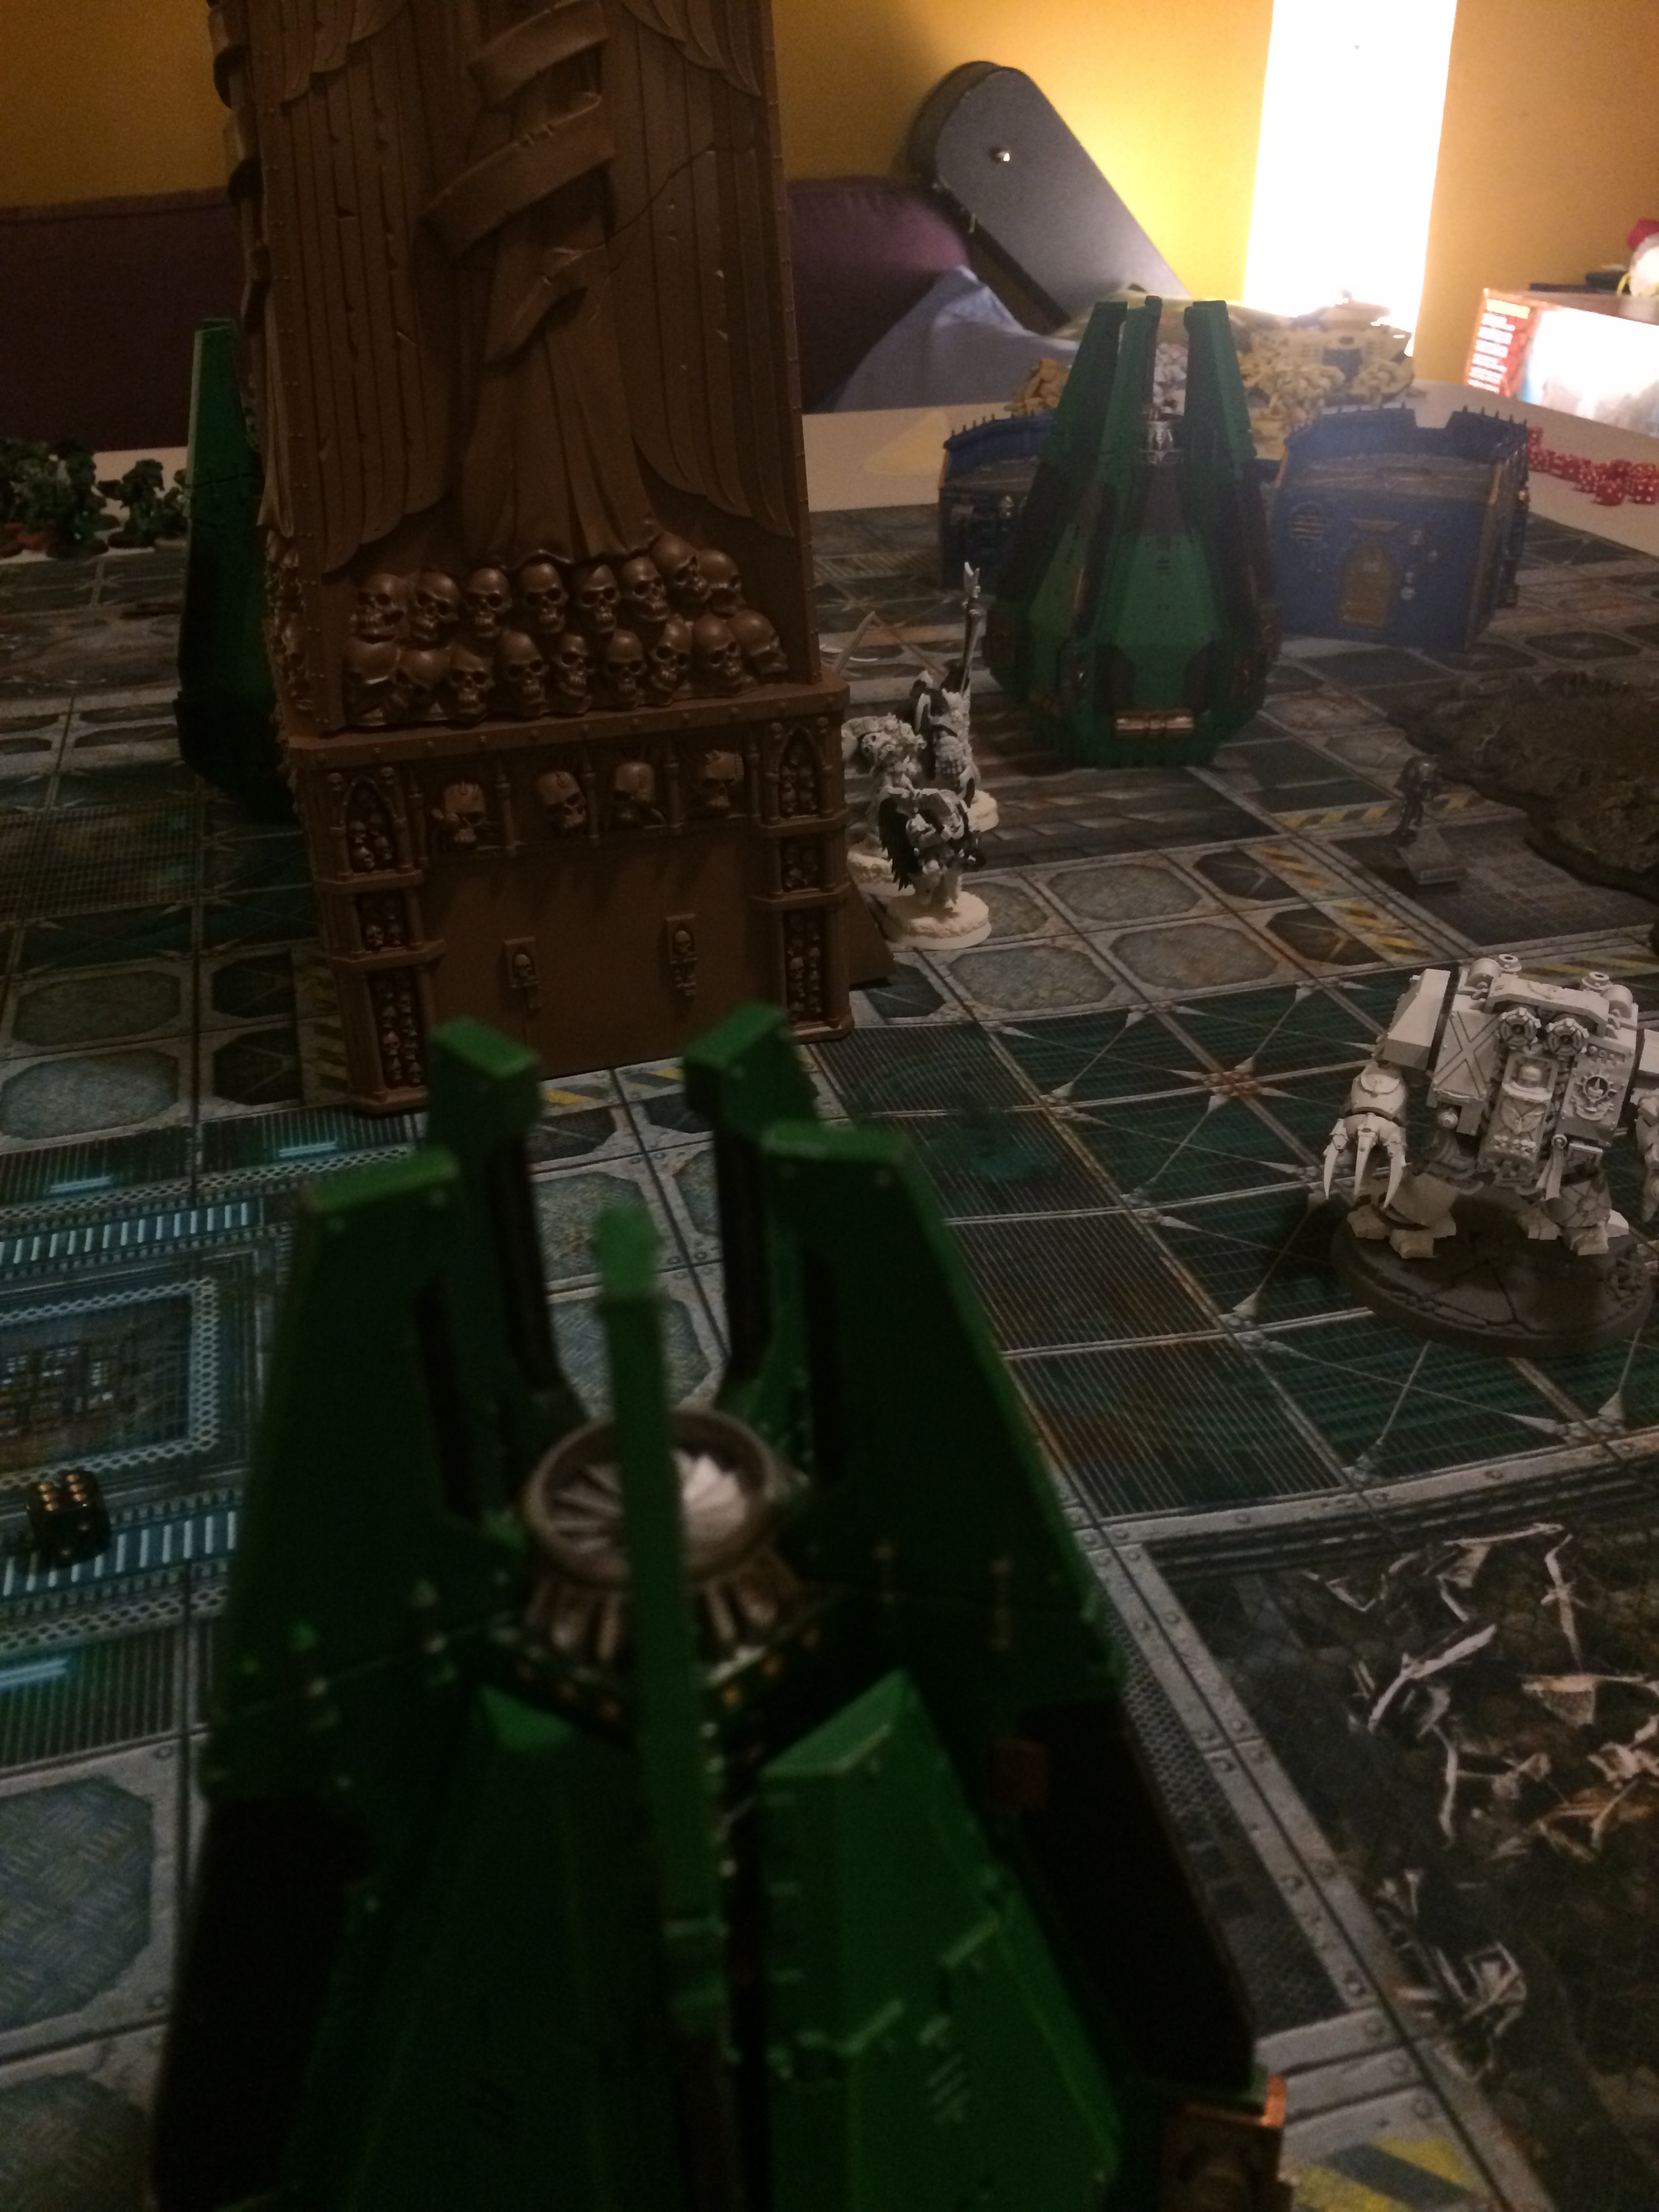
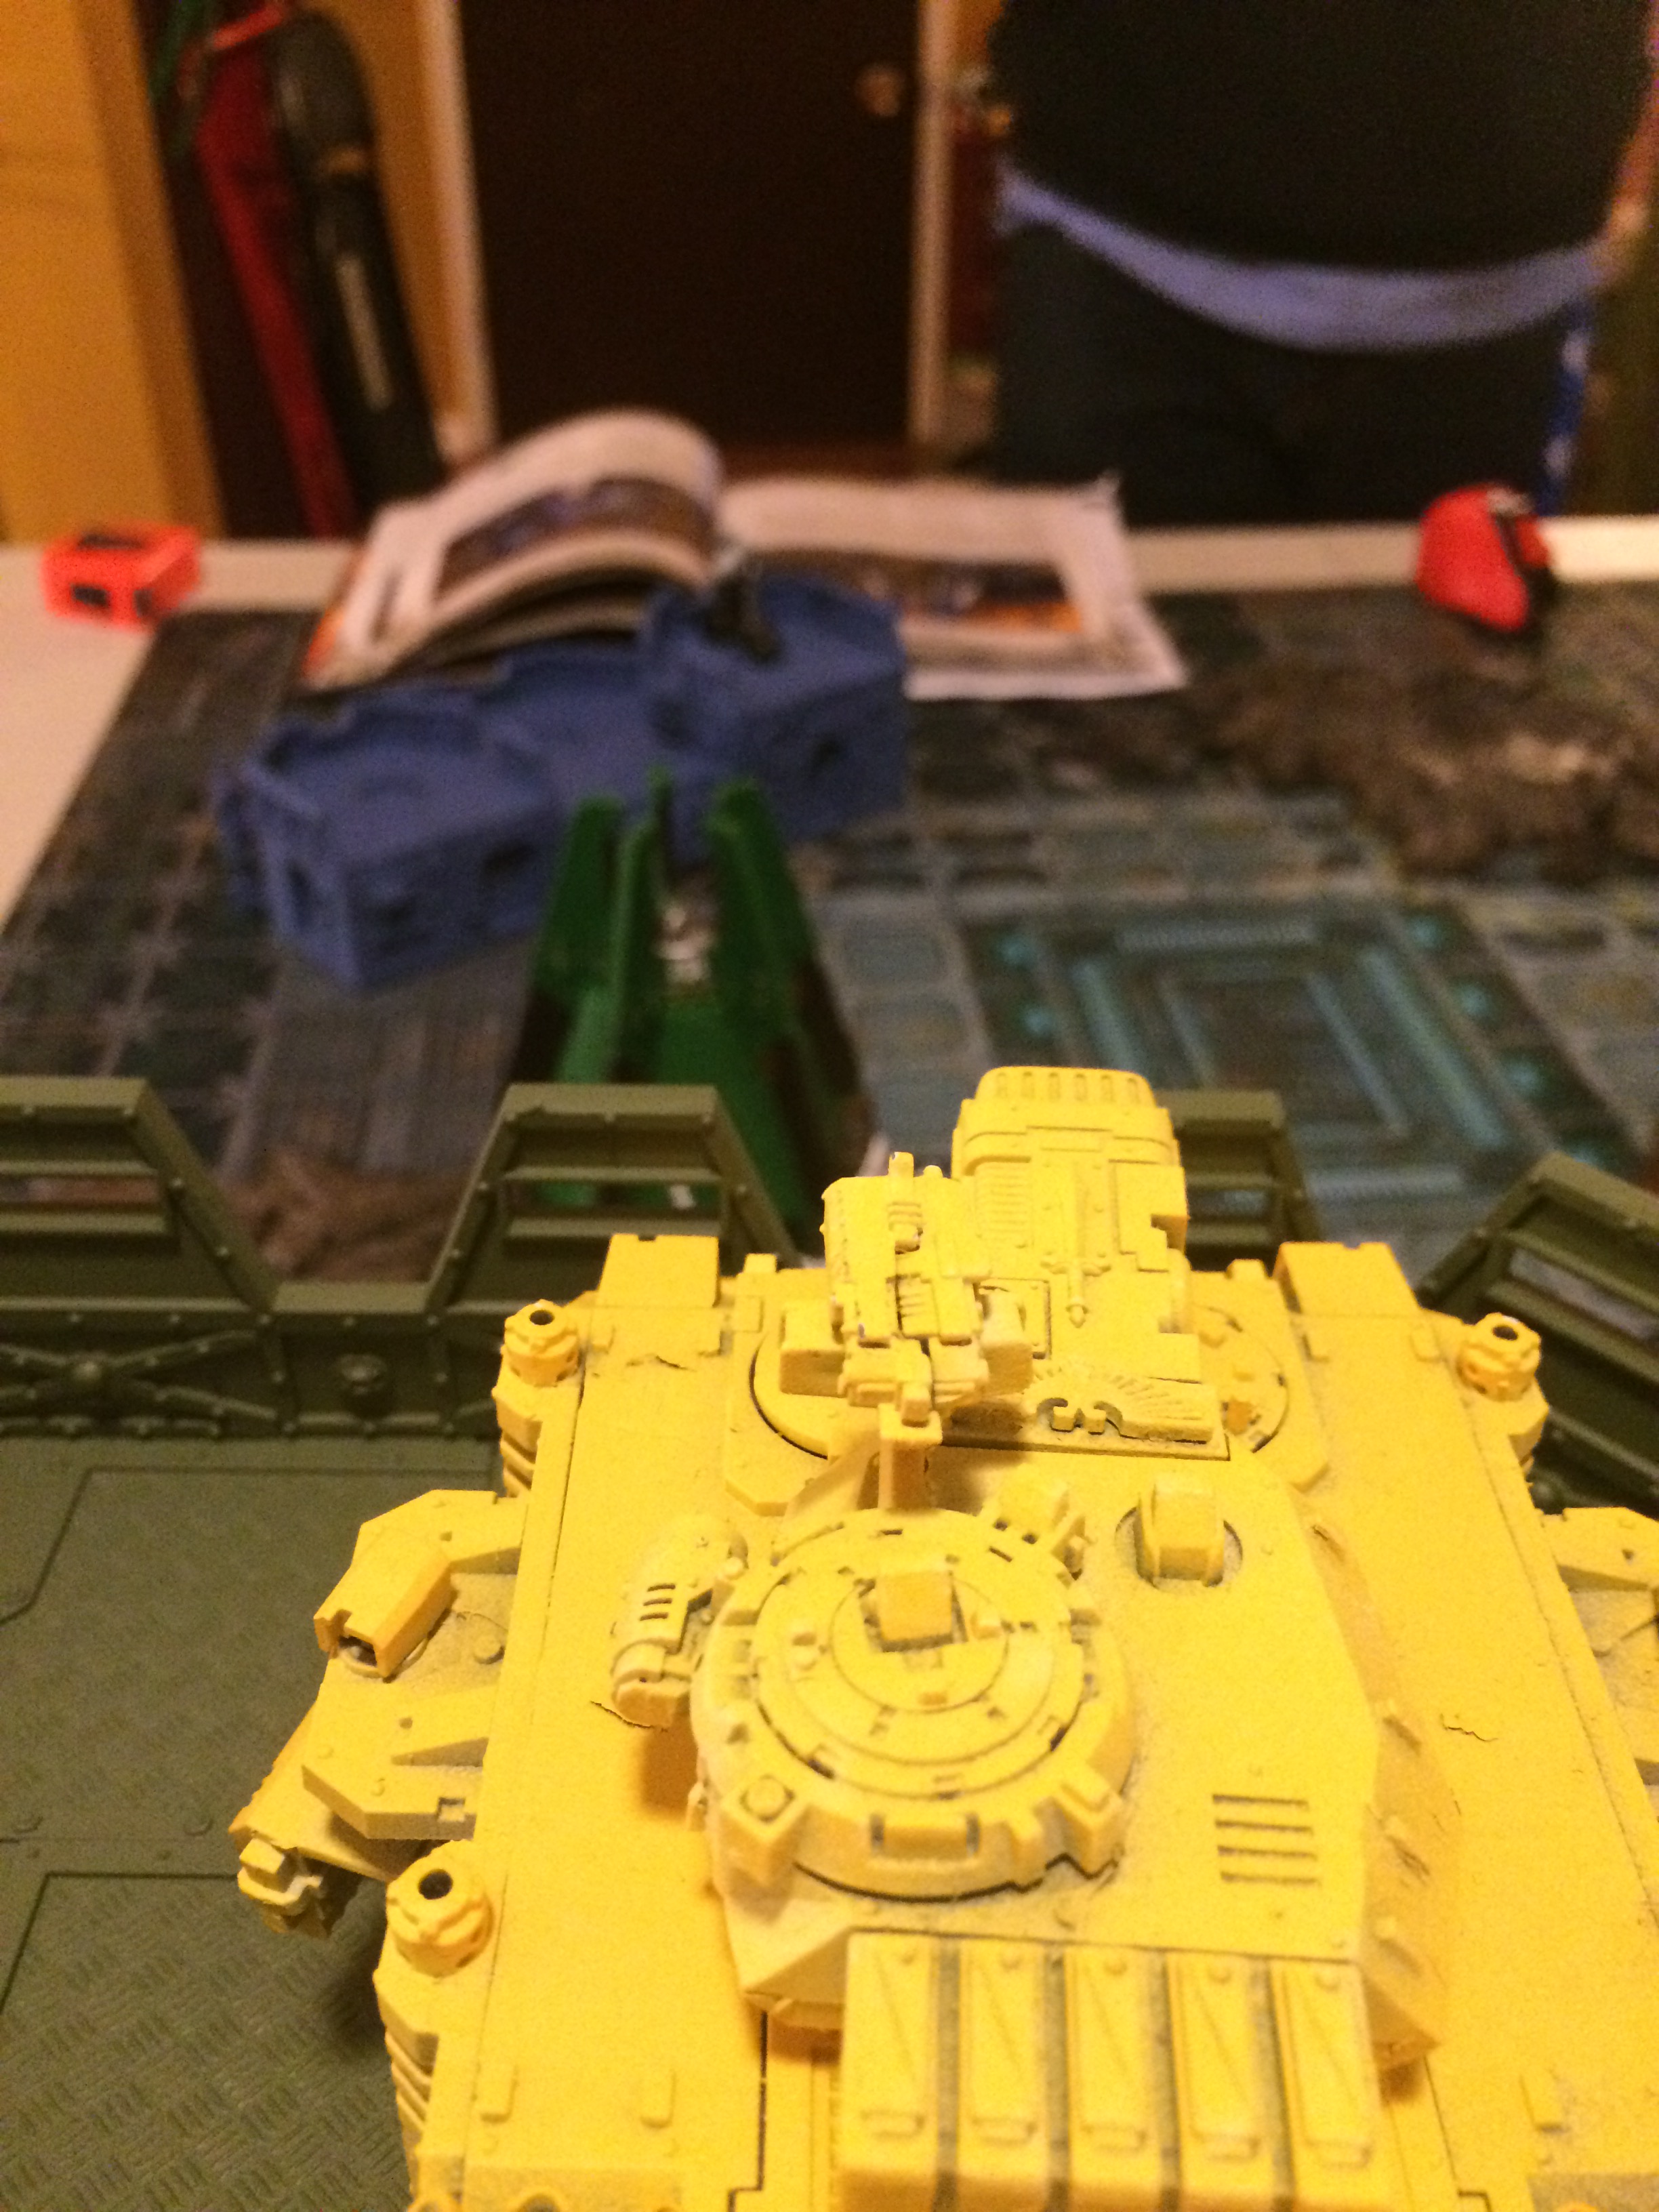
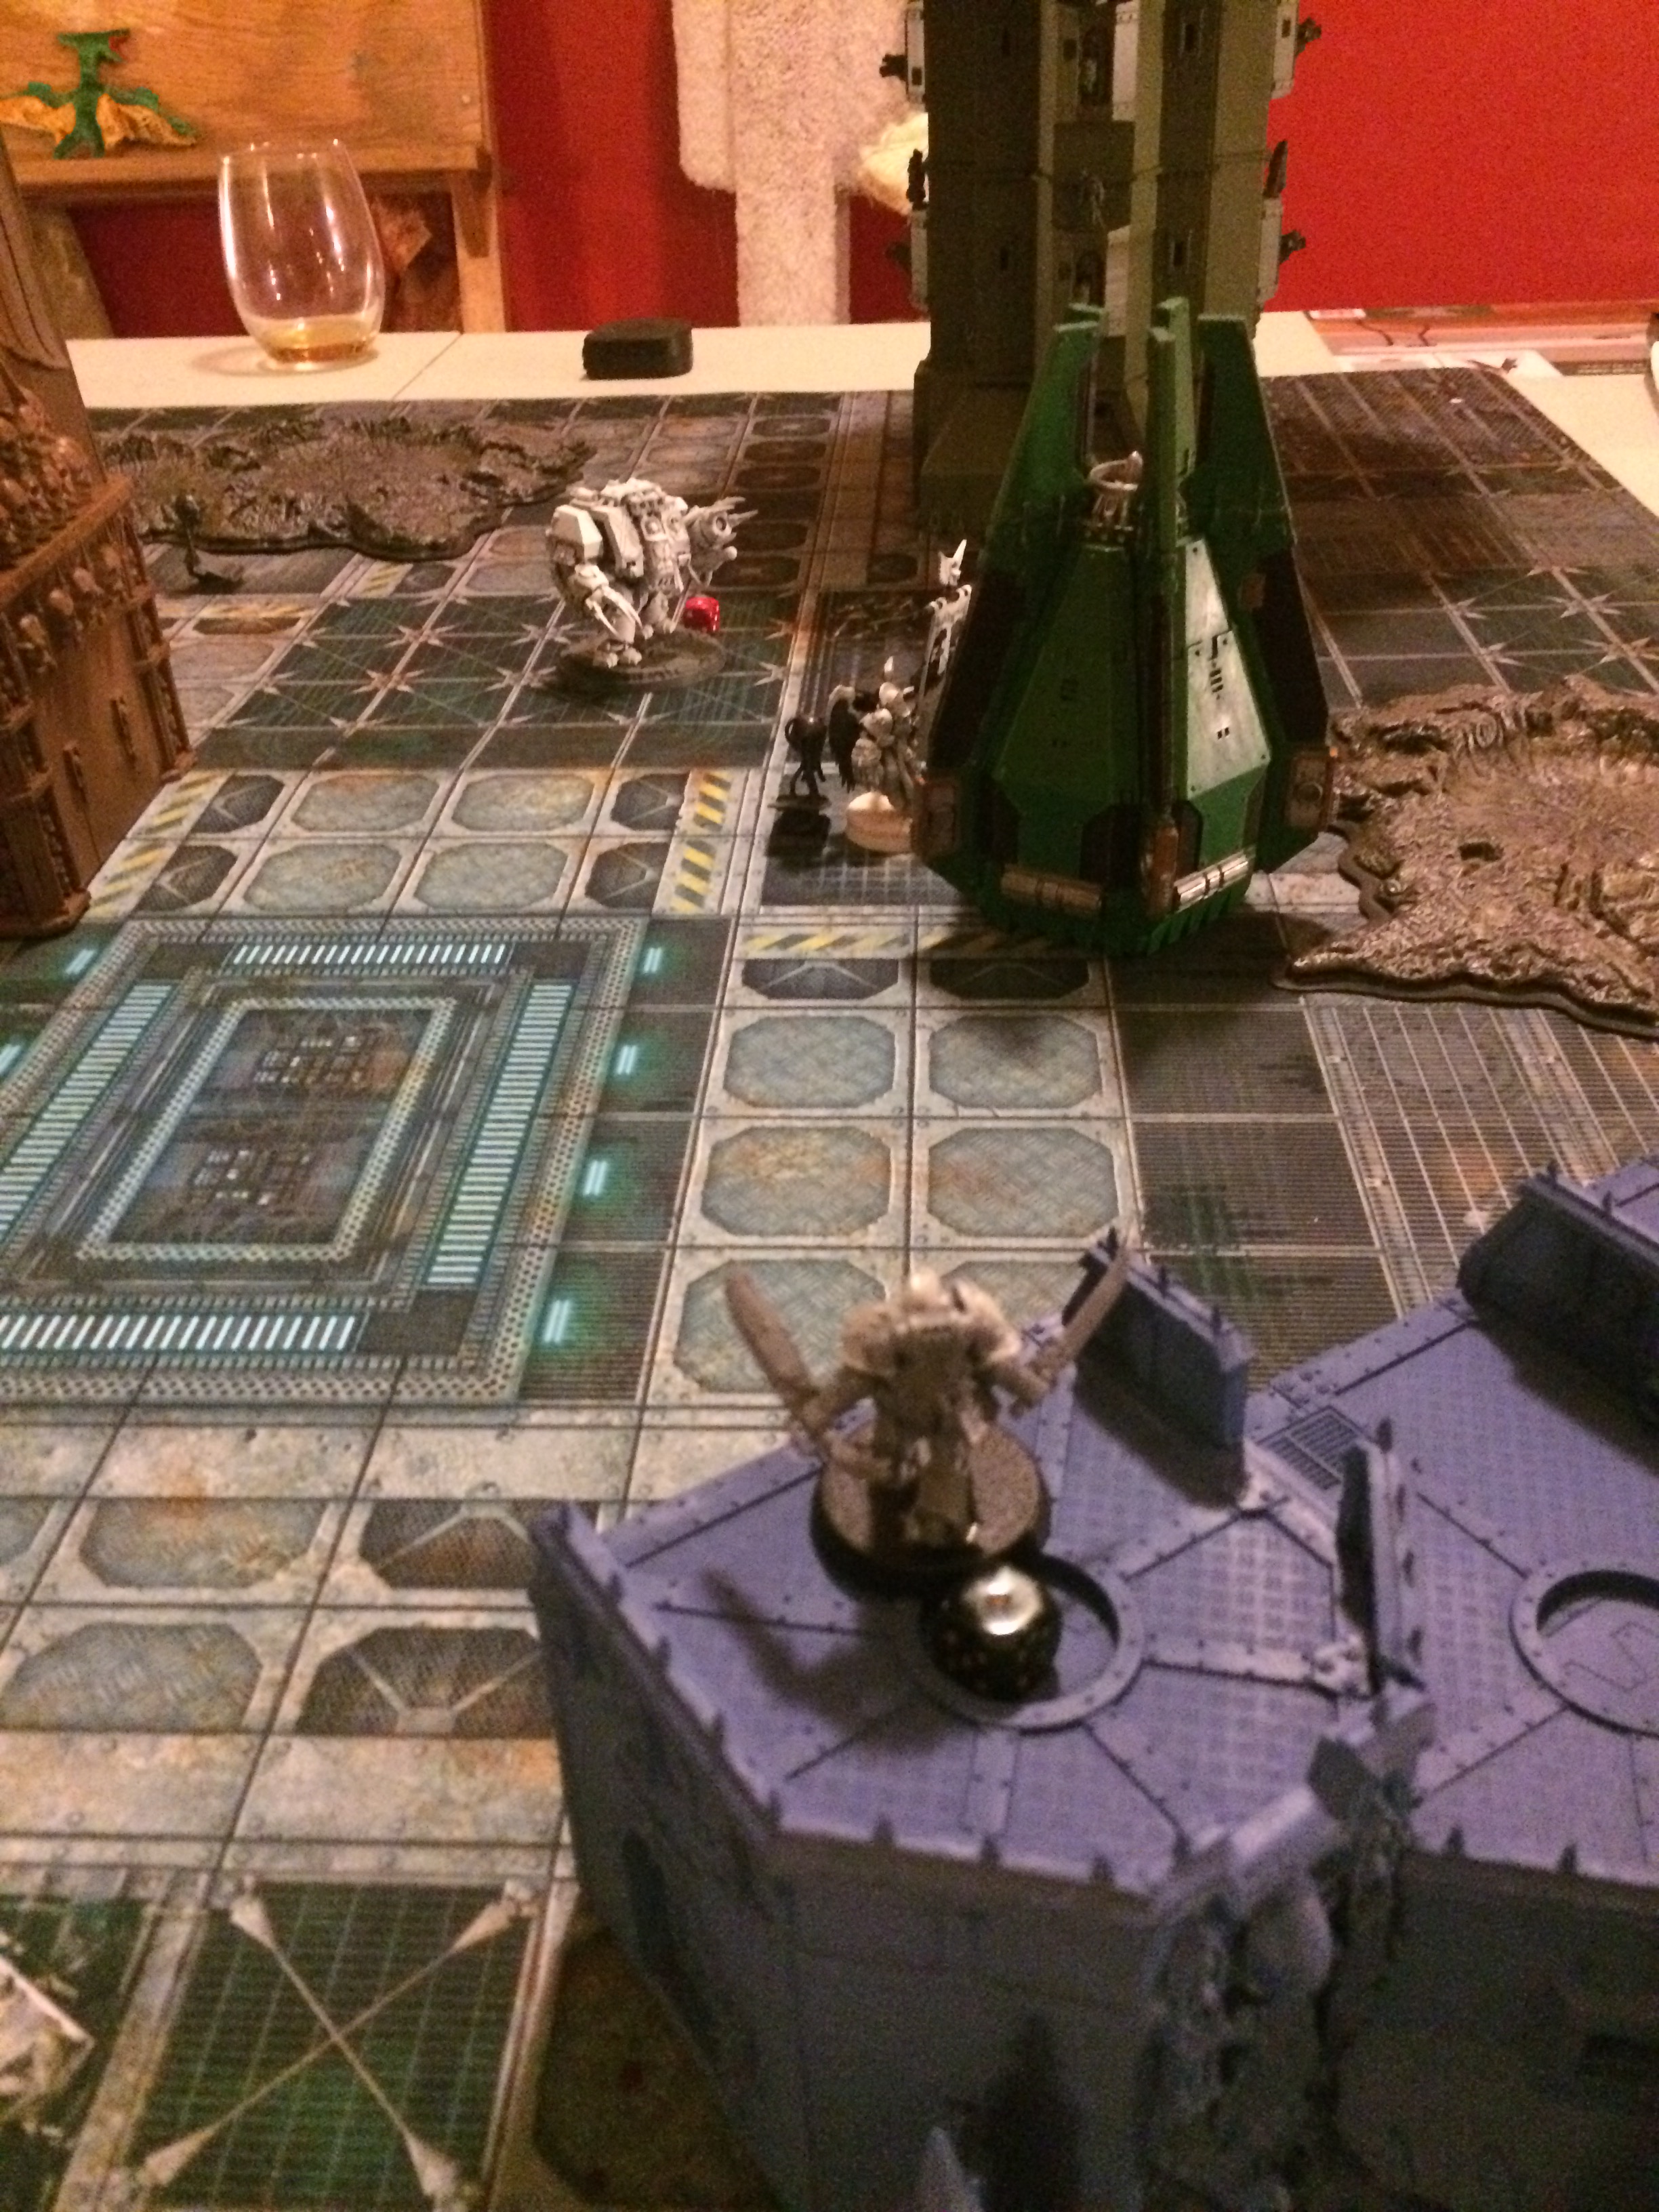
The setting for this match is on a moon base. The power in a communications tower has been knocked out and the power has to be restored. Each side is interested in controlling the tower to control the airwaves. It will ease communication through the sector and disrupt the communication of the enemy. There are four power cells surrounding the tower. Each cell can be powered up with a model coming into base contact with the cell. Powering up a cell earns a victory point.
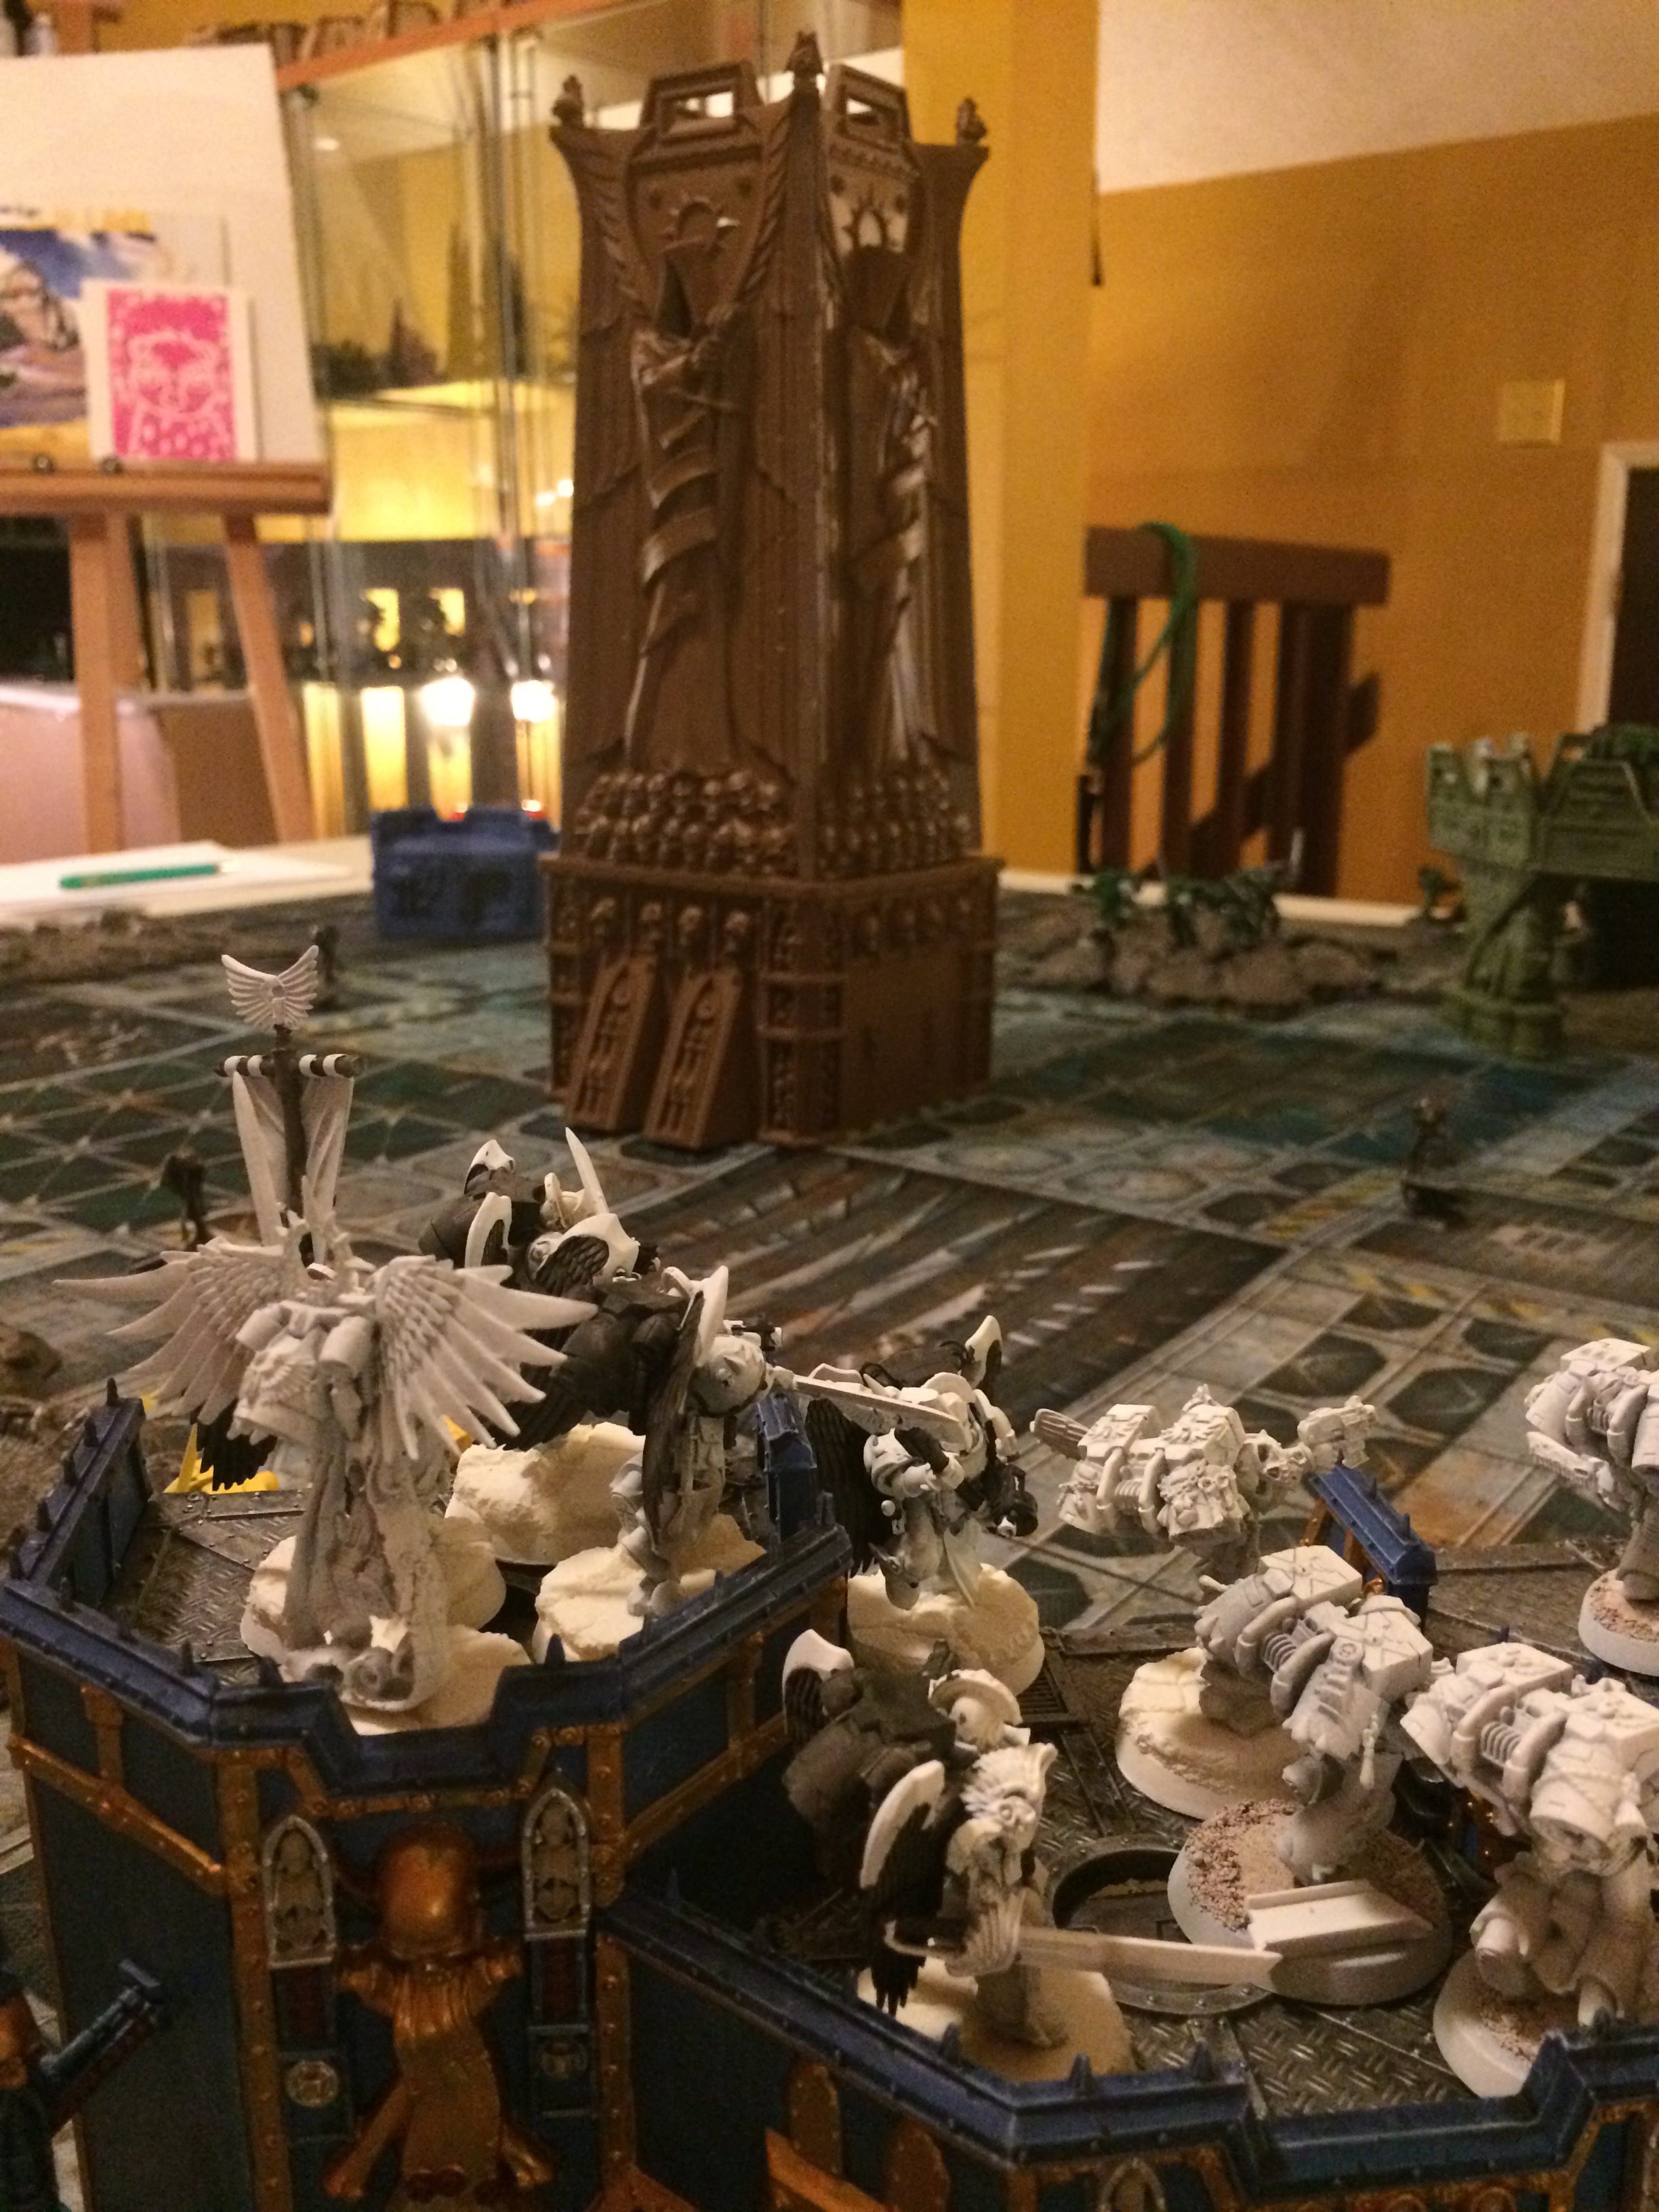
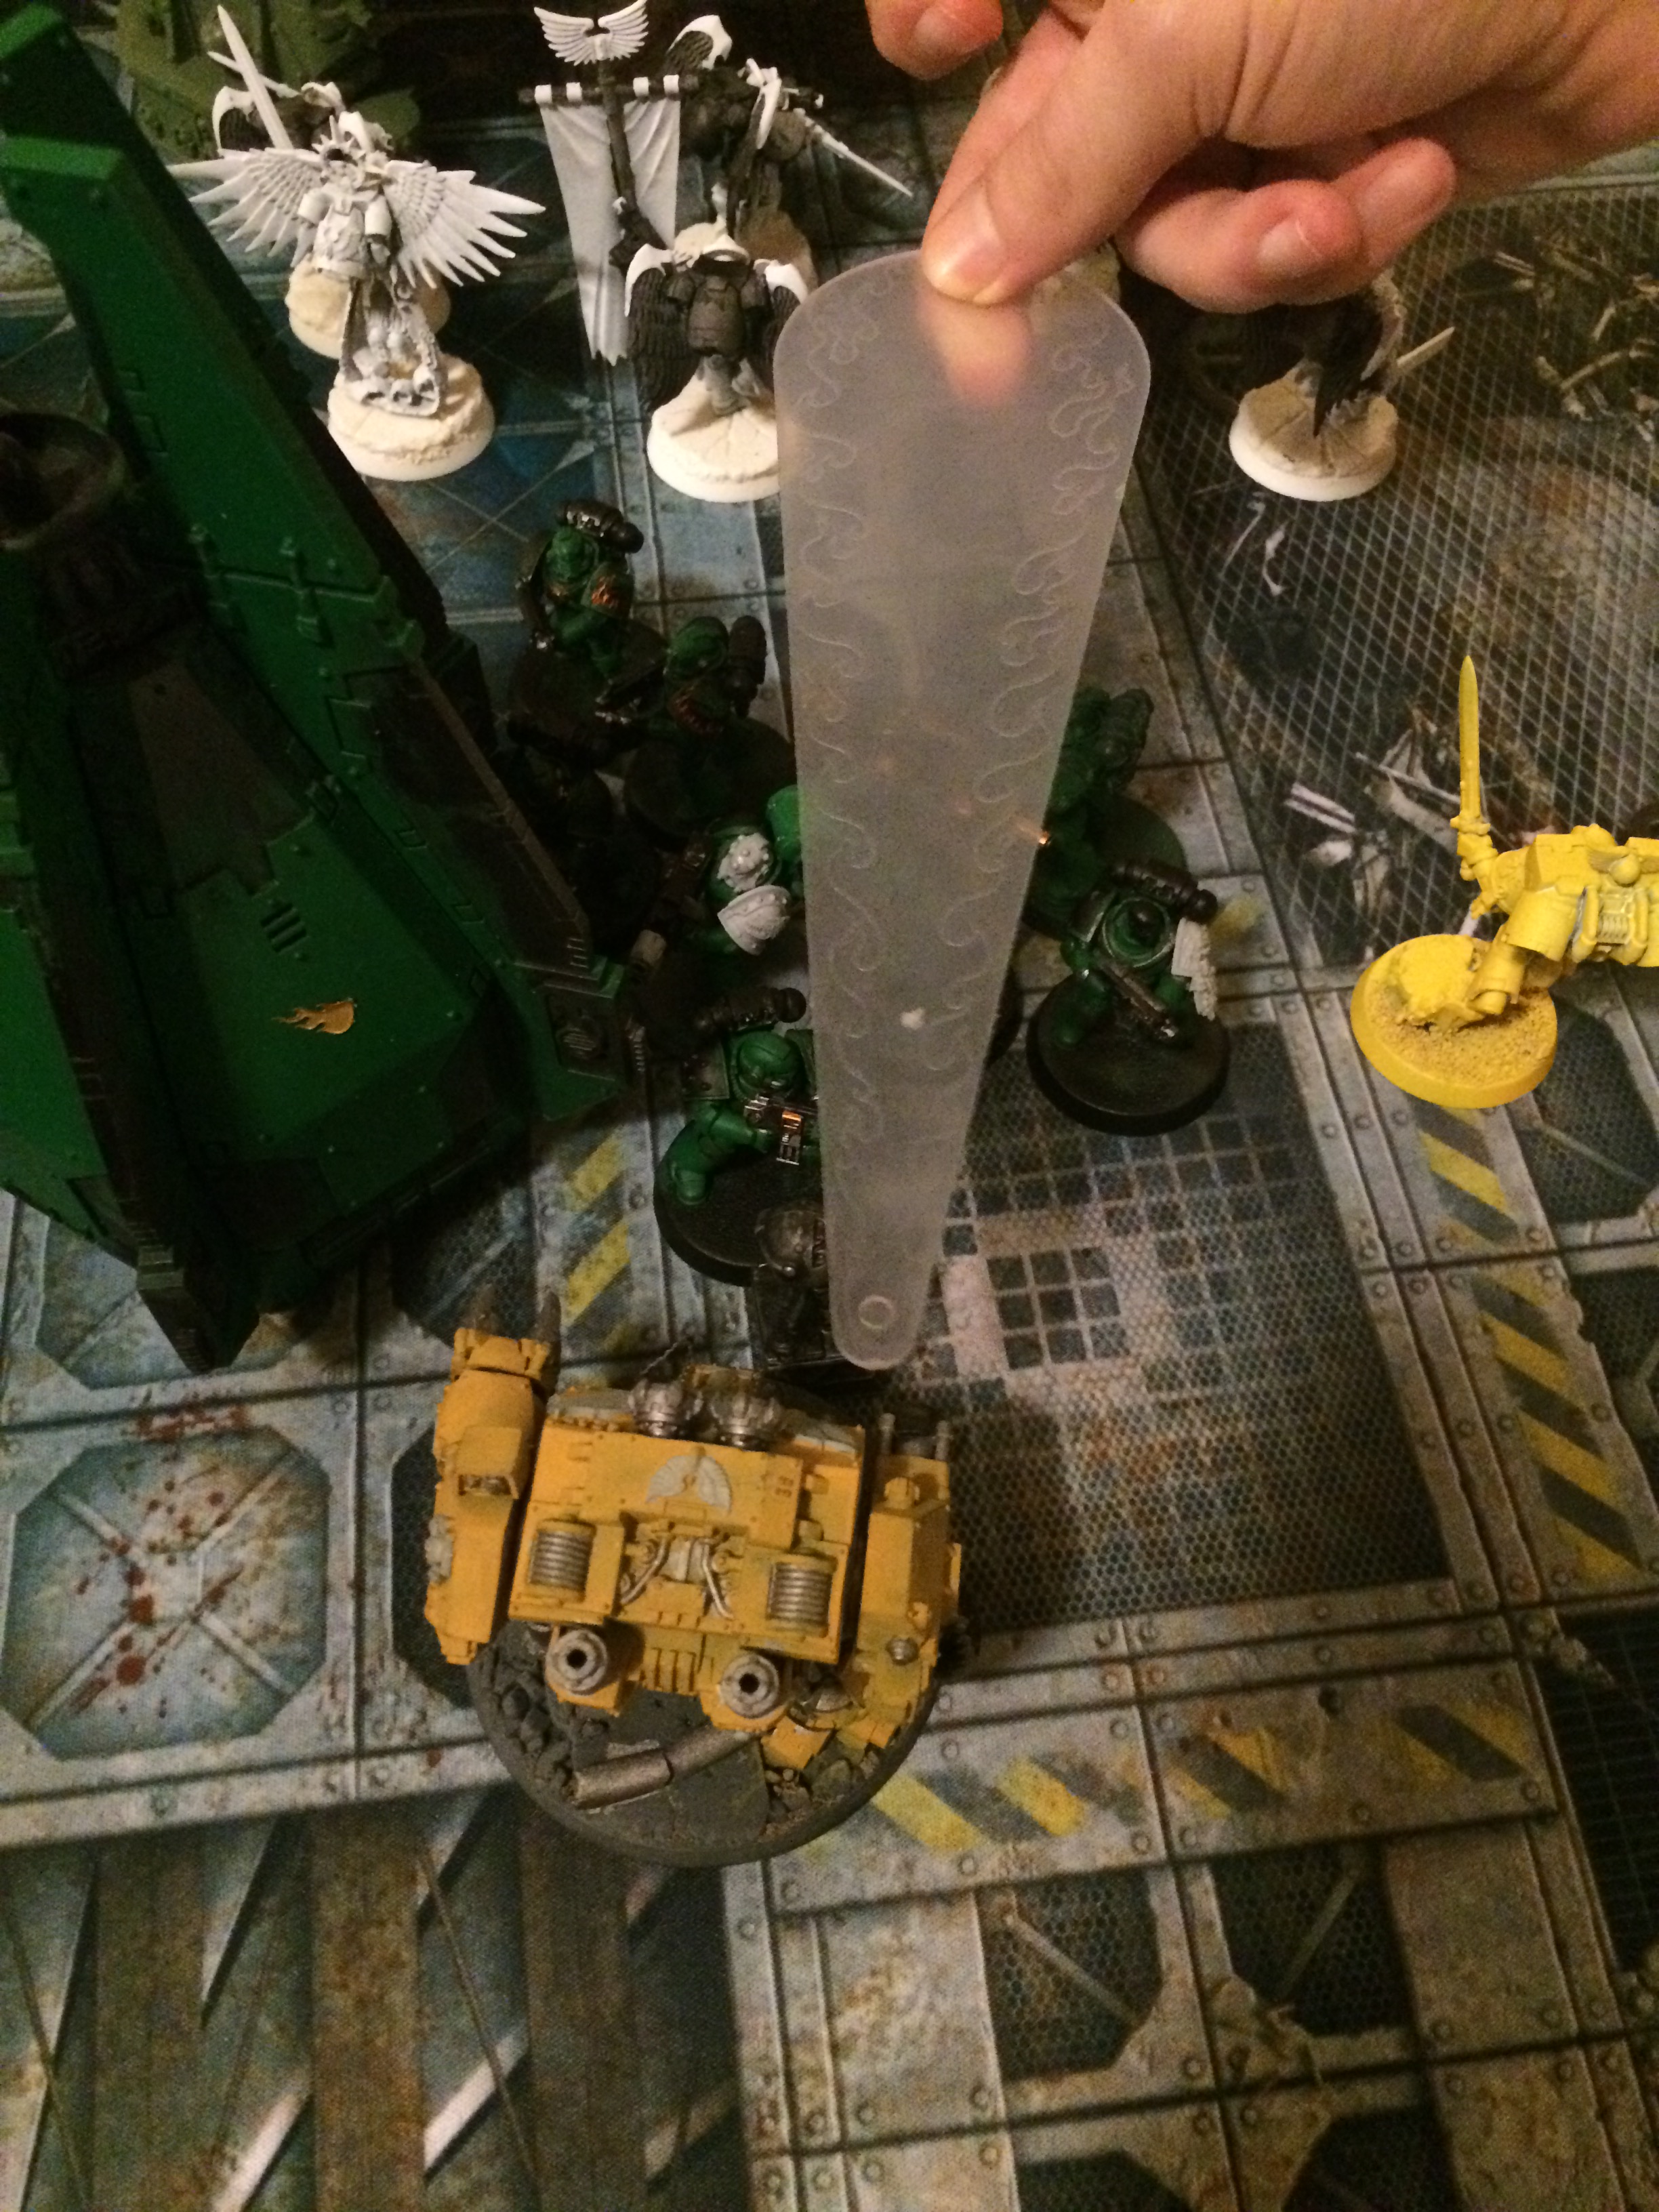
Once all four power cells are activated the goal is to claim the communication tower. The winner who has the most models within three inches of the tower by the end of the game earns three victory points. Each objective secured model counts as two models. Secondary objectives such as slay the warlord, first blood and linebreaker are also in effect. The Zone Mortalis catastrophic damage table is also being used. At the start of every game turn both players roll a D6 and add the result. They consult the table for the random effect. This represents the instability of a moon base. Since the game is in the void of space the Cold Void rules are in effect. That means all guns with a strength four or better have the rending special rule against an armour save of three or higher. This means rending cannot be caused against an armour save of two or any model with an armour value.
I forgot to ask Jerrod and Will for a copy of their lists after the game. I’m going off of the pictures and memory (ruh roh).
Salamanders
HQ
- Captain Pellas Mir’san (Forgeworld special character)- Warlord- 1 VP for every character slain in combat.
Troops
- Tactical Marines (10 models)- melta, multi-meta, Drop Pod
- Tactical Marines (10 models)- melta, multi-meta, Drop Pod
- Tactical Marines (10 models)- melta, multi-meta, Drop Pod
Fast Attack
- Assault Marines (5 models)
Heavy Support
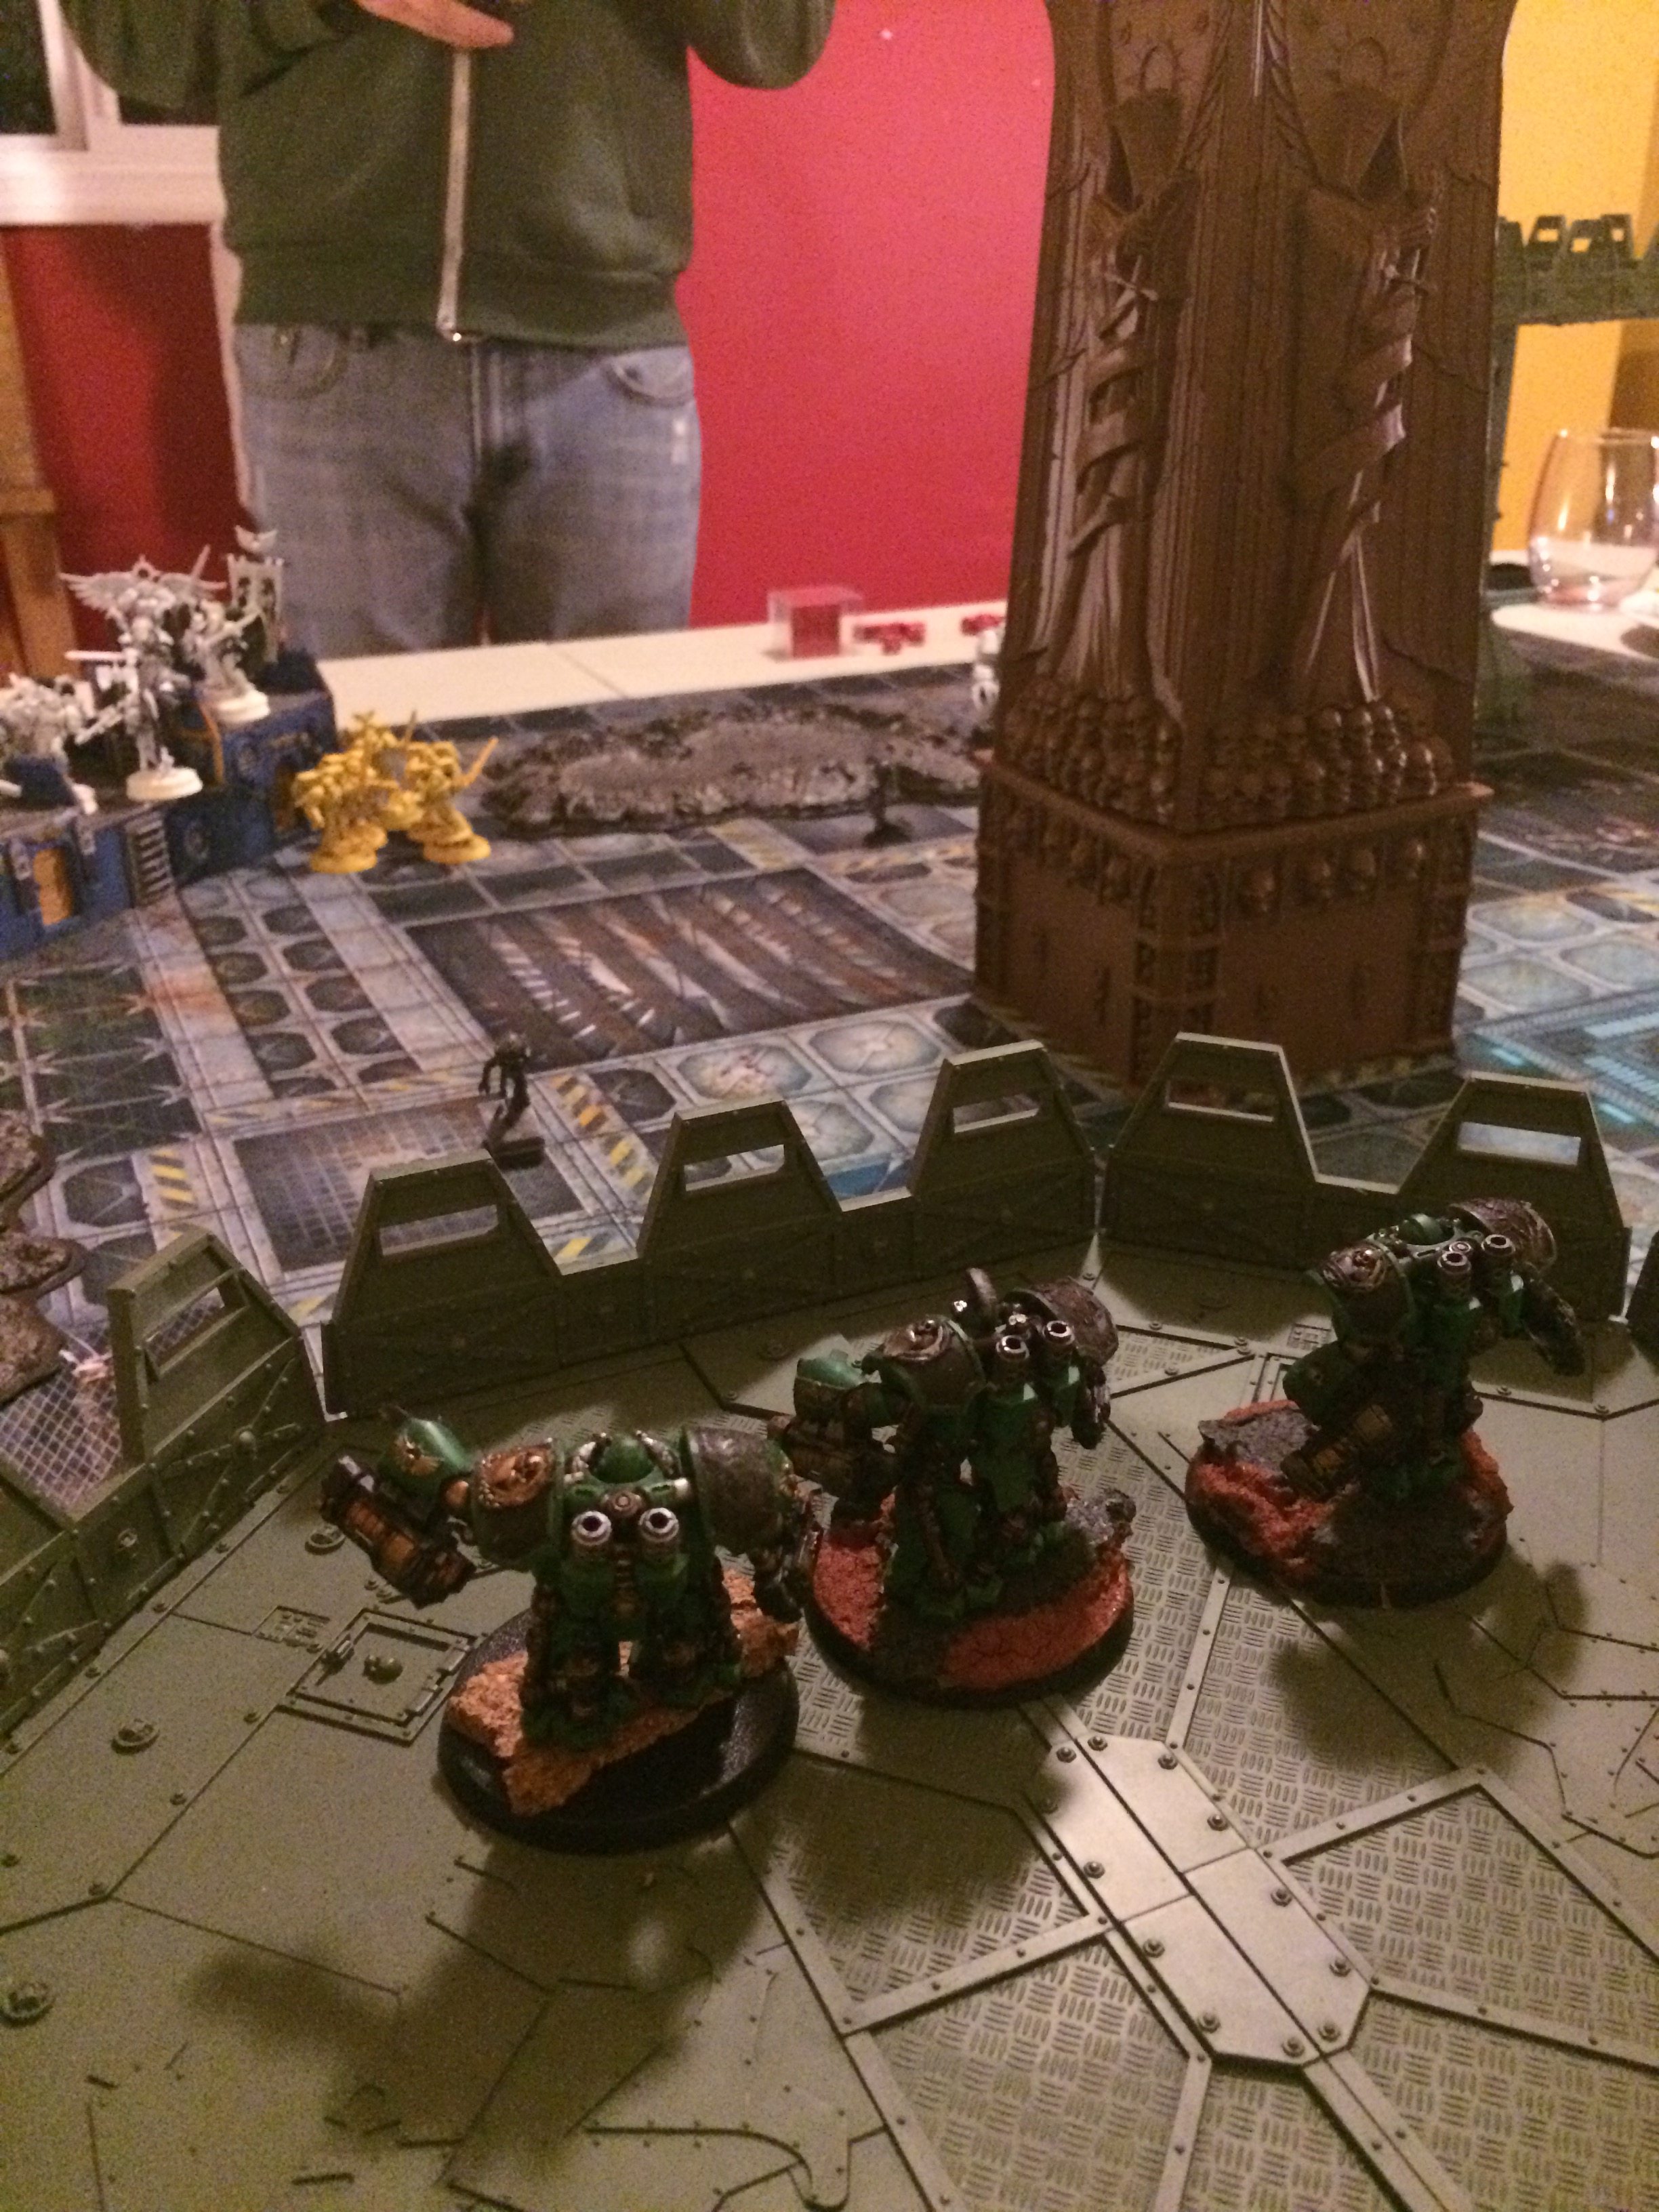
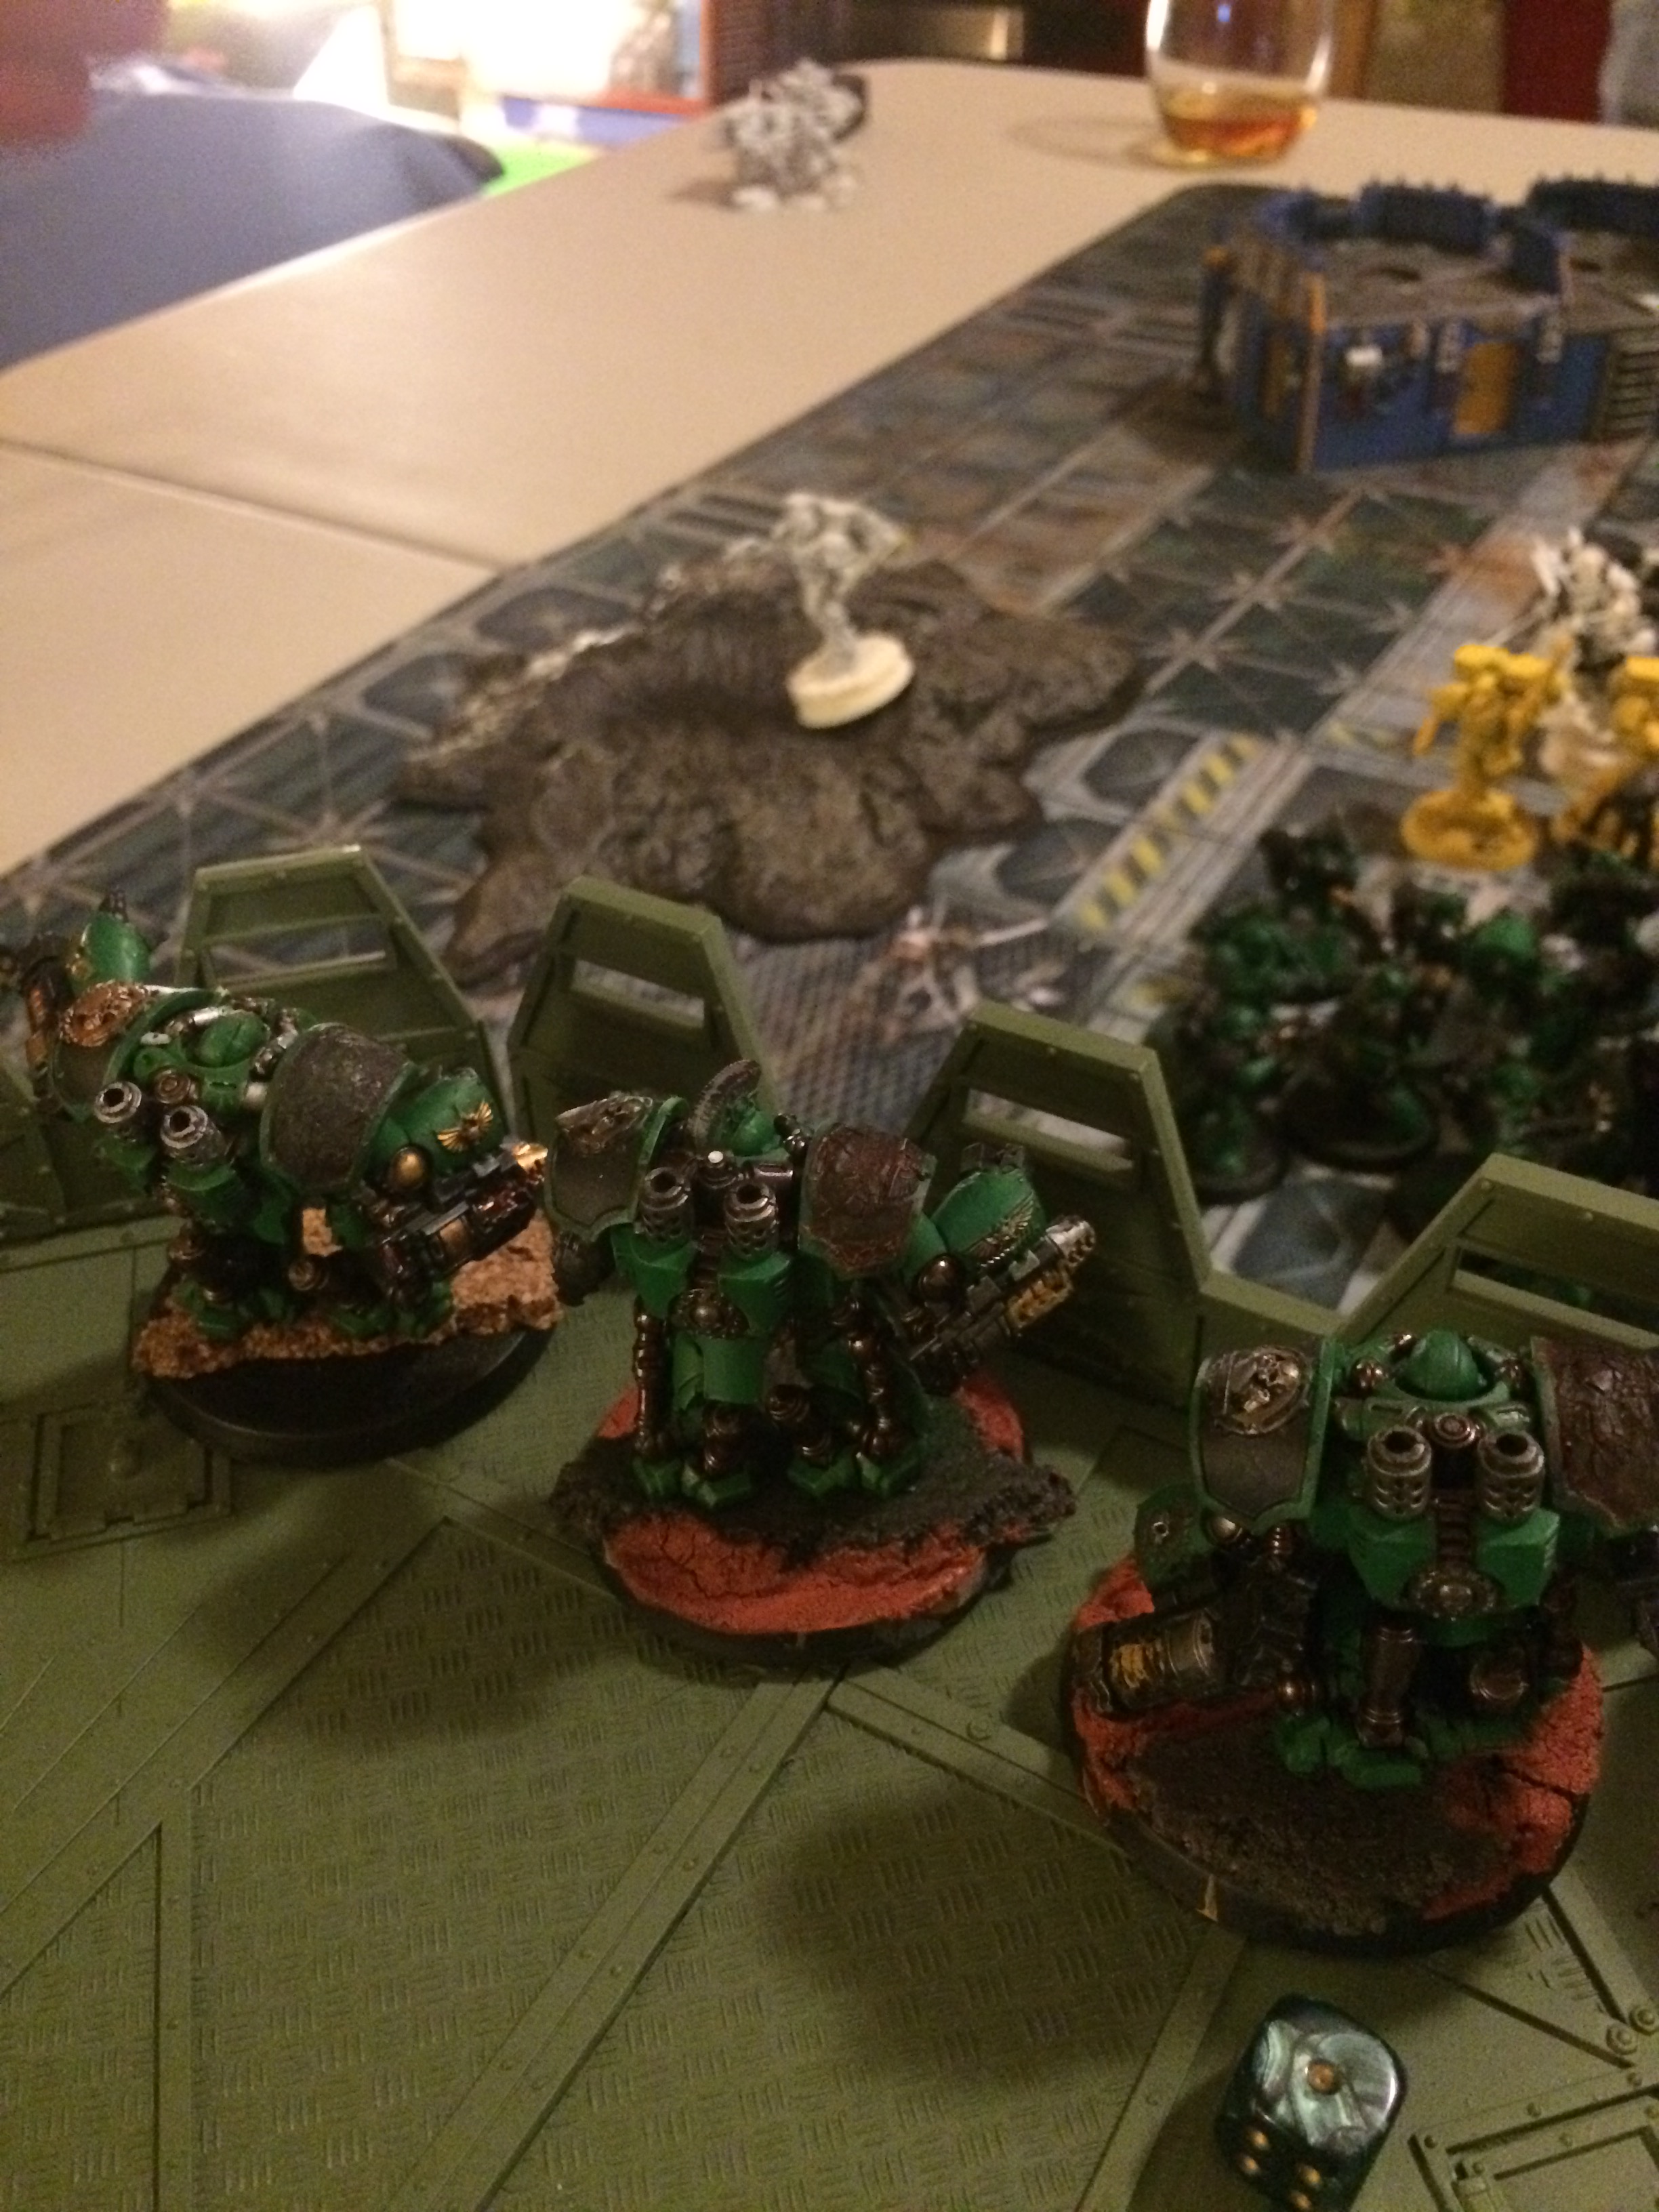
- Devastator Centurions (3 models)- grav cannons, hurricane bolters
- Devastators (5 models)- multi-melta x2
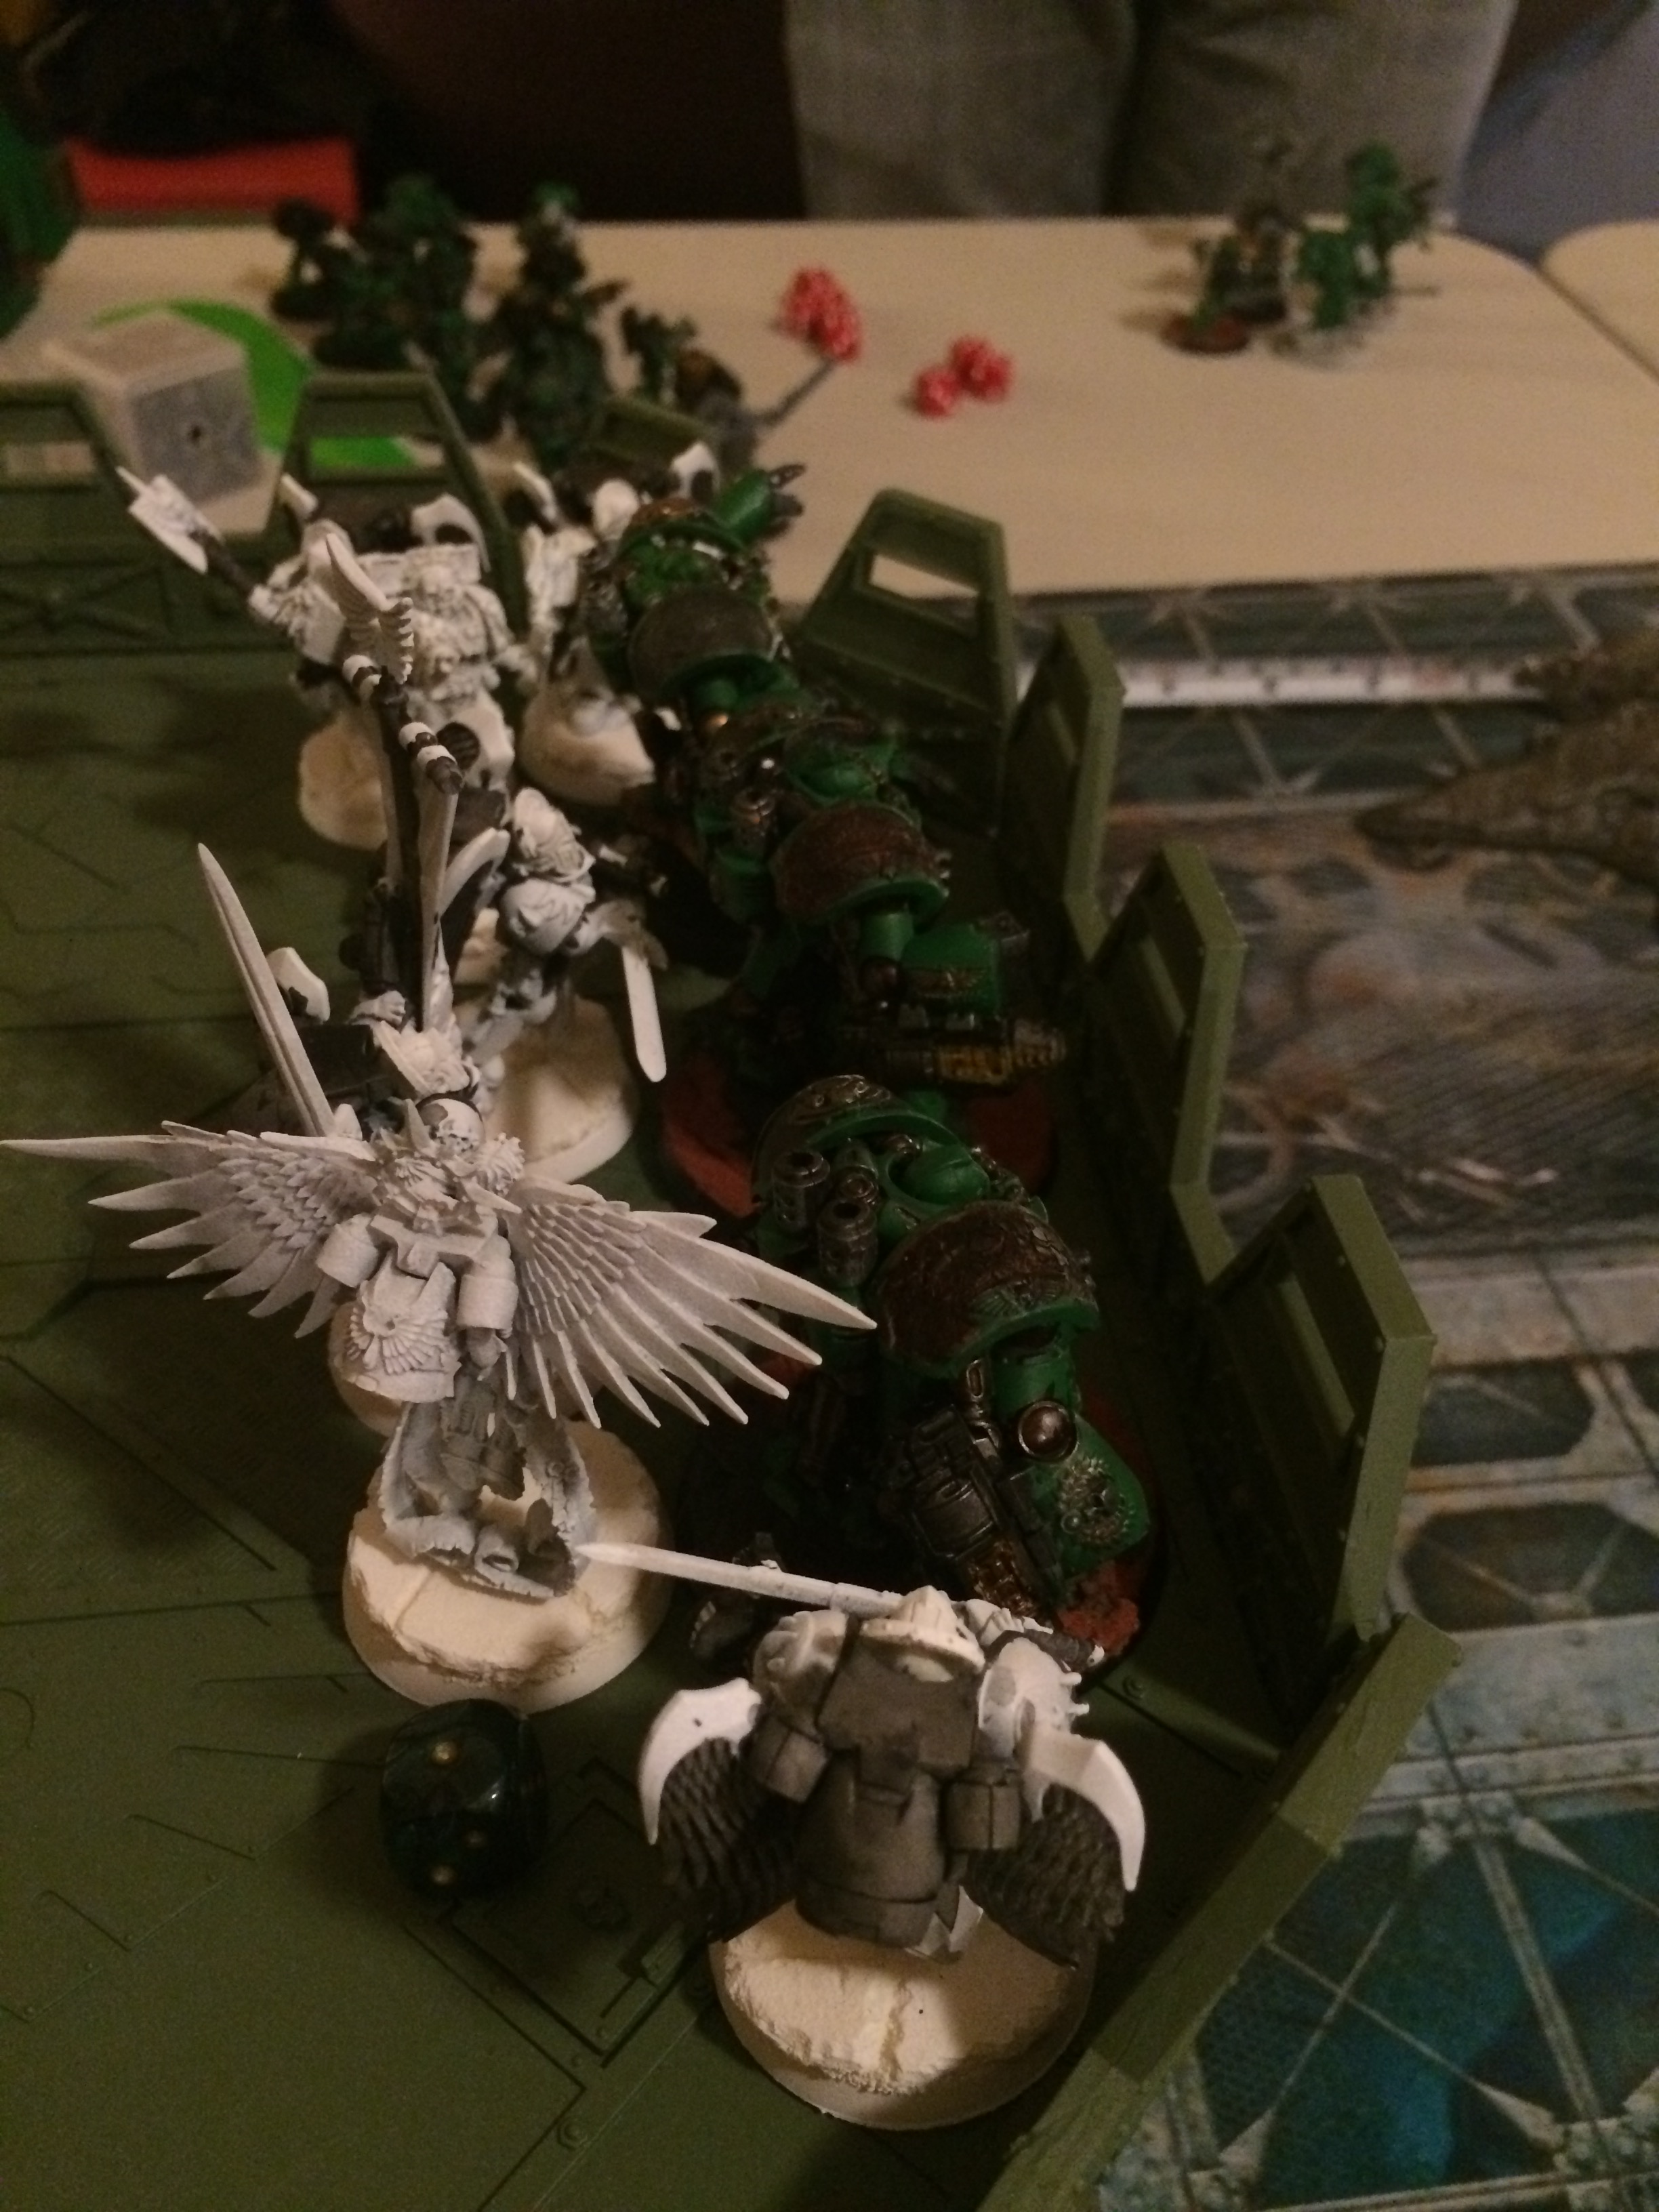
Lamenters (Flesh Tearers Strike Force)
- Sanguinary Priest- jump pack, relic blade
- Death Company Chaplain- jump pack, warlord (warlord and squad get rage)
- Death Company (5 models)- jump pack, thunderhammer x1, bolt pistols & close combat weapons x4
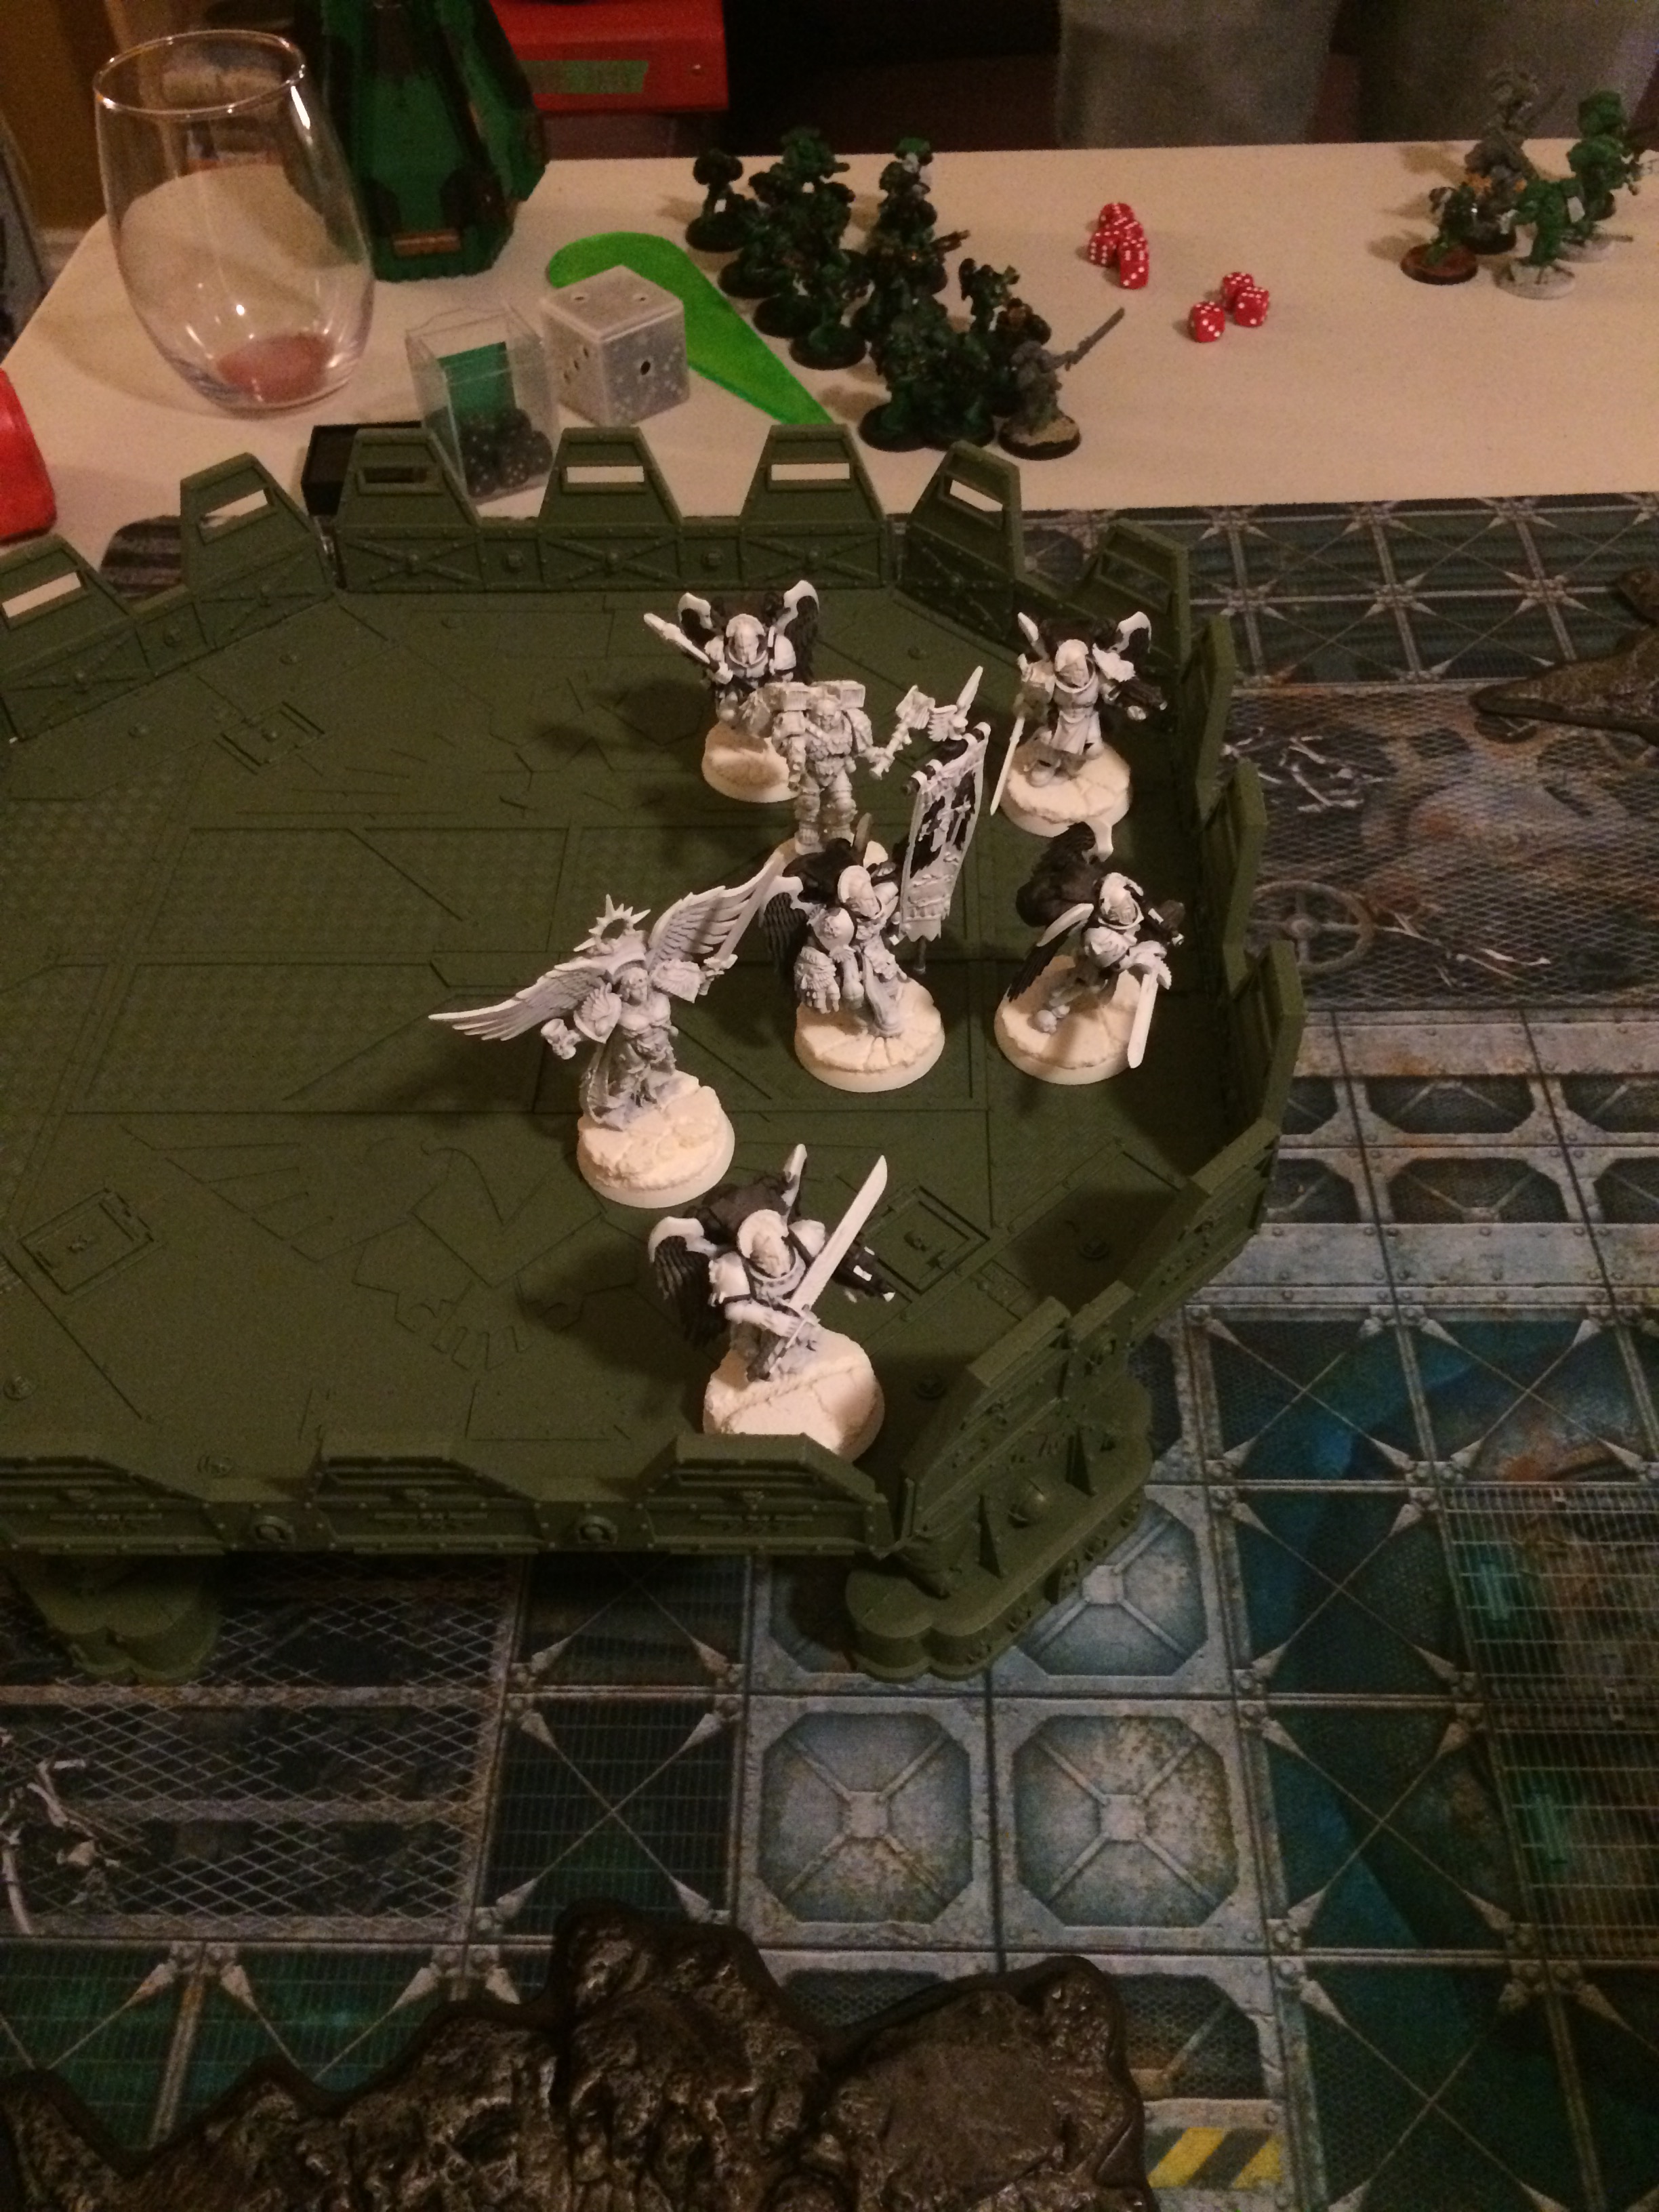
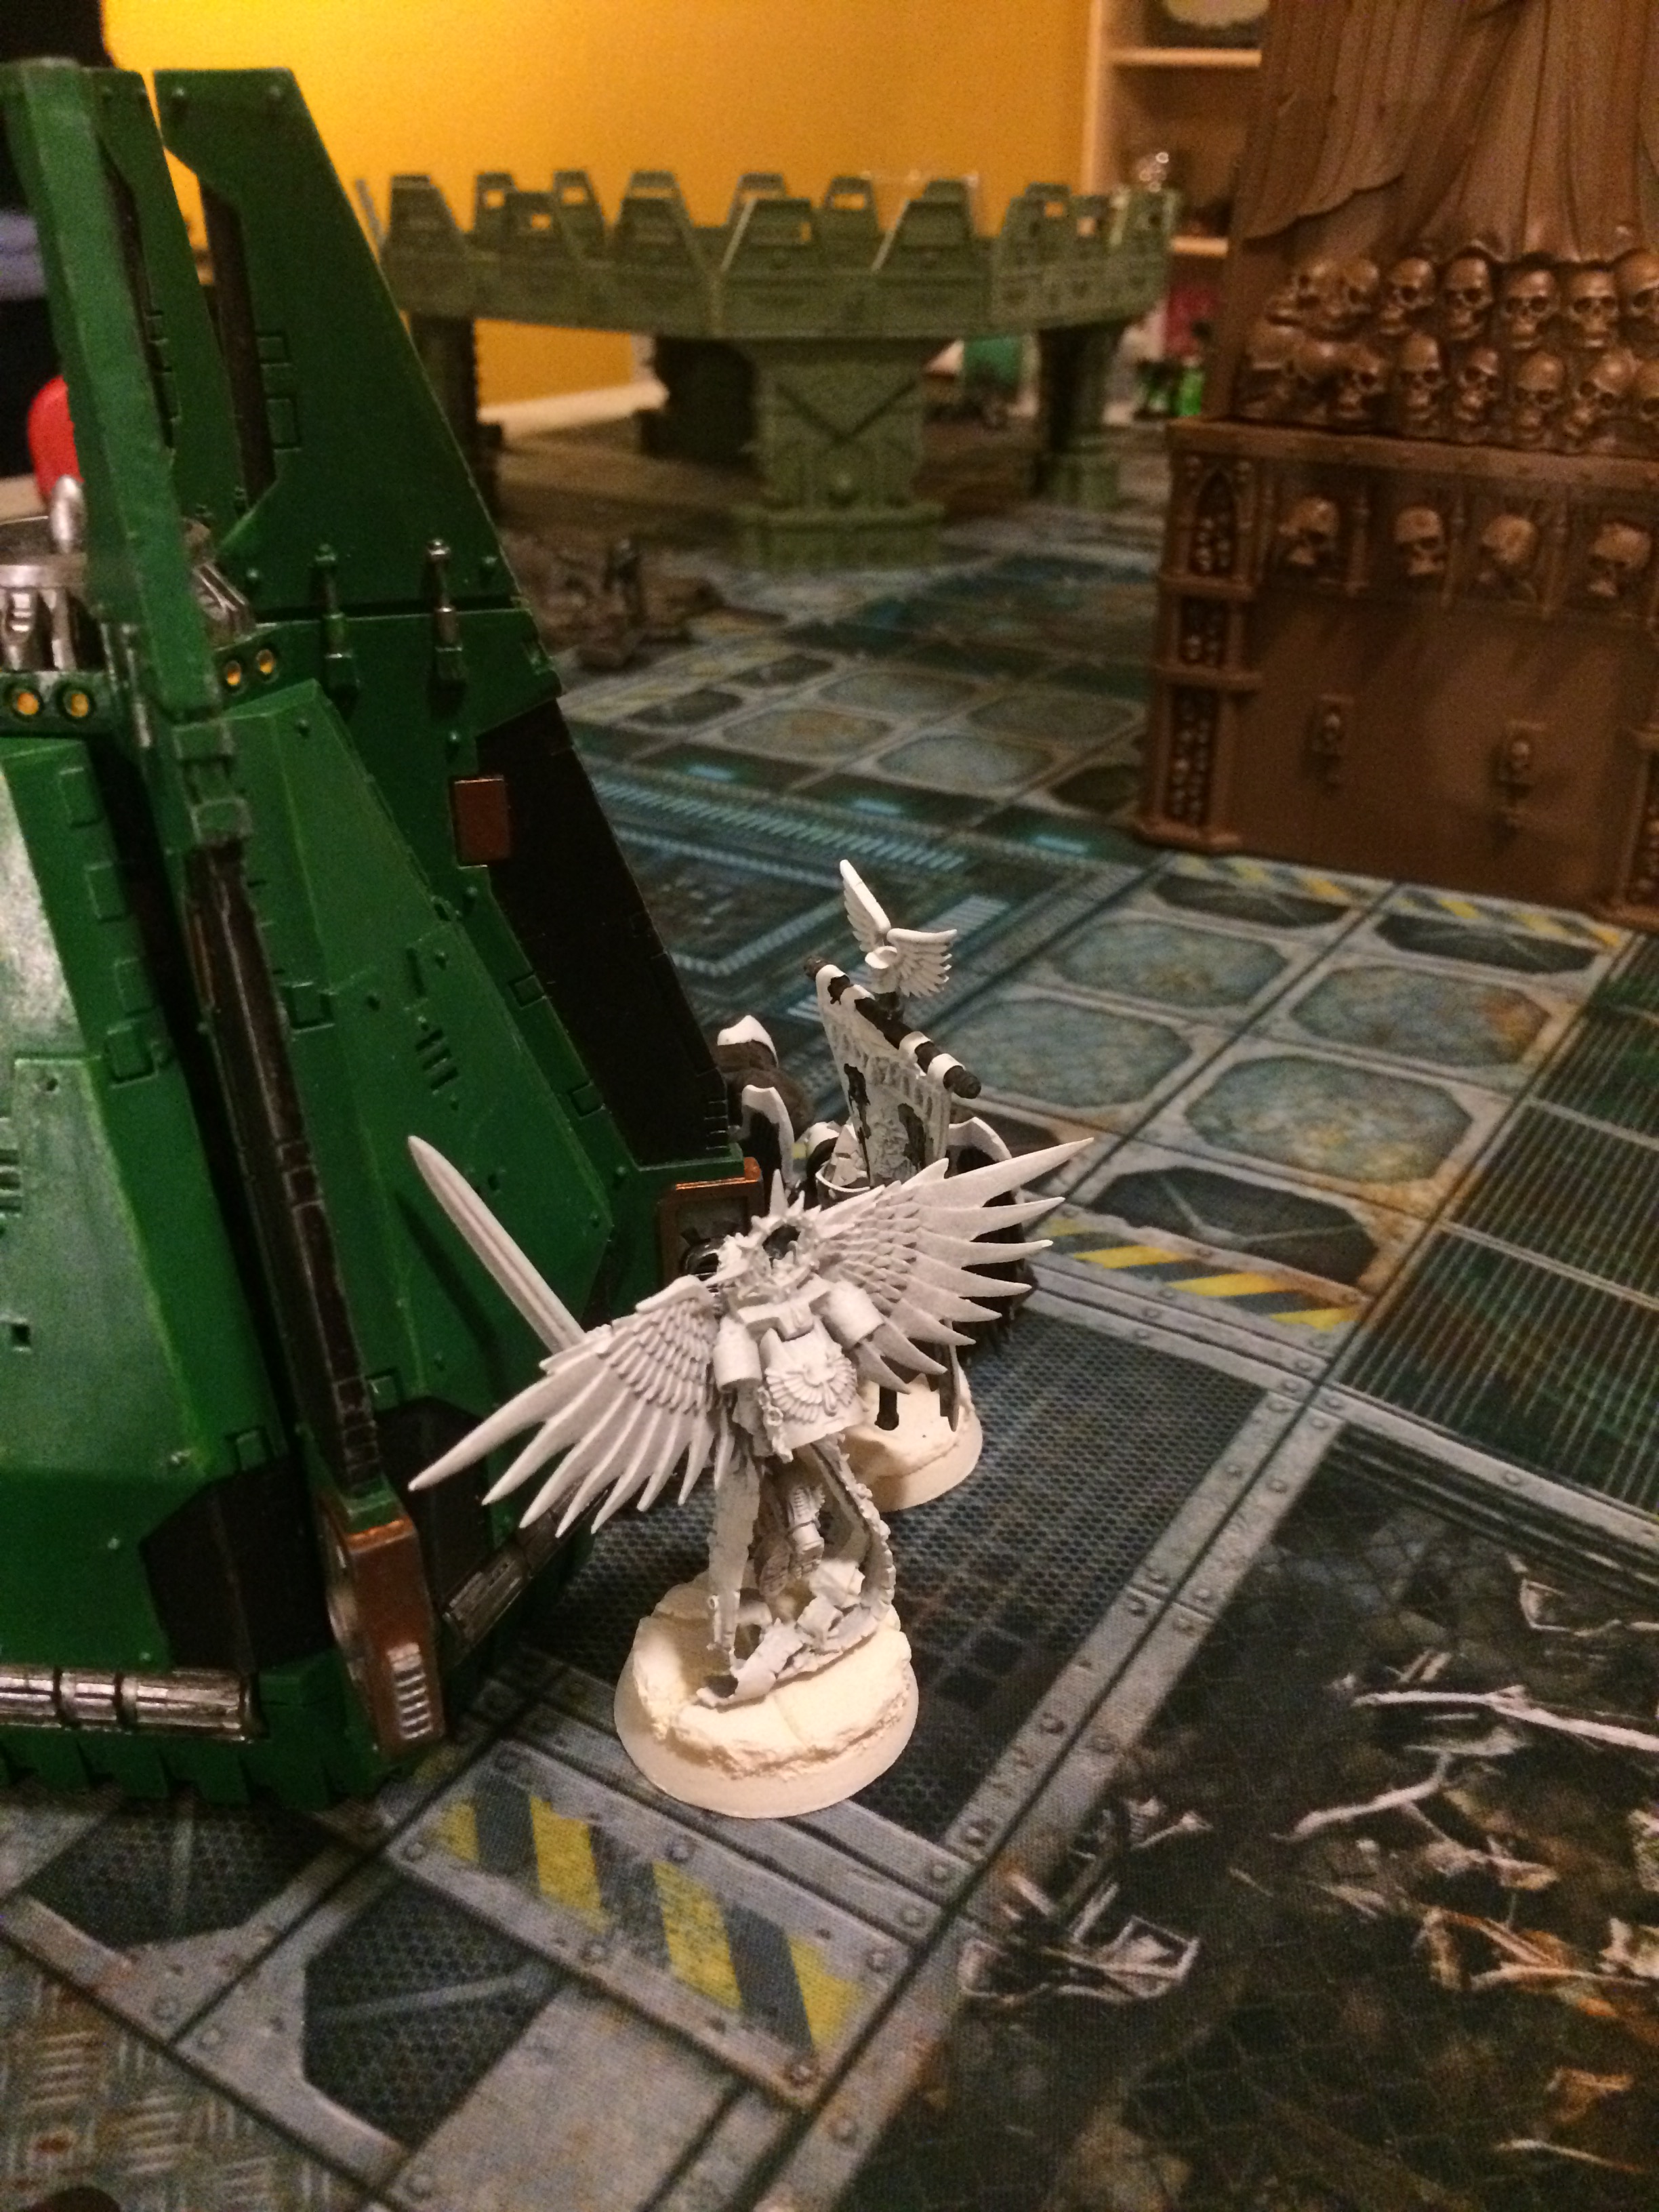
- Sanguinary Guard (5 models)- power fist x1, chapter banner
- Furioso Dreadnought- frag cannon, heavy flamer
- Cassor the Damned (Death Company Dreadnought)
- Assault Marines (5 models)- veteran sergeant with inferno pistol and power sword, meltagun x2
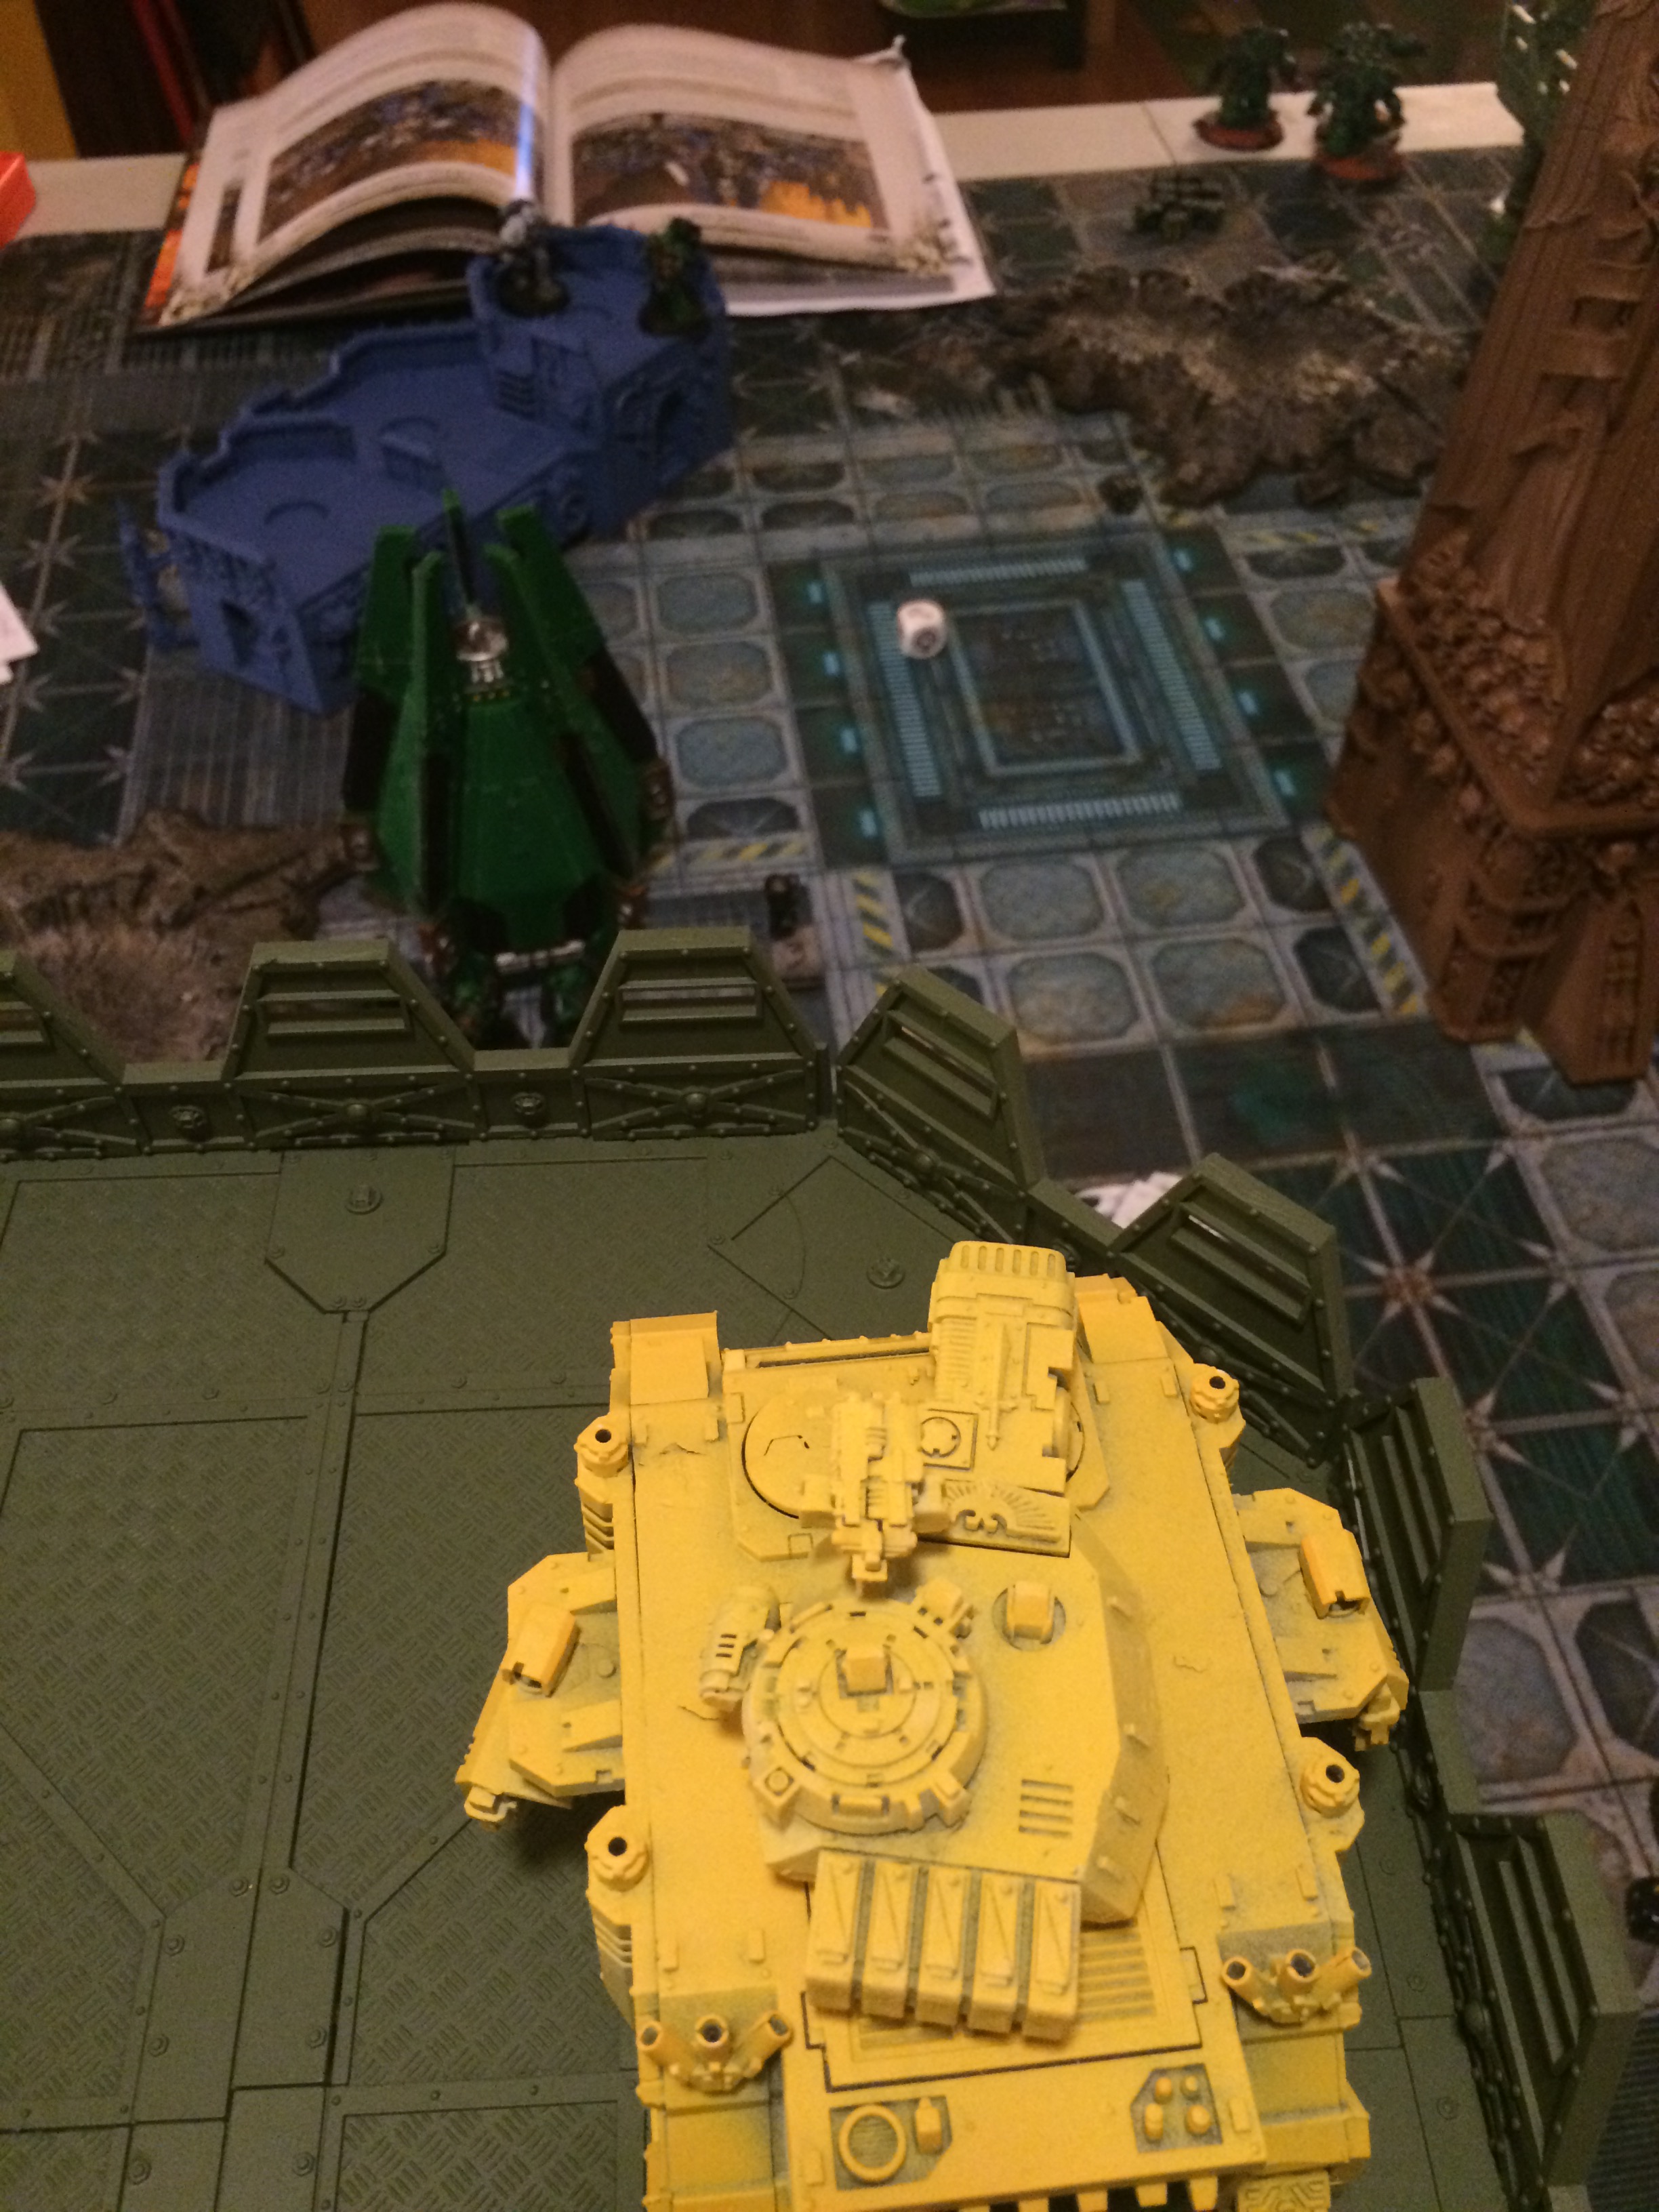
- Predator- tri-lascannons, overcharged engines
- Predator Executioner- plasma cannon, heavy bolter sponsons
Night fight is in effect for turn one. Jerrod attempts to seize the initiative and is unsuccessful.
Turn 1
We start off with catastrophic damage and a meteor shower occurs. The meteors head into the quadrant where the Lamenter jump infantry are positioned. Lucky for them the meteors drift during the approach and cause a crater off to their left.
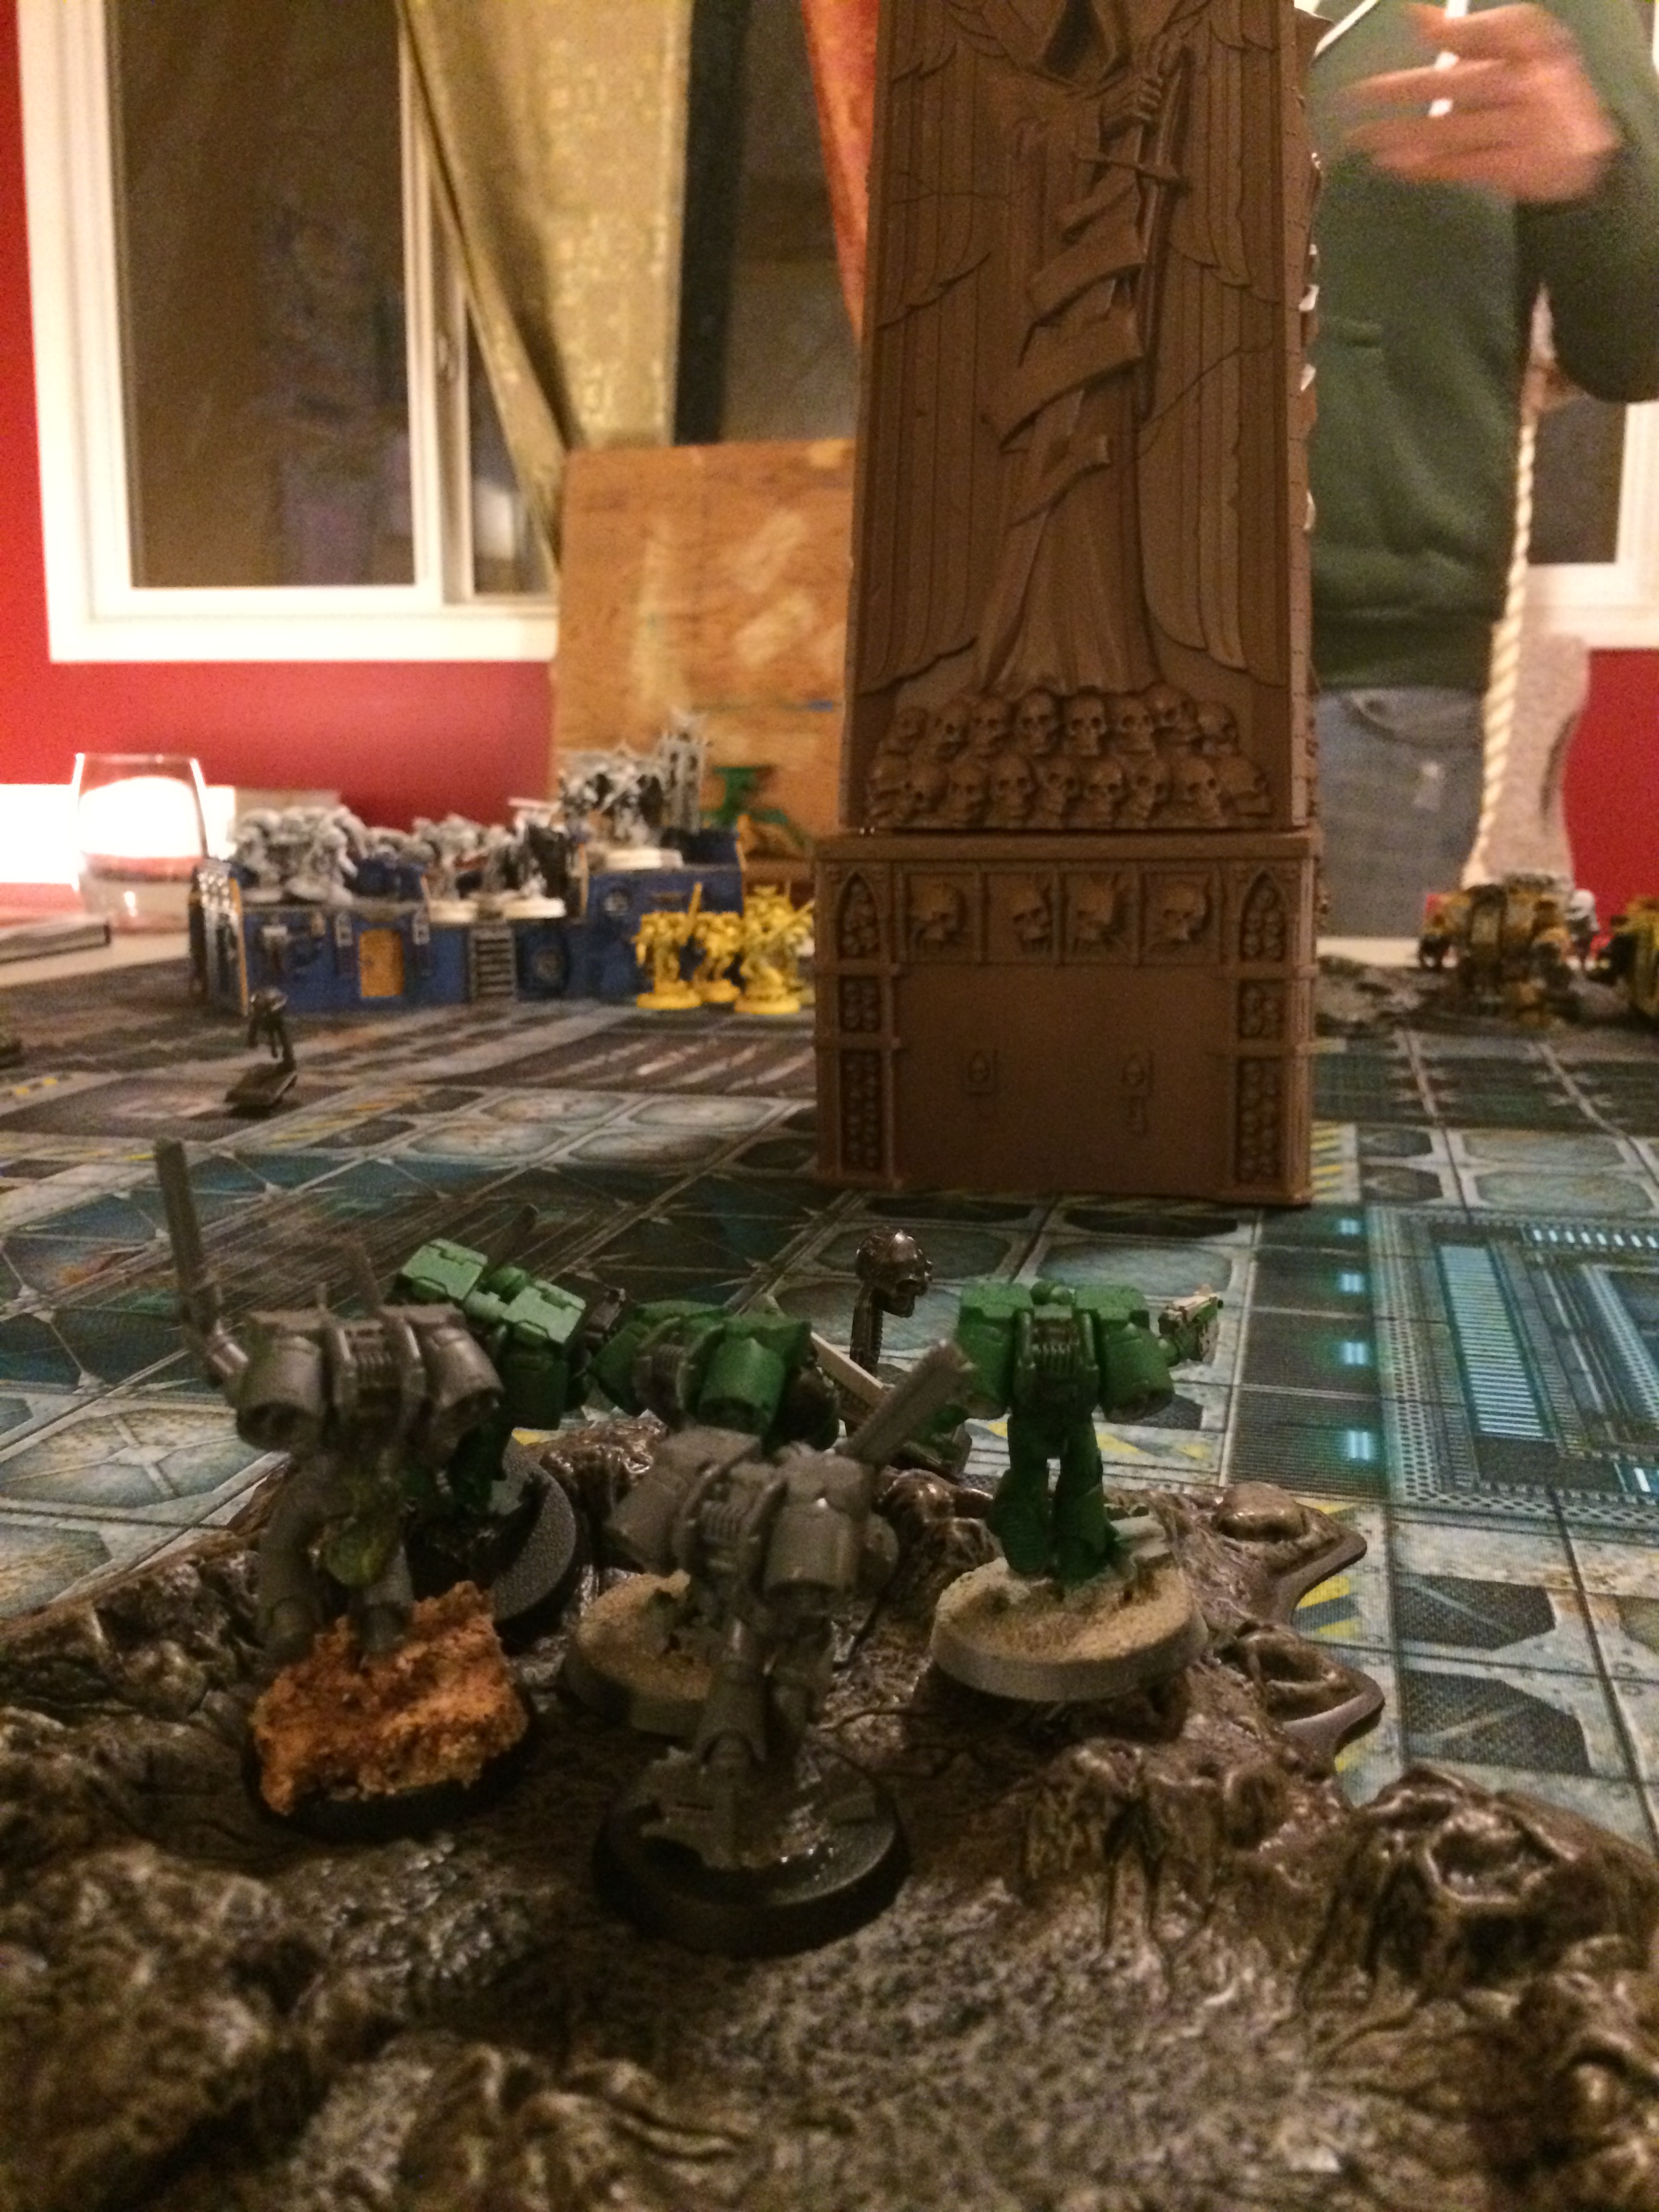
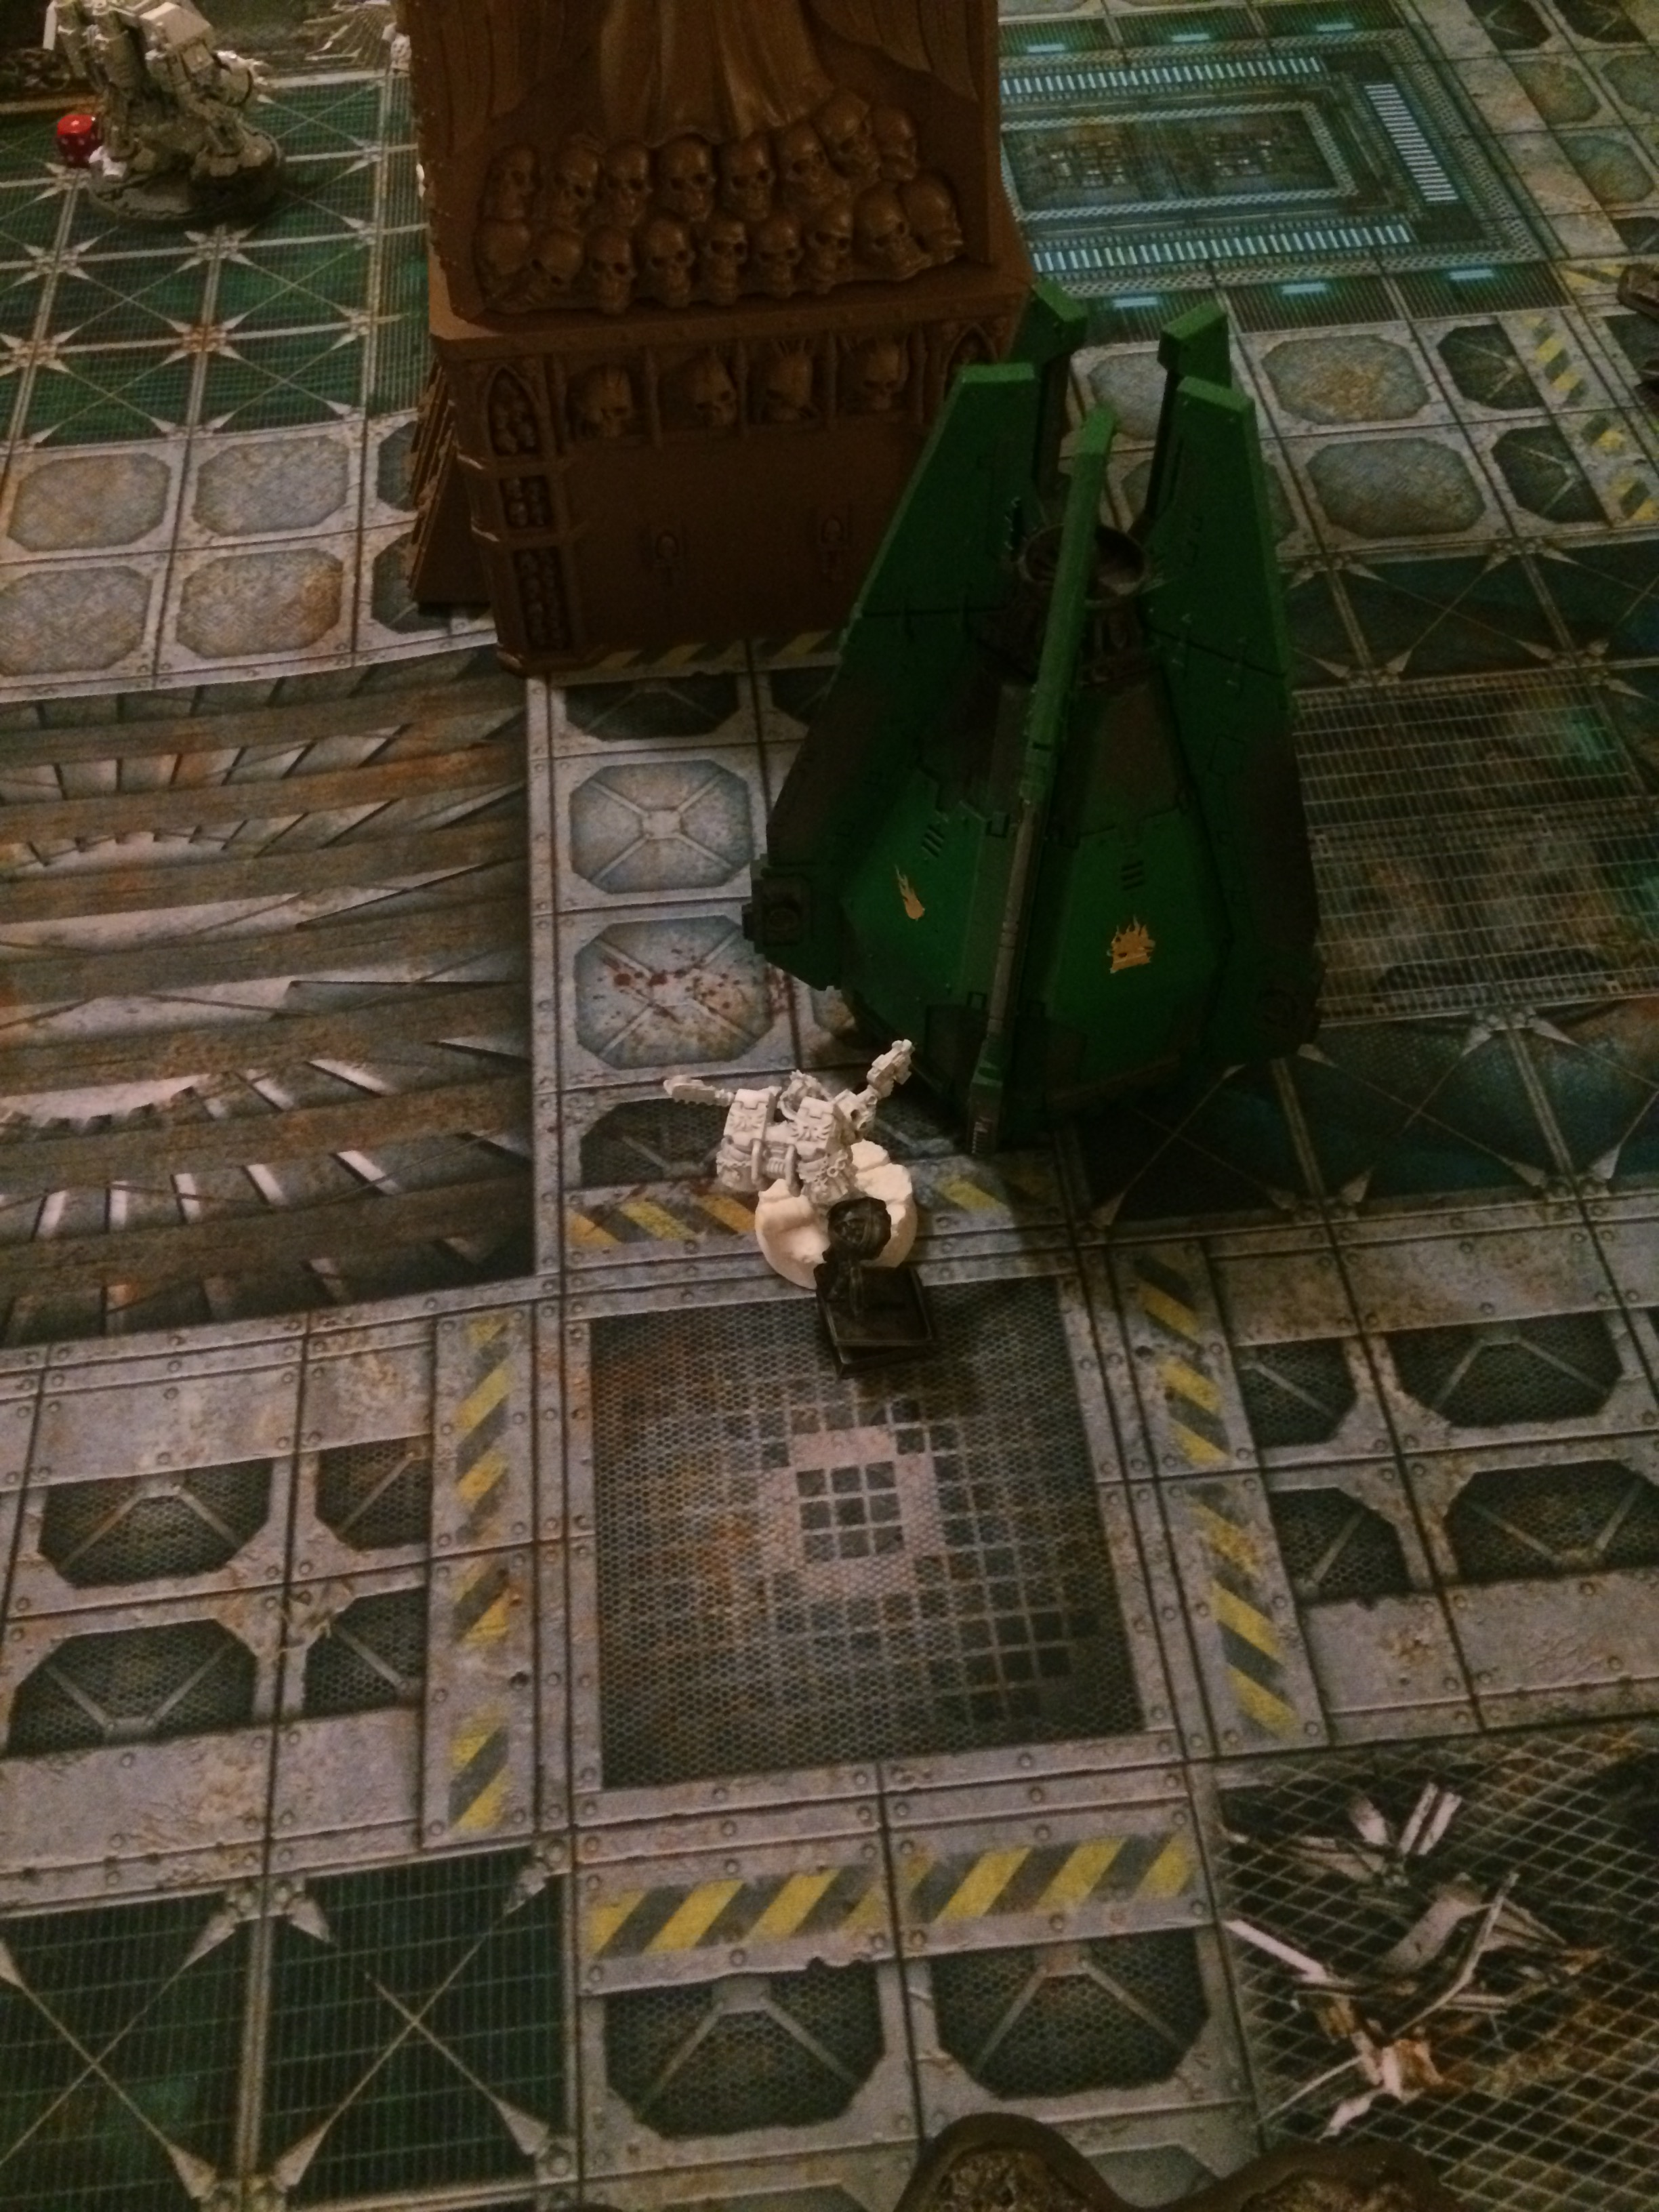
The Lamenters advance towards Salamanders. One Dreadnought advances a couple of inches outside deployment to activate a power generator. The Death Company land in a crater and fail three dangerous terrain tests. Lucky for them they have feel no pain and two shrug of their wounds. One Death Company is incapacitated.
The lascannon Predator targets the Centurions and causes one wound.
The Plasma Executioner positioned on the skyshield drives forward and surveys the base. It causes seven wounds. The Salamanders see the incoming fire and duck into cover to survive the blast. The cover proves to be a ruse and the five man squad is instantly incinerated. The Lamenters score first blood.
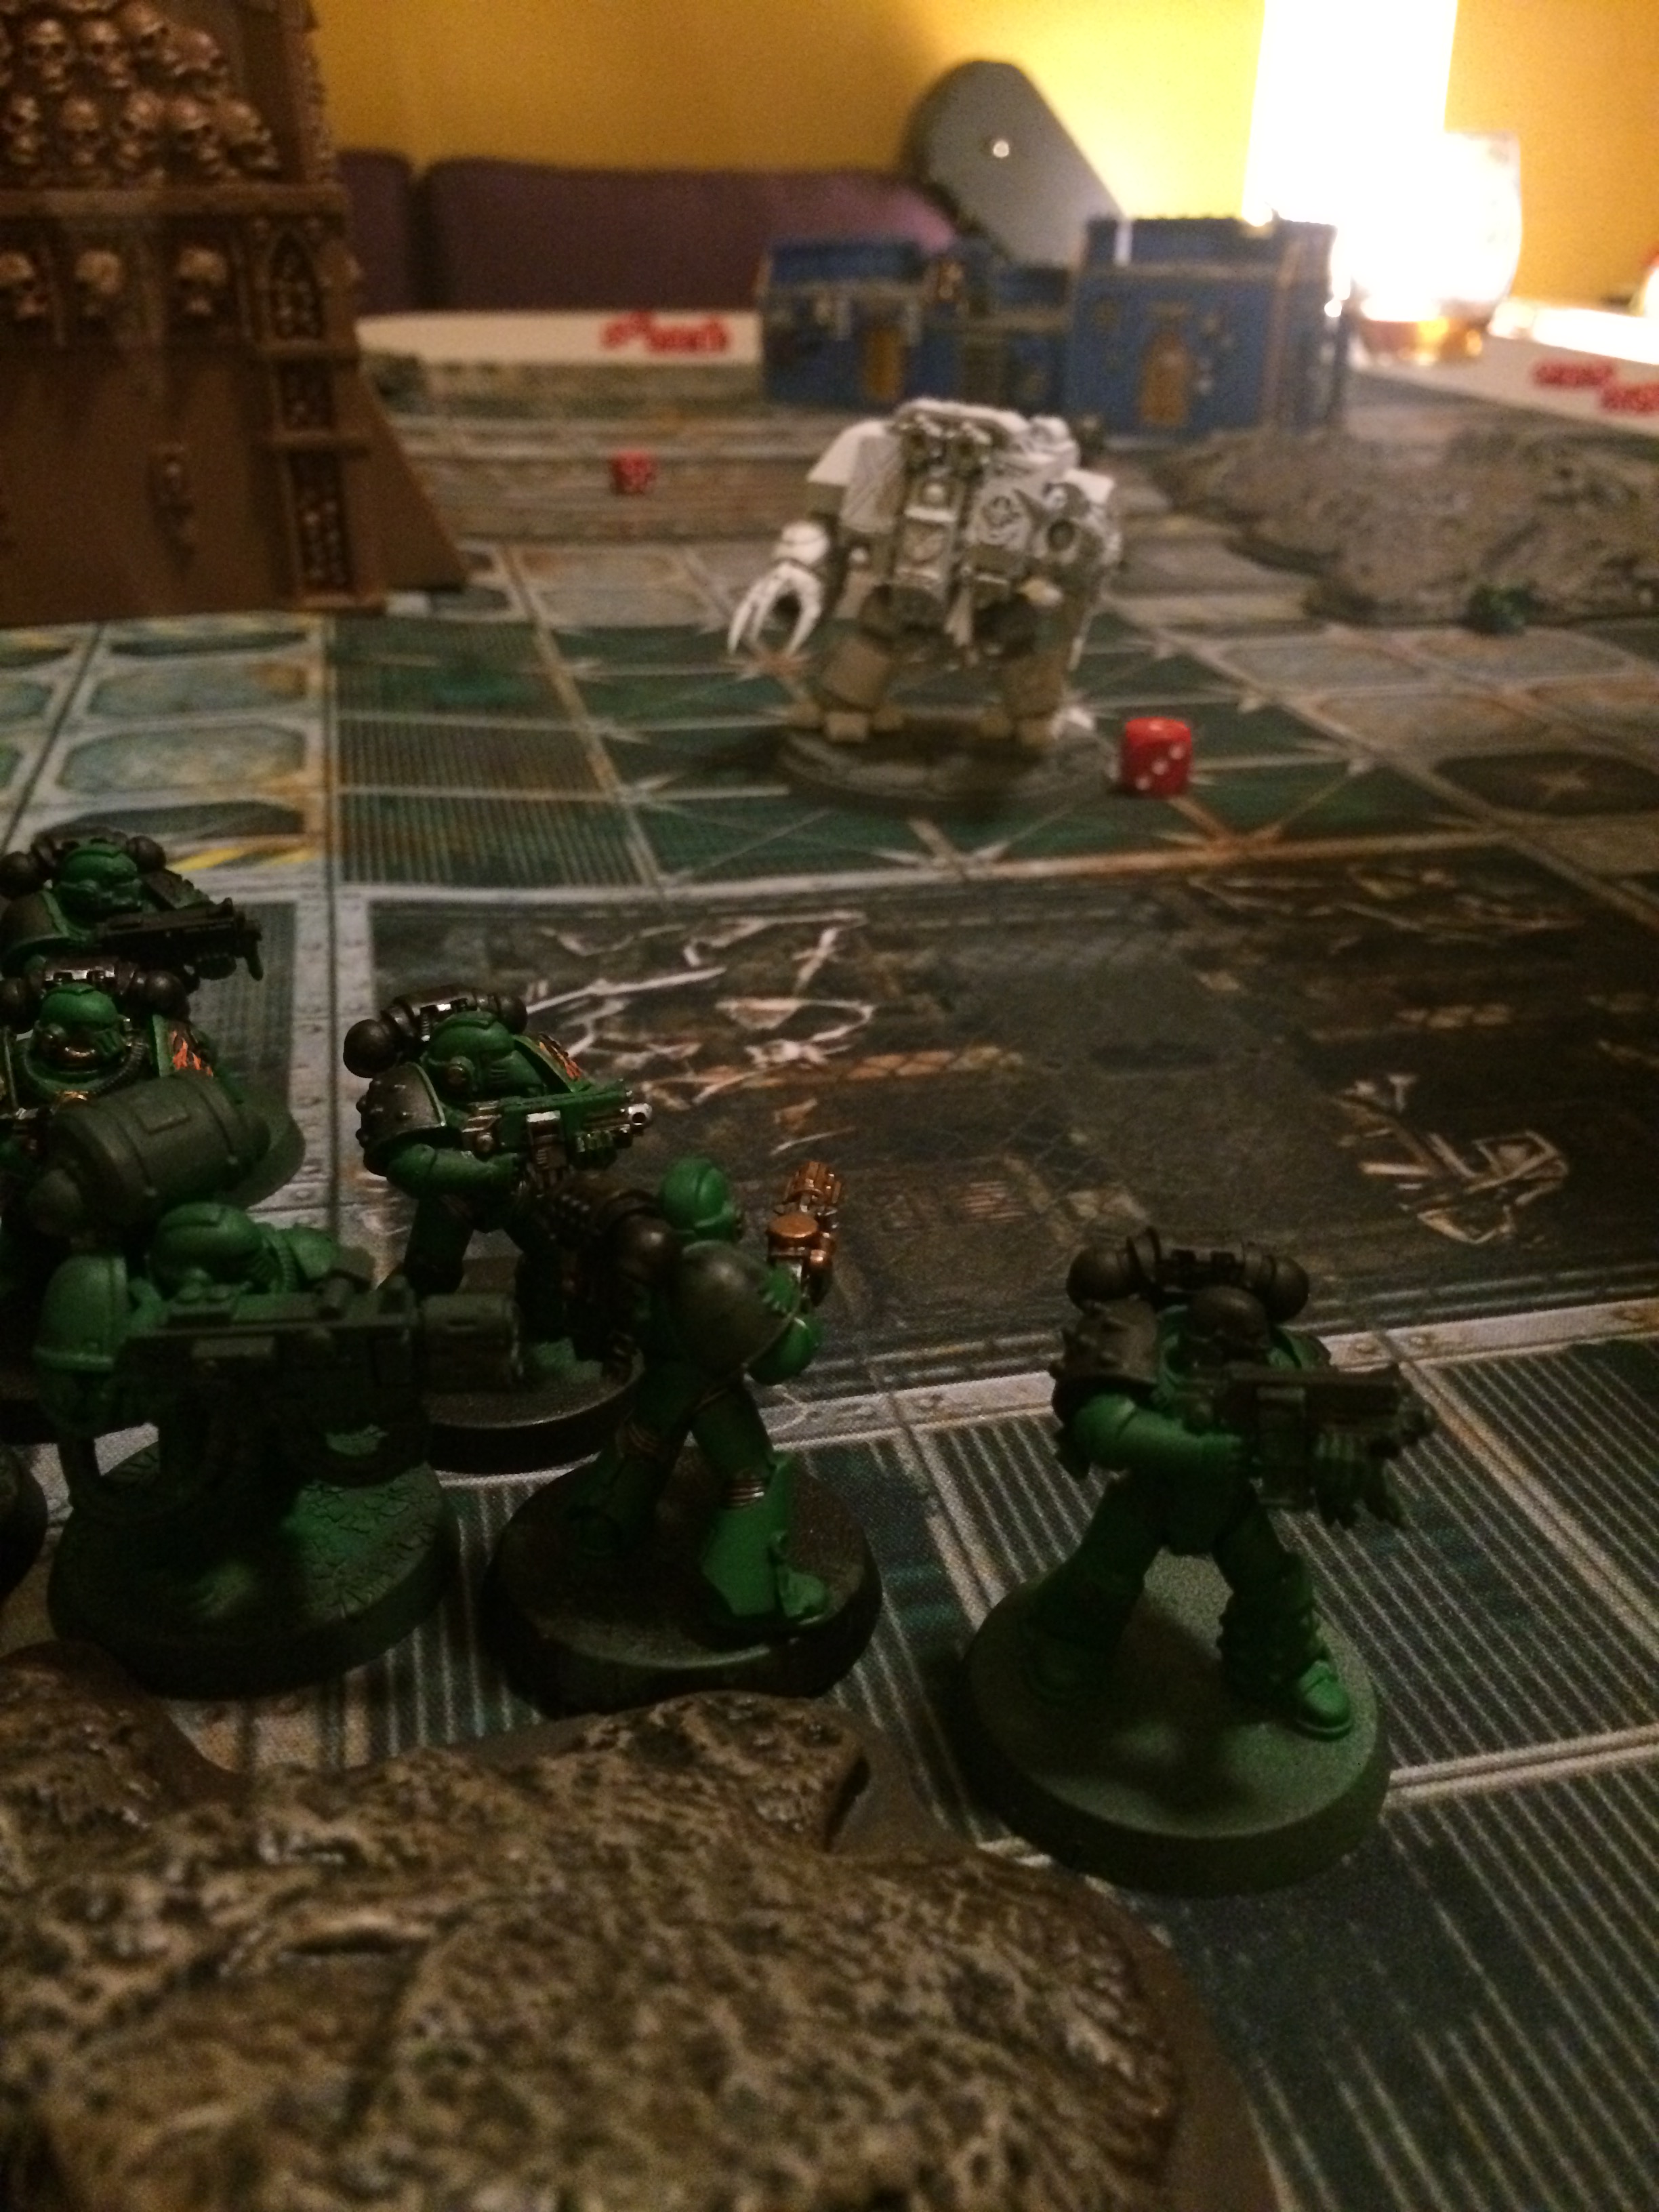
The Salamanders Drop Pods arrive to bolster the force. The first lands close to a power generator. The Salamanders emerge and advance to the lascannon Predator. The Devastators target the Predator first but the intervening Drop Pod does not allow for a clear shot. The Tactical Marines take aim and the meltagun melts the front plate of the tank. It ignites the ammunition chamber. The Predator explodes and incinerates two Salamanders in the blast.

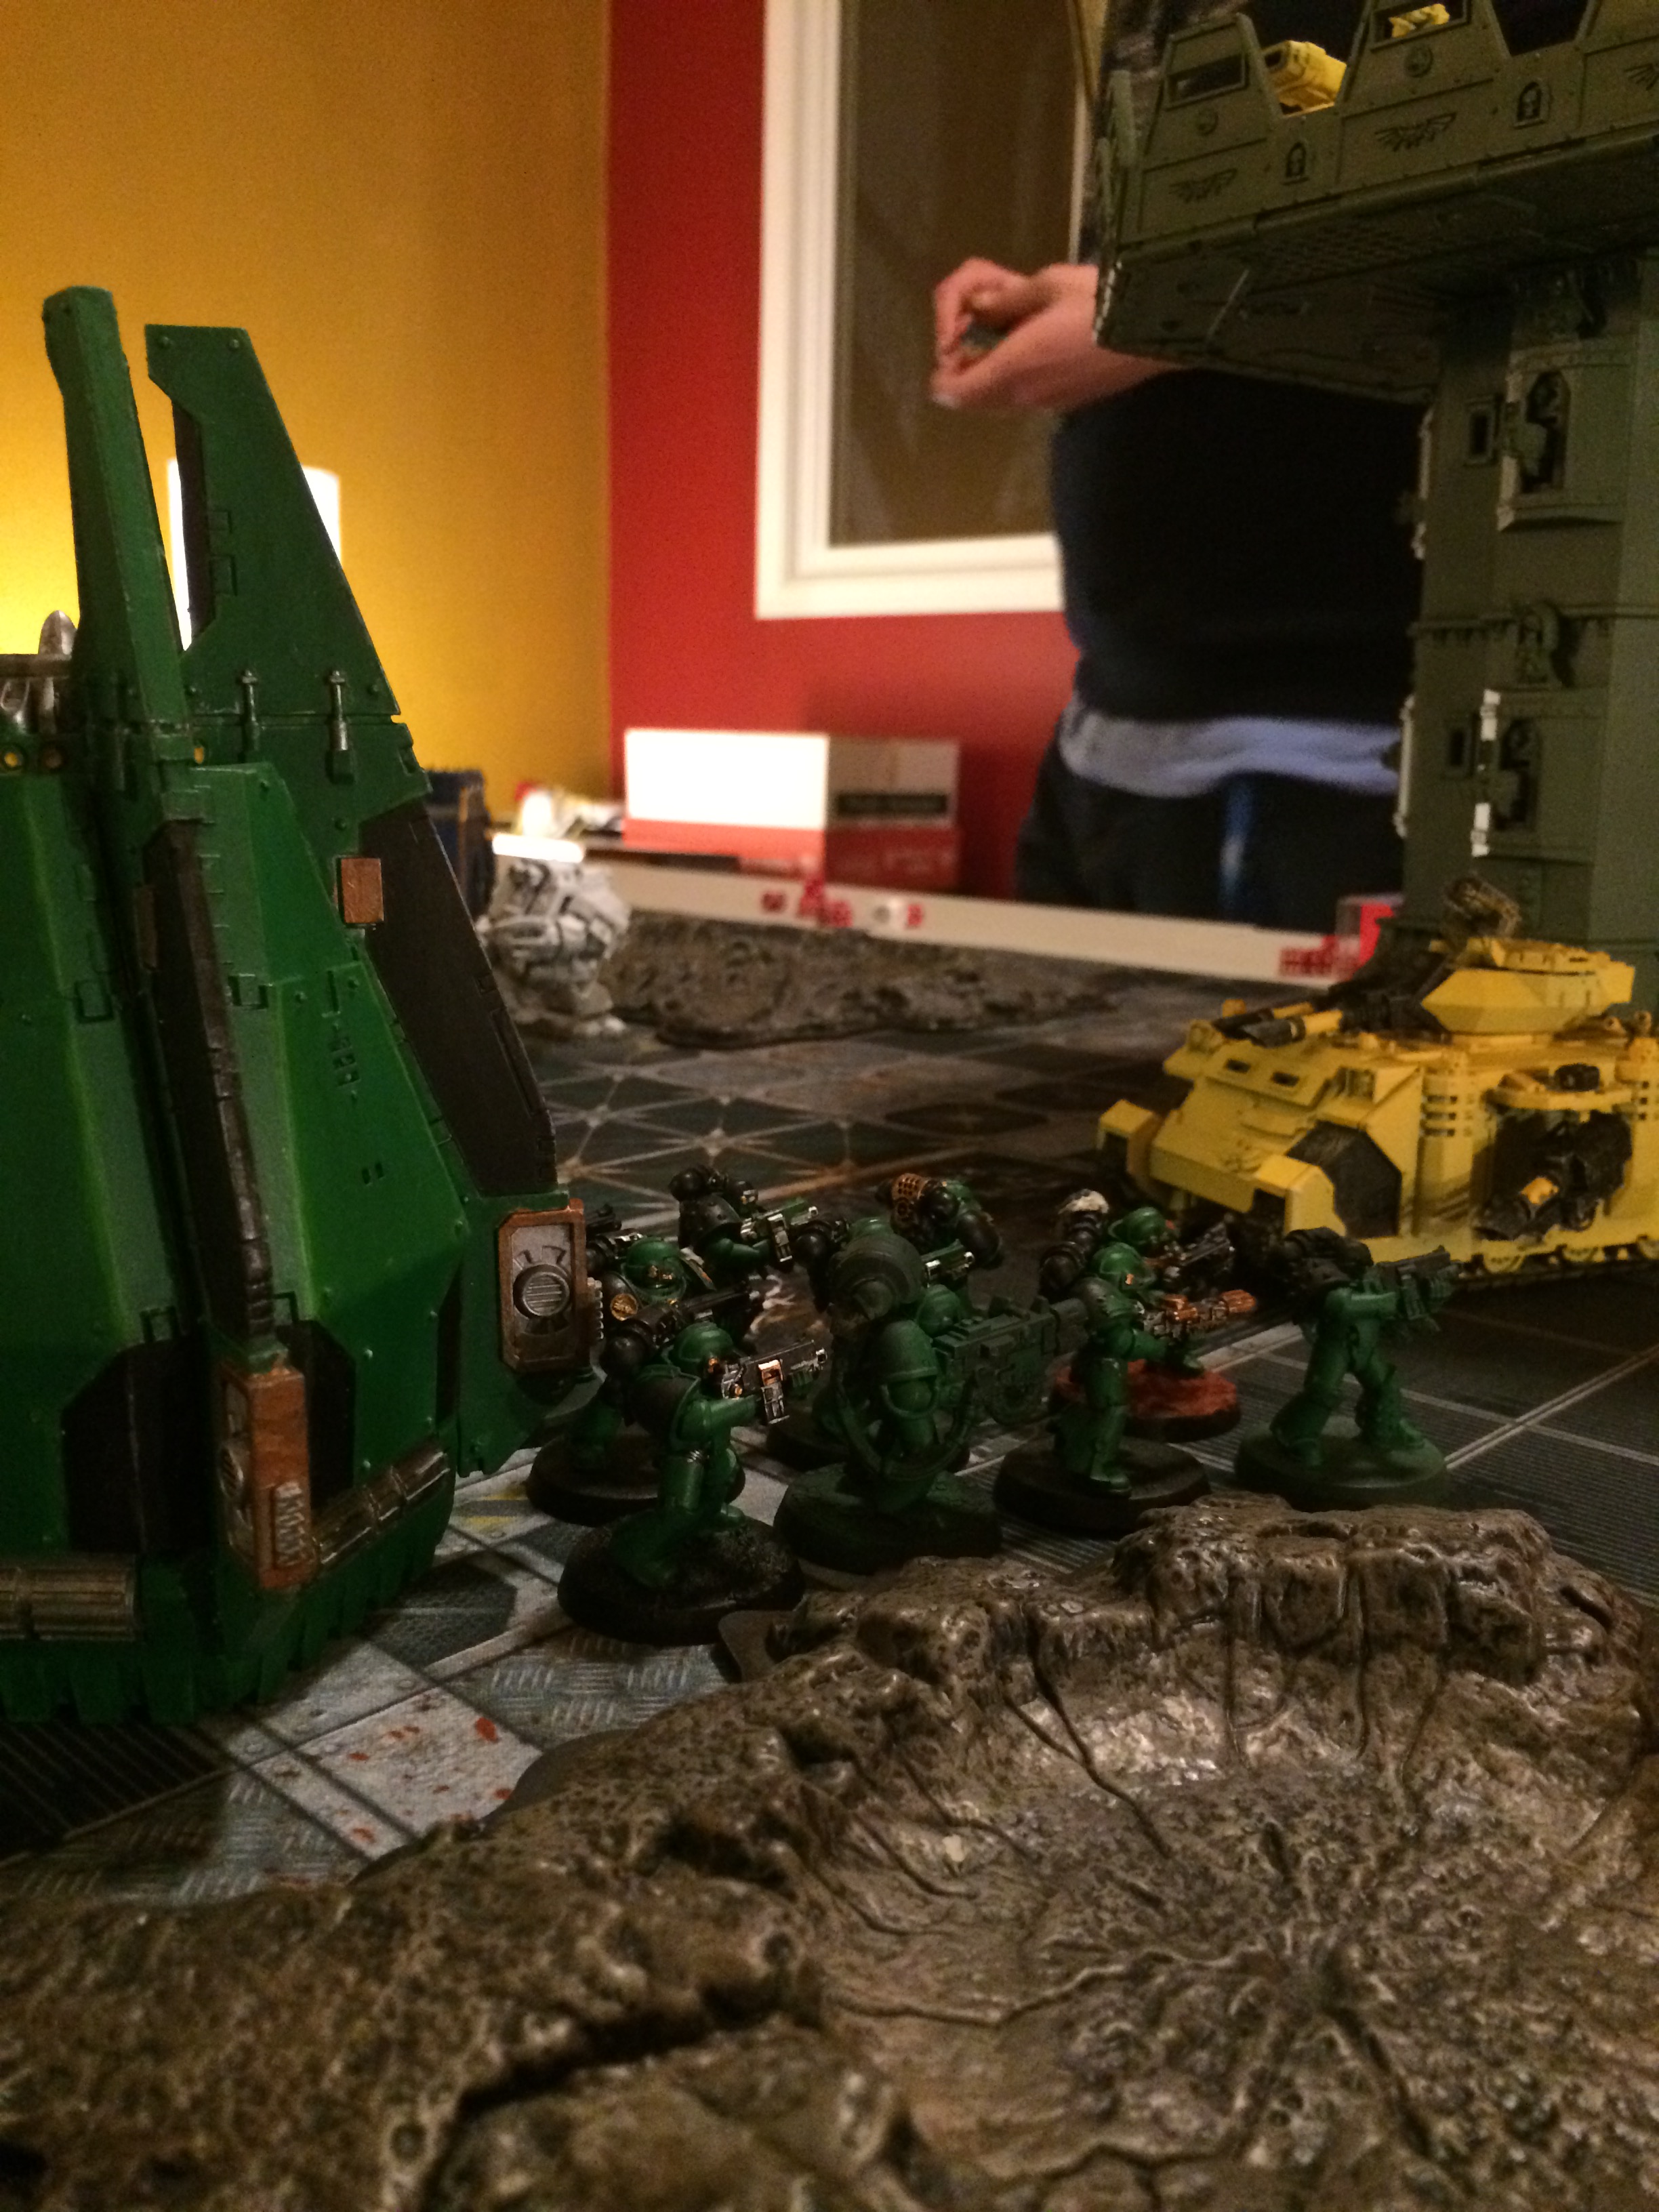
A second Drop Pod arrives and lands close to the power generator being activated by the Lamenter Assault Marines. The Salamanders march out and instantly target the Assault Marines. The Cold Void of space enhances the damage caused and three marines are shredded from the rending caused by the bolt shells. The Drop Pod also targets the Lamenters Assault Squad a kills one from a rending storm bolter shot.

The Centurions target the Death Company sneaking up in a crater. The grav cannons create a vortex and the five members of the squad are crushed by their own armour. The Chaplain survives.
The Lamenters are winning 1-0 from First Blood.
Turn 2
Will and Jerrod roll on the catastrophic table. The terrain becomes unstable with a tectonic upheaval. All open terrain counts as difficult and difficult terrain counts as dangerous.
The Lamenters score a victory point for powering a generator thanks to Cassor the Damned. The Furioso advances towards the Salamander Tactical Marines that shot down the Assault Marines. The cold void proves to be too much. Eight Salamanders suffer rending wounds. The last two Marines suffer from the barrage of fire. The unit is wiped out.
The sole surviving Assault Marine shoots the Drop Pod with a melta gun. He misses his mark due to the flaming promethium and smoke torching the Salmanders in front of him. The Assault Marine charges the Drop Pod and removes a hull point.
The Executioner Predator powers up the plasma coils and targets the Salmander Devastators. The Salamanders are slow to respond to the incoming fire and are unable to take cover fast enough. Four members of the squad are burned beyond recognition.
Cassor the Damned approaches the Salamander Tactical Squad that wrecked the Predator. Cassor kills two marines in shooting and prepares to charge. The Salamanders are prepared for this and the multi-melta powers up. The shot grazes the side of Cassor but the damage is done. Cassor’s power plant is damaged and becomes immobilized.
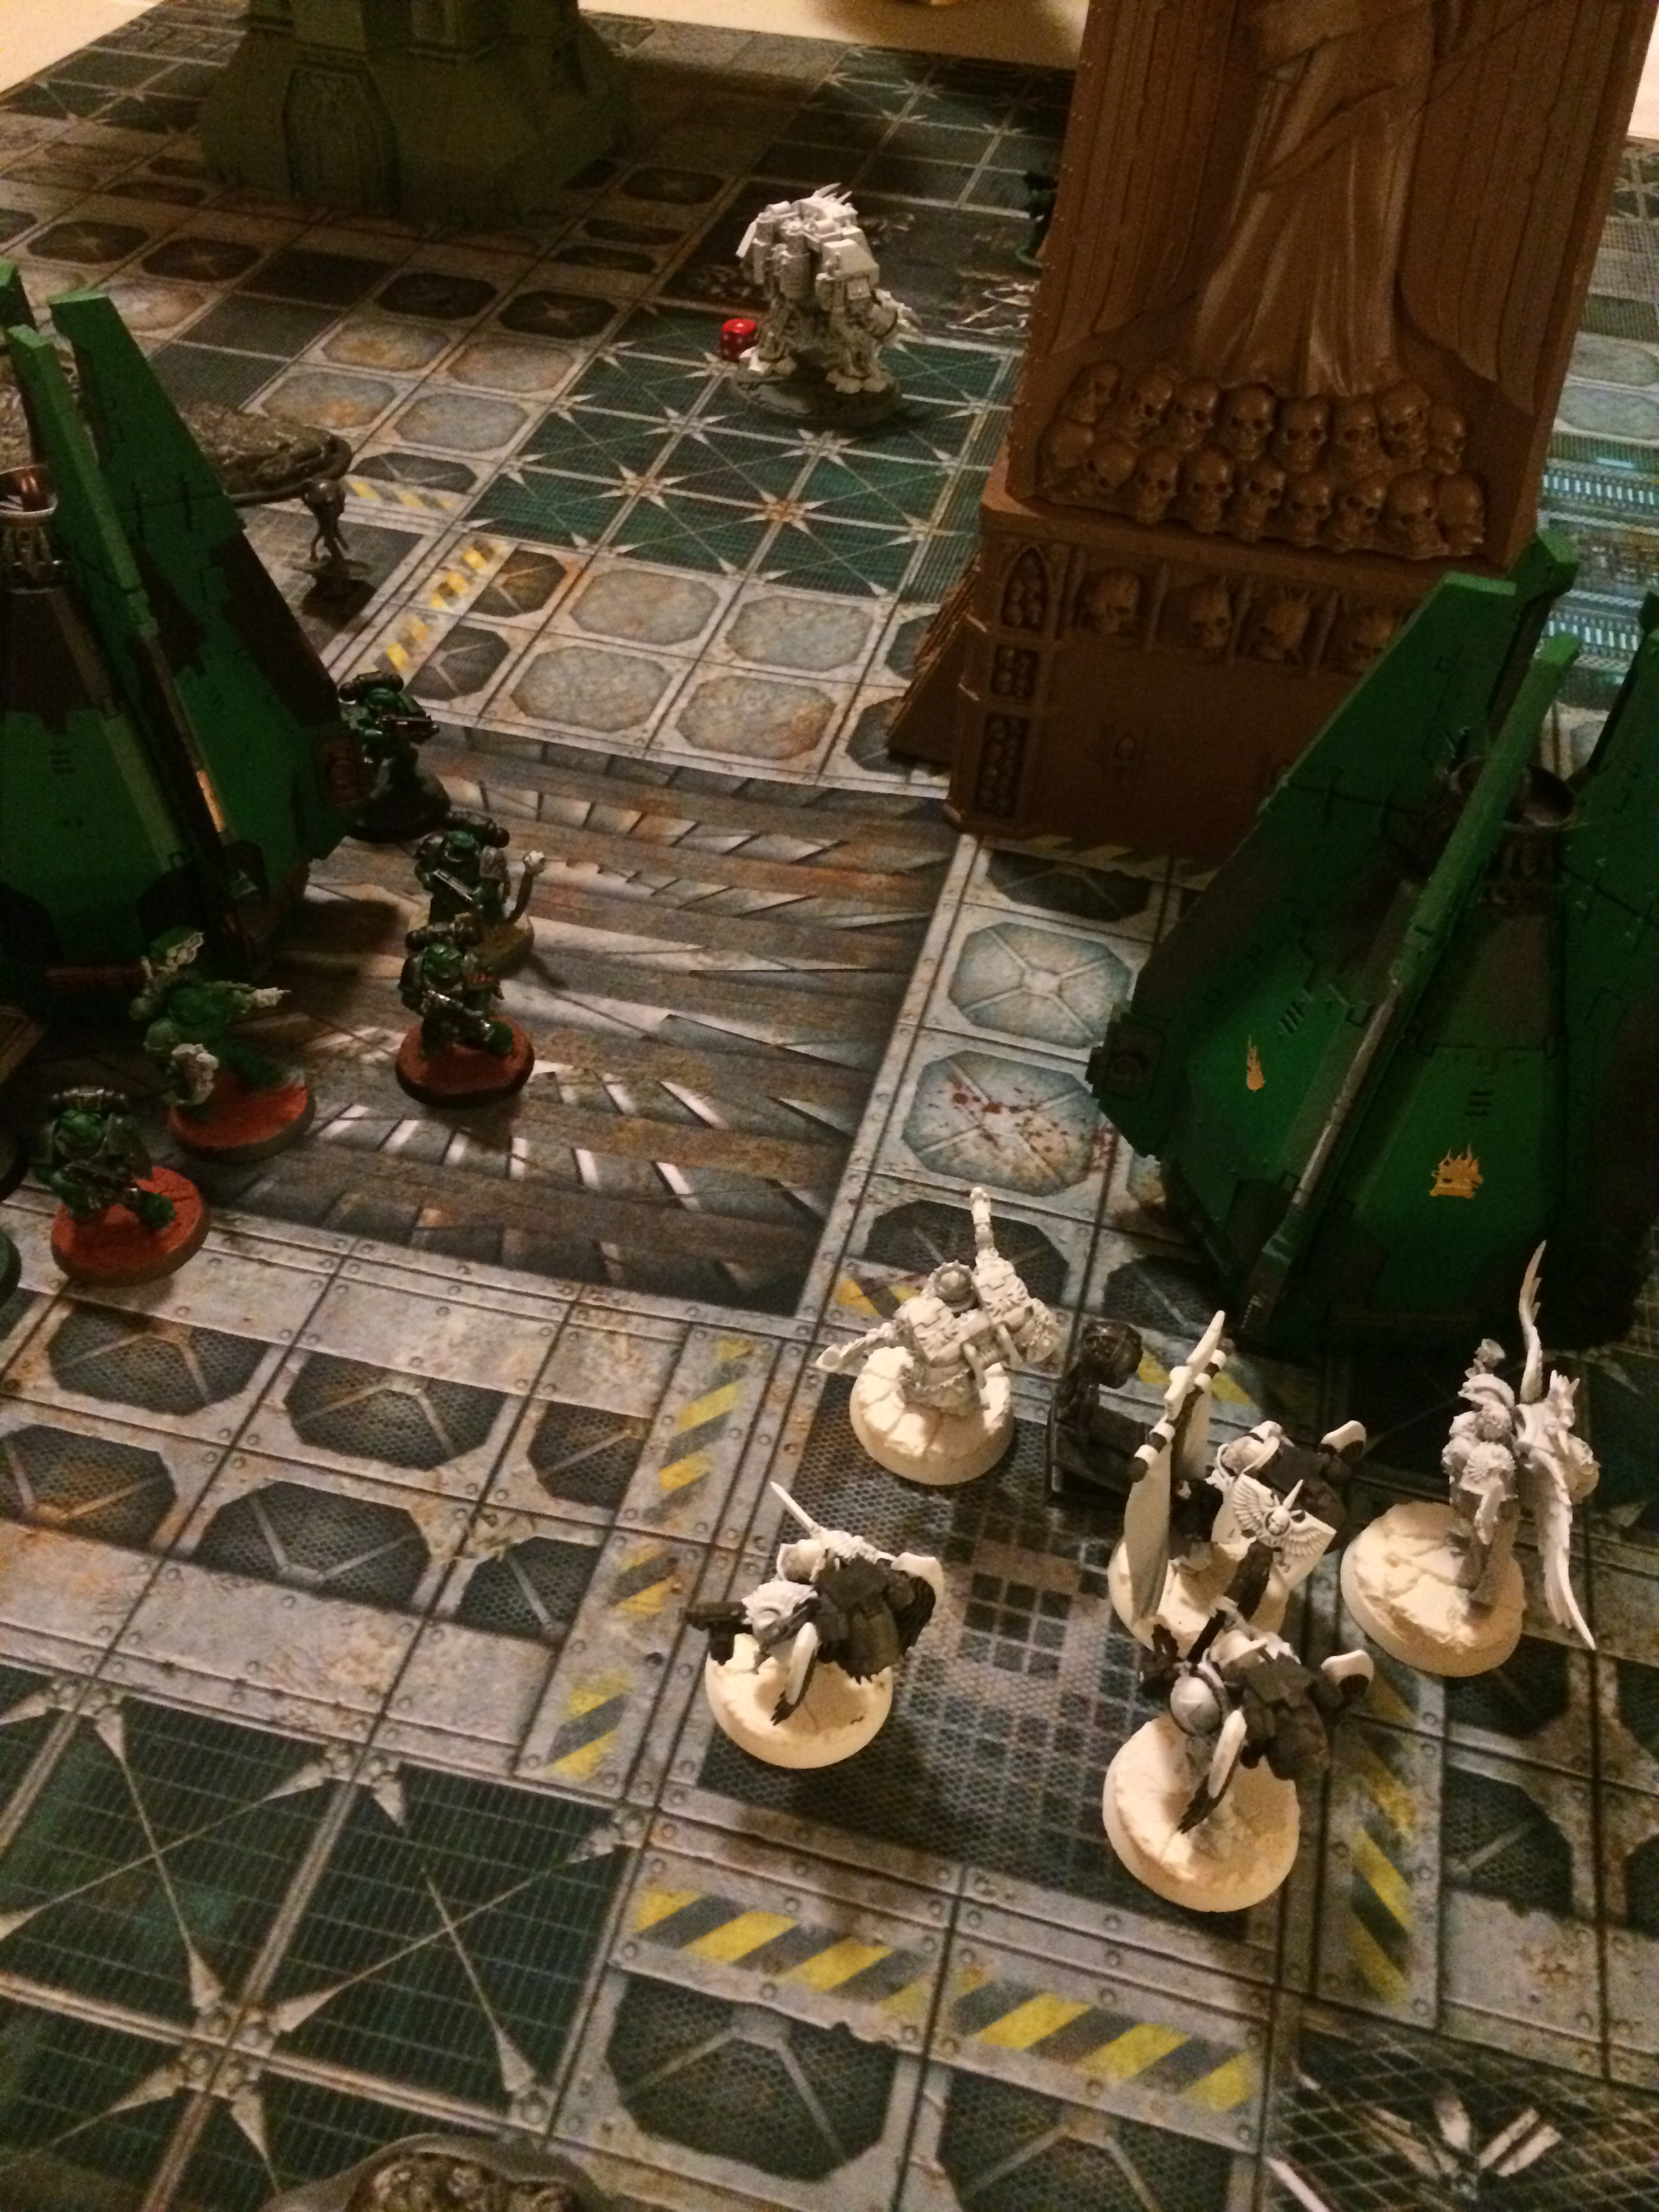
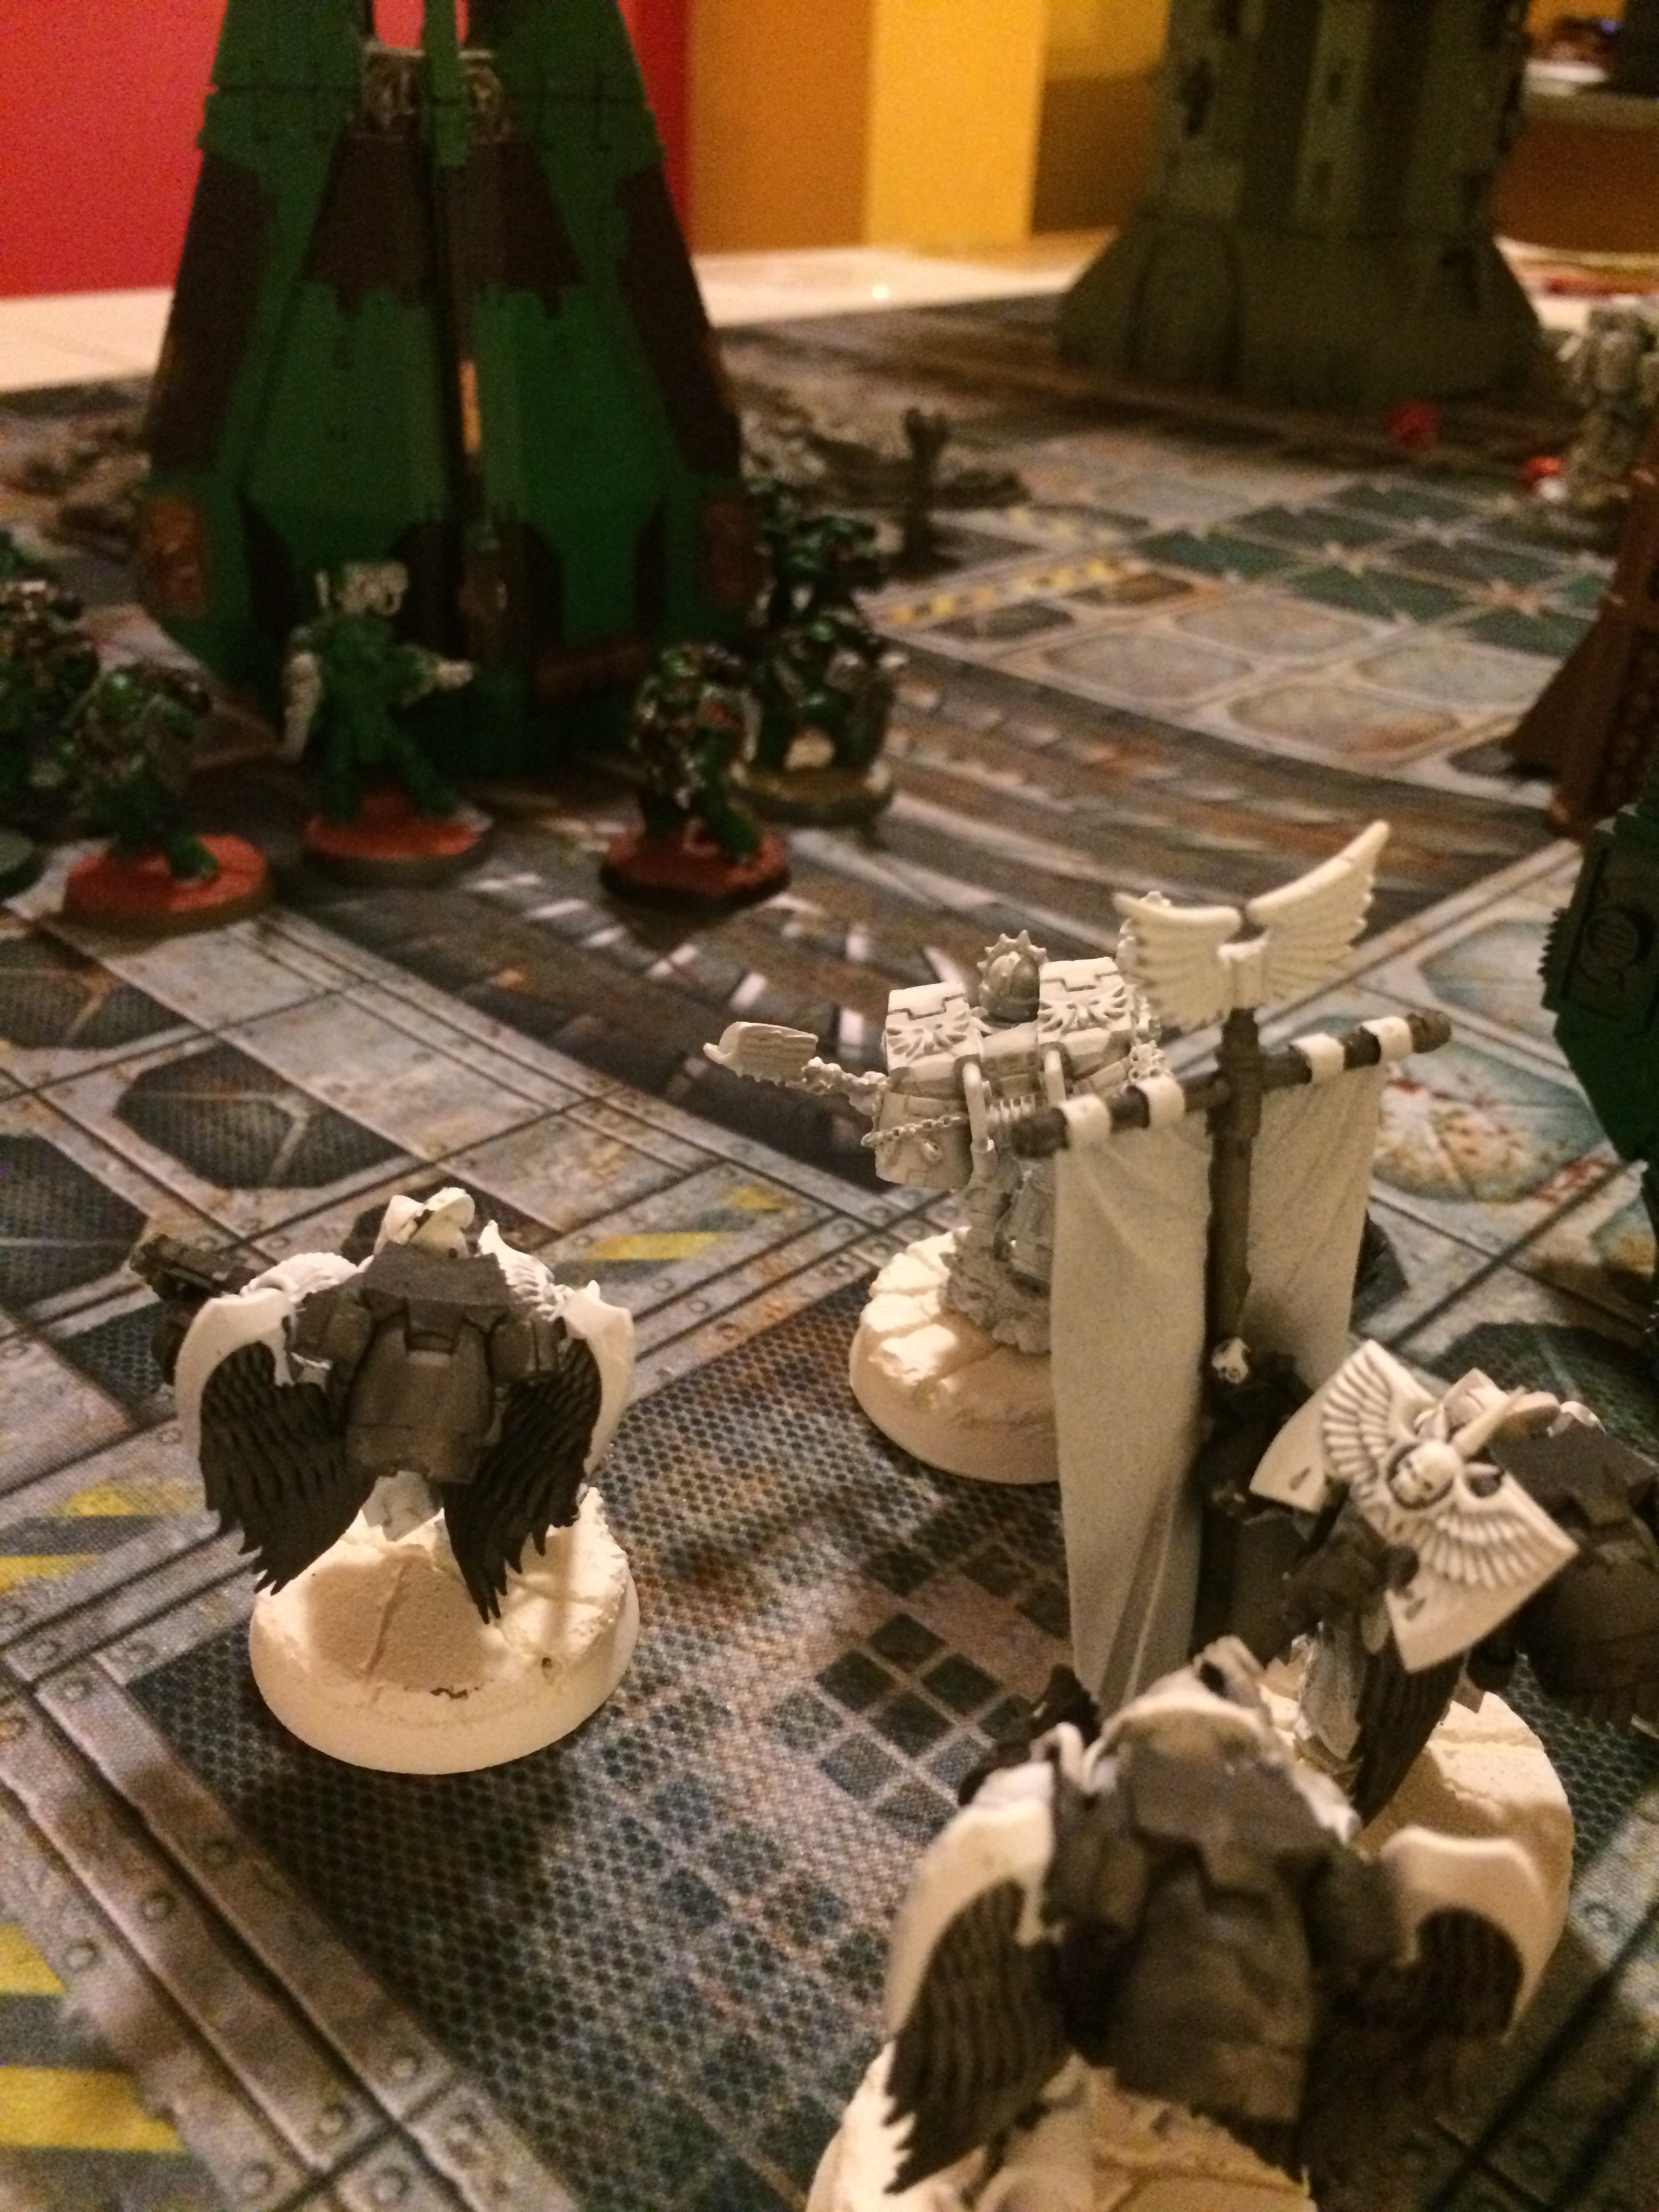
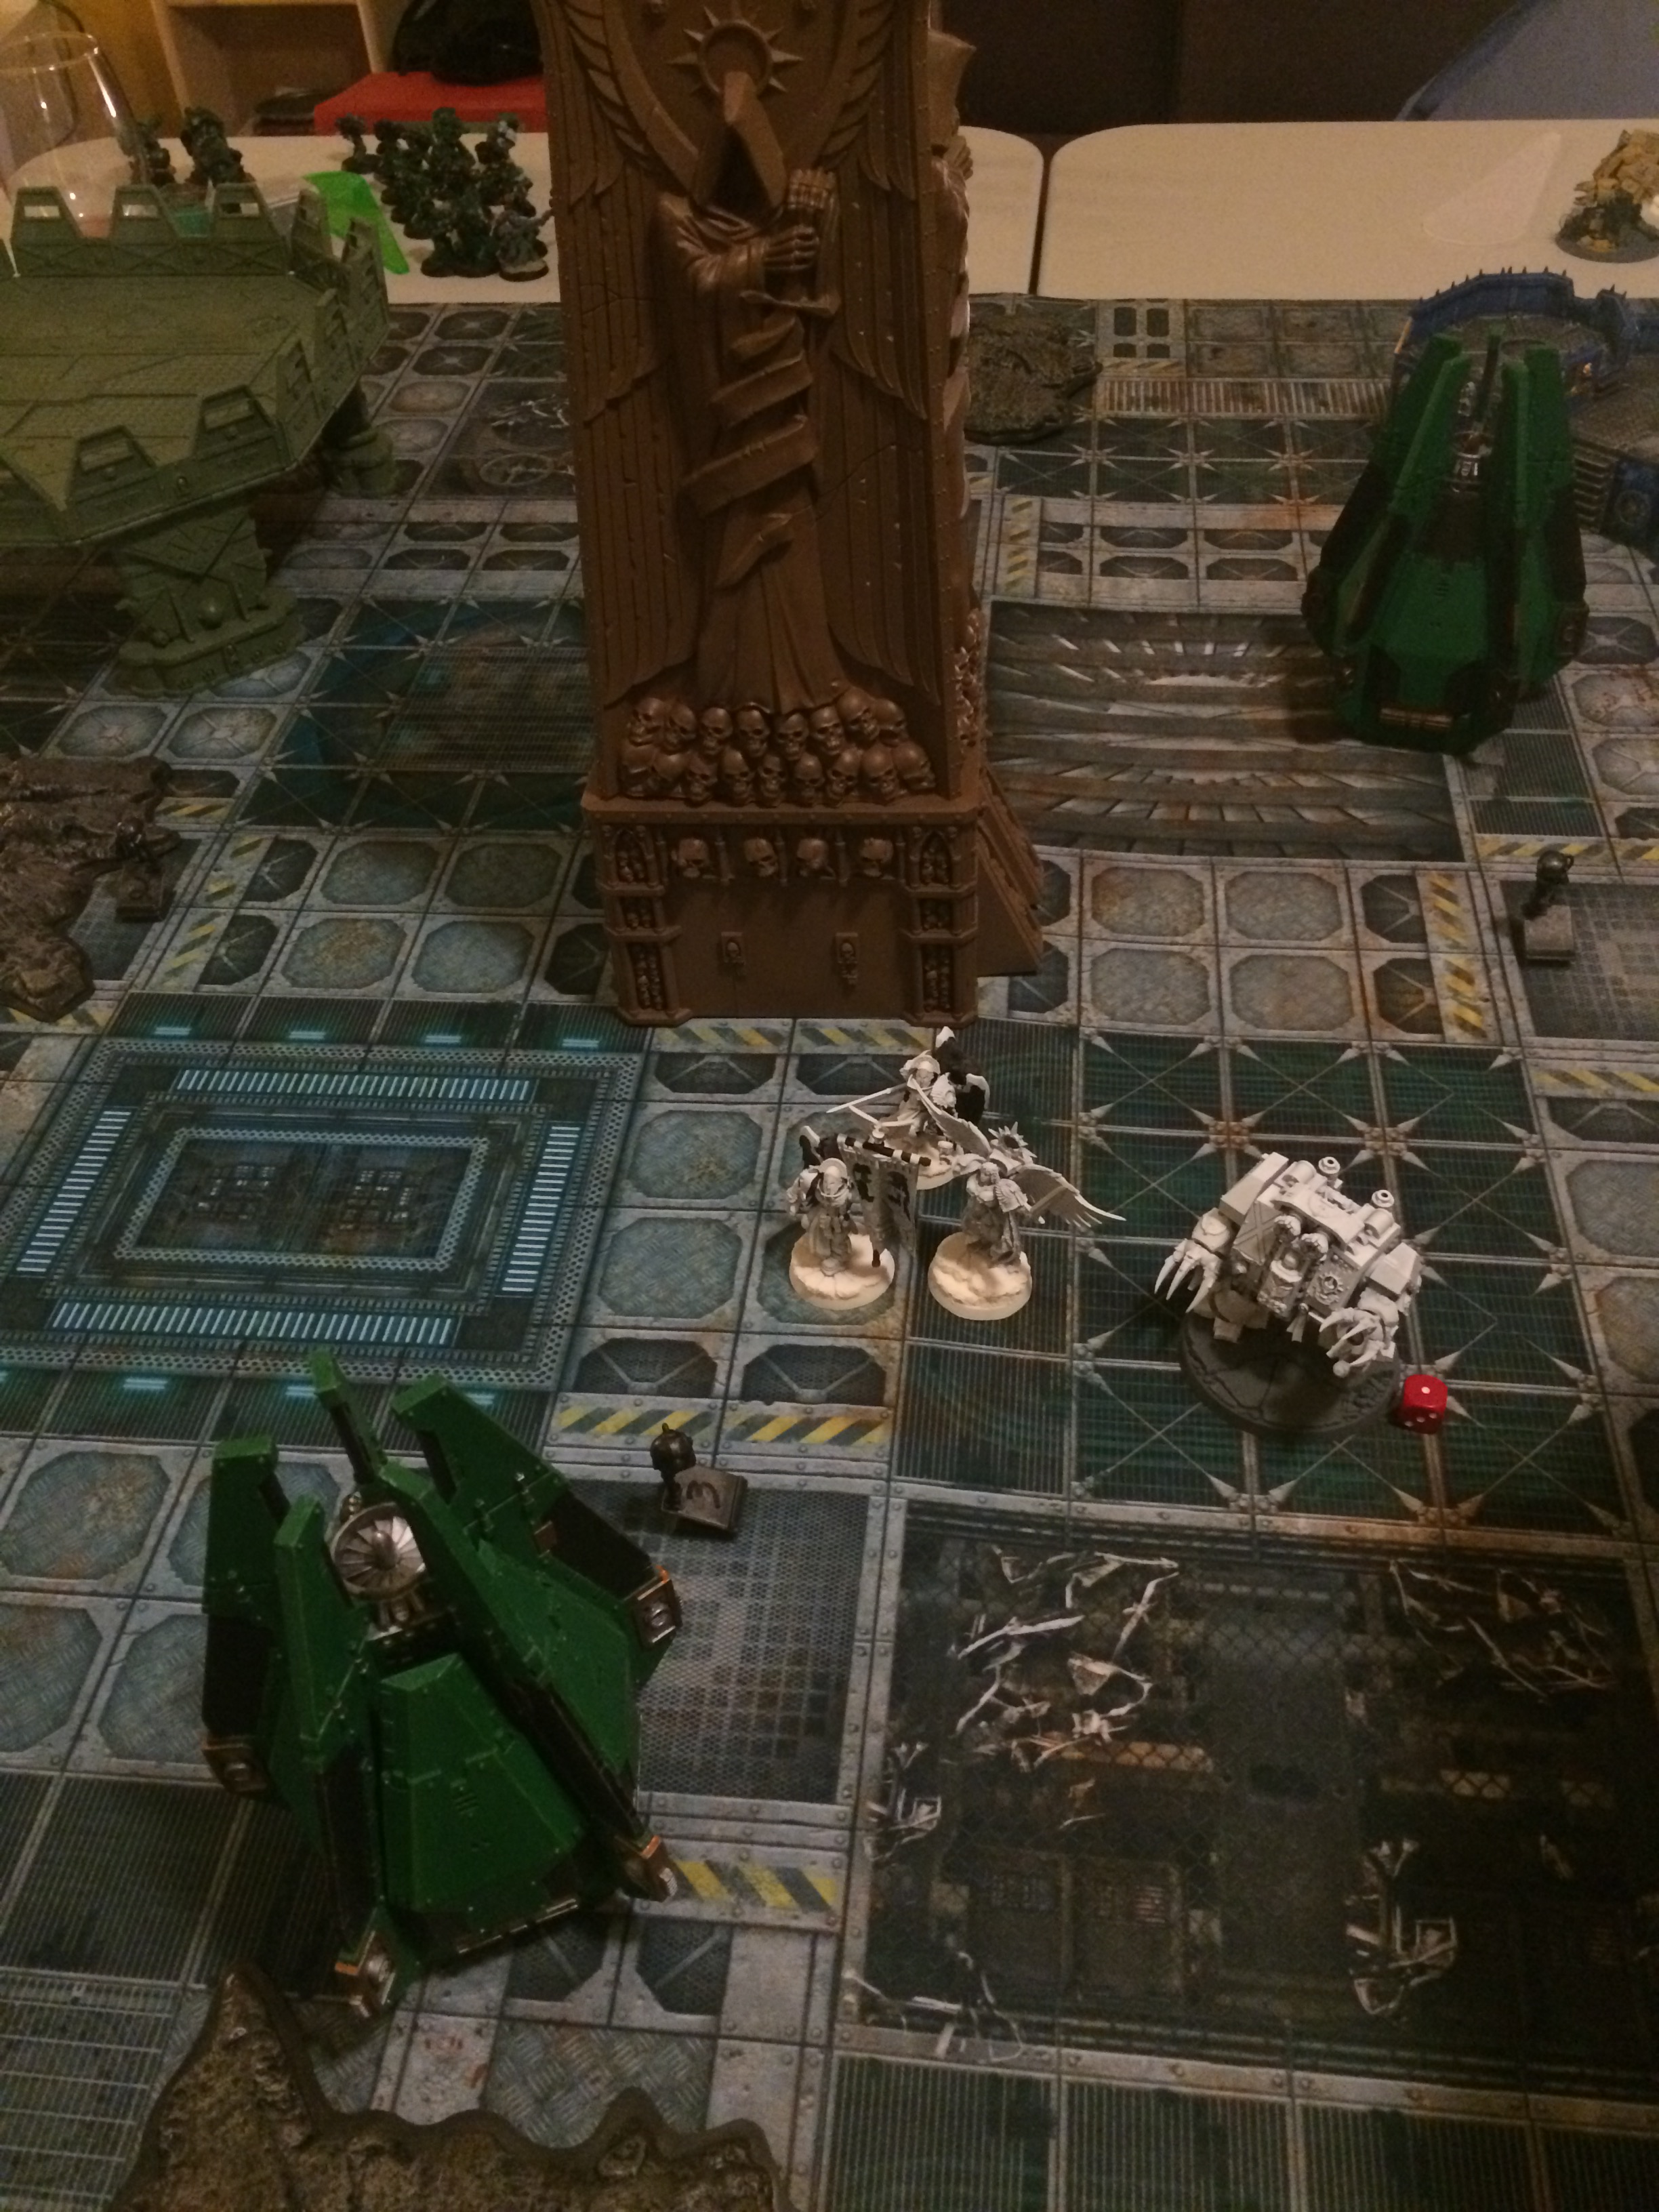
The Death Company Chaplain joins the Sanguinary Guard. They approach the skyshield and clamour up. The Centurions are engaged in combat. They are caught off guard and are unable to crush any Lamenters. The swords of the Sanguinary Guard prove to be mostly ineffective. One was able to pass through the heavy armour of a Centurion but the Salamander fought on through his injury. The power axe and power fist swing last using their sword swinging brethren as a distraction. They hit their mark and pulverize the three Centurions.
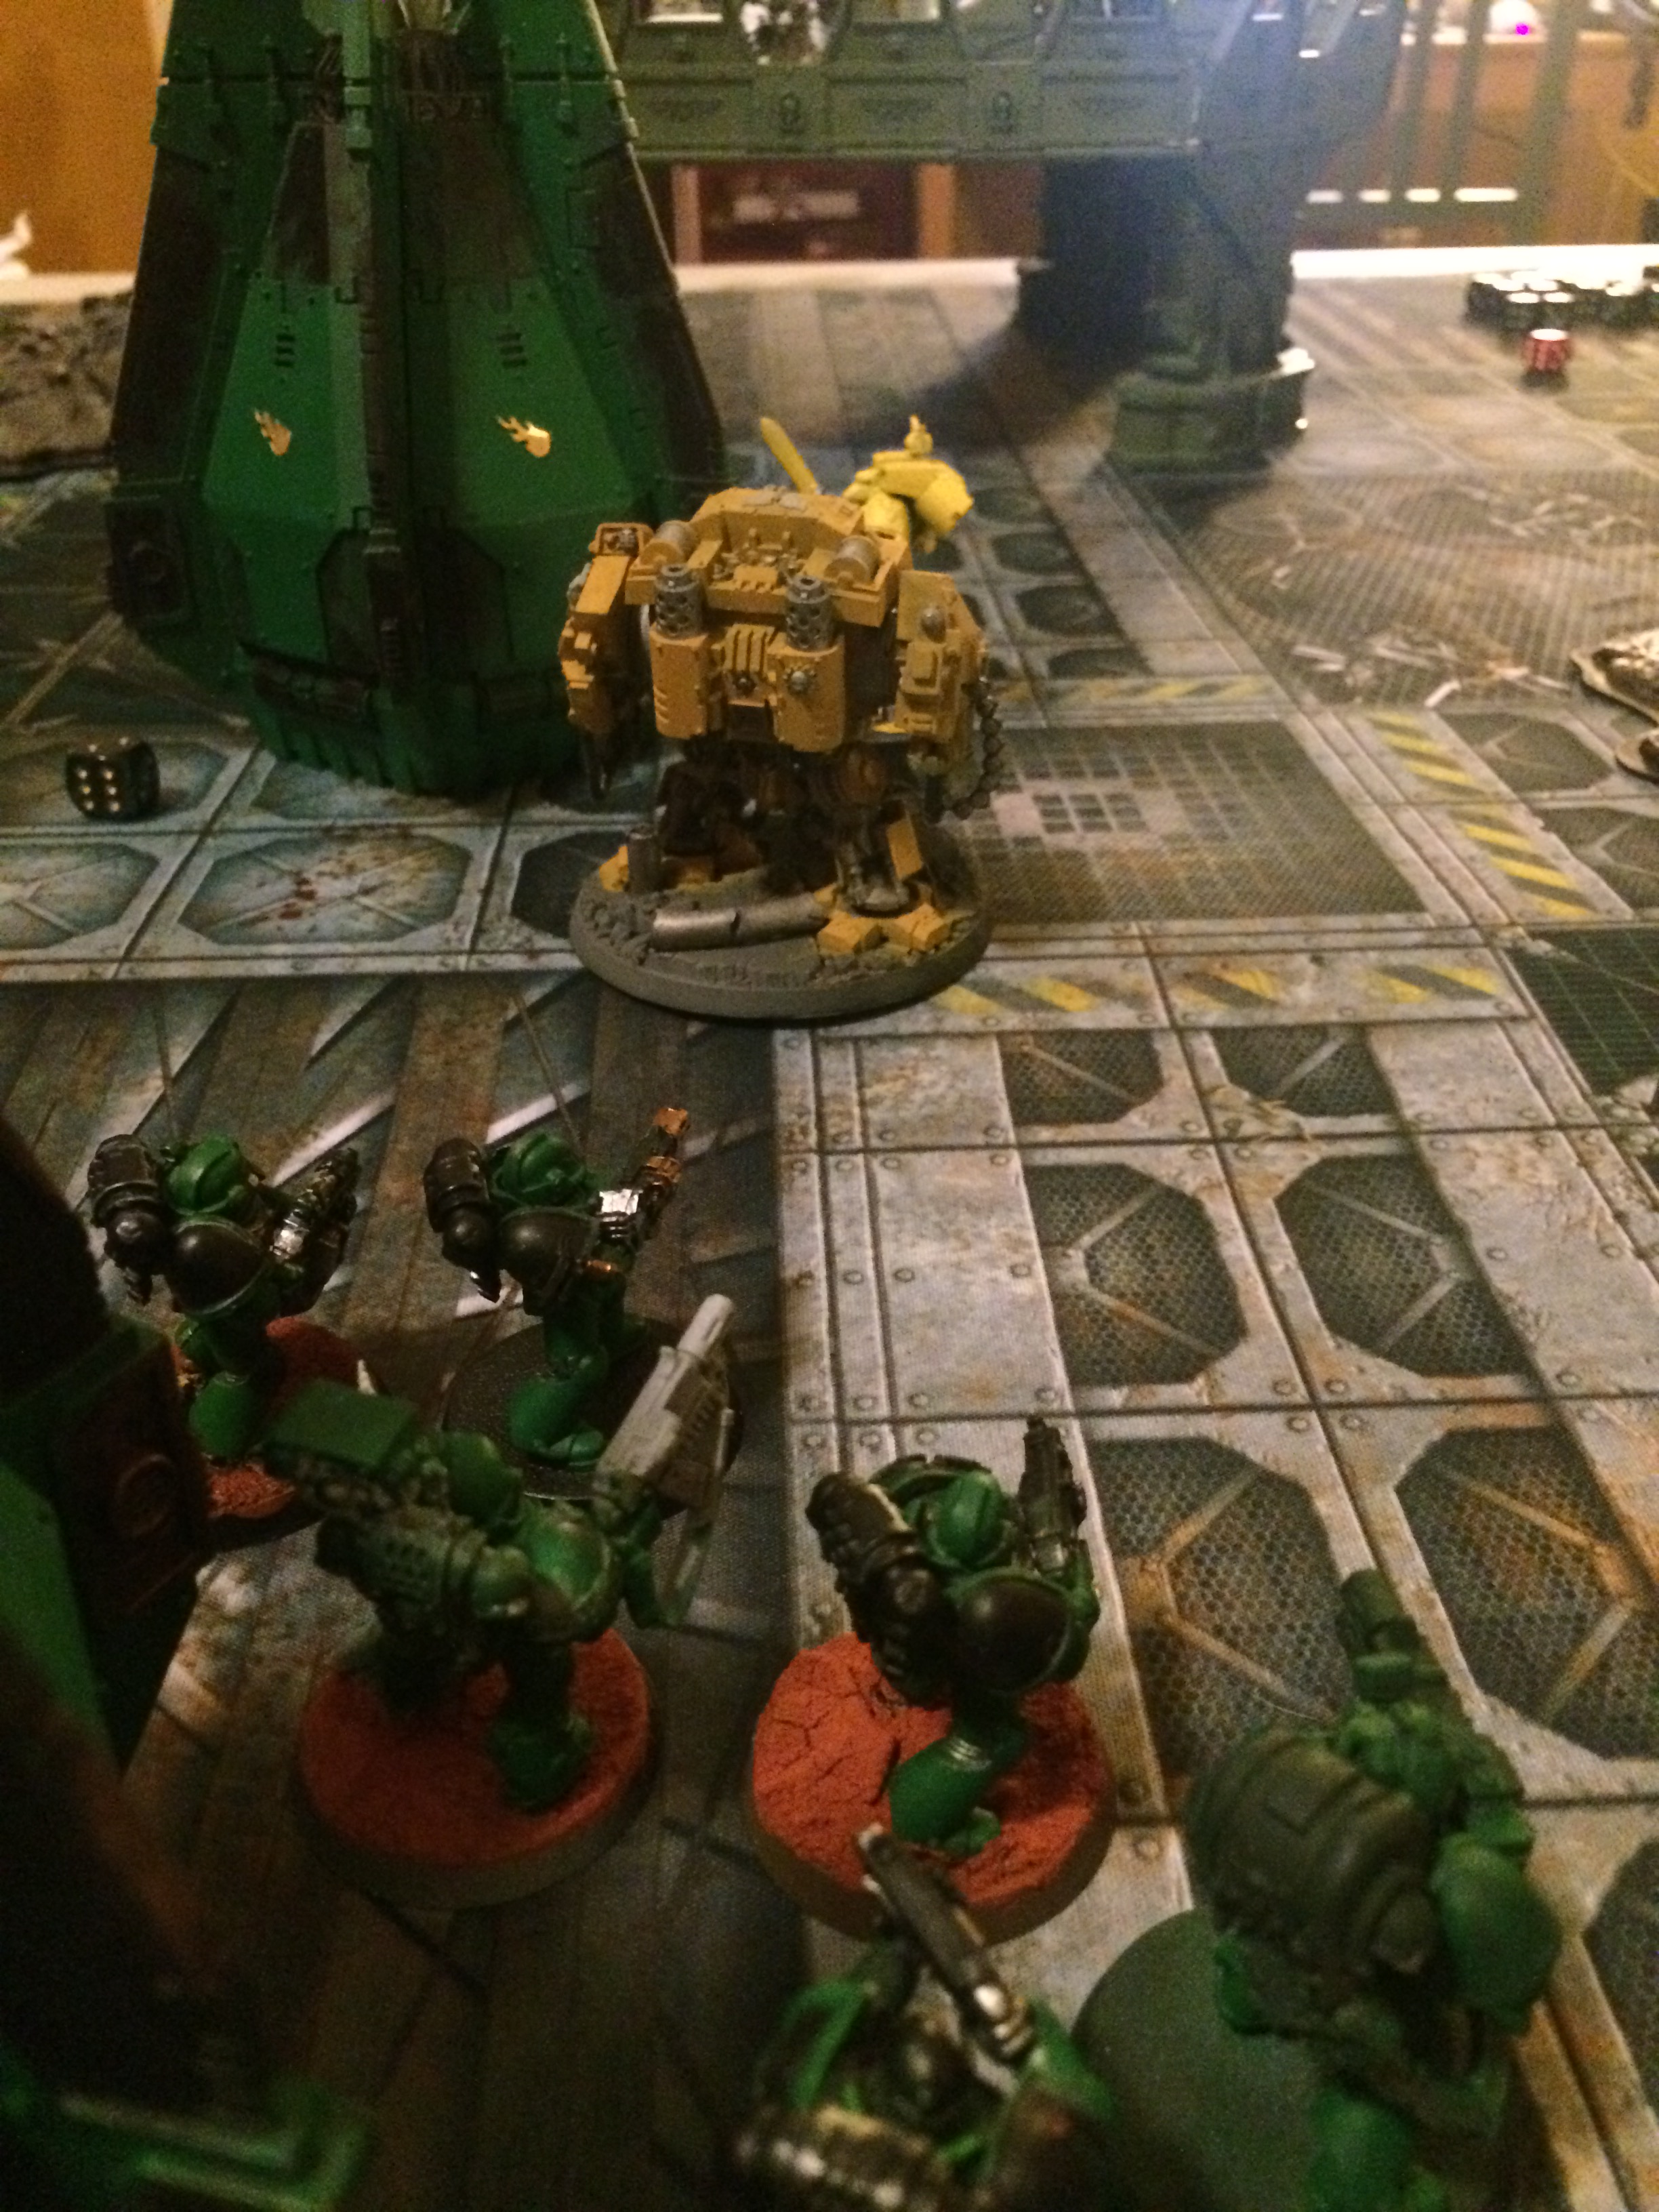
The Salamanders return fire to the Lamenters. Another Drop Pod arrives and lands behind the Furioso Dreadnought. The Salamanders pour out and target the rear armour. The meltagun ignites the power core and the Dreadnought explodes into a big ball of flame. The meltagunner dies in the blast as well as the Lamenter Assault Marine.
The remaining Devastator targets the Sanguinary Guard. The Devastator didn’t give the Lamenters chance to regroup from slaying the Centurions. The closest Lamenter had no warning and was incinerated well before he knew what hit him.
The Drop Pod used its sensors to survey the battle. Sensing movement on the skyshield it opened fire. The Sanguinary Guard were now distracted from the one of their own being incinerated from a multi-melta. They didn’t take notice at the incoming storm bolter fire and another brother was slain.
The Salamanders are unable to power up any generators. The Lamenters are winning 2-0.
Turn 3
The roll for the catastrophic table happens and there is no effect.

The Executioner Predator targets the Salamanders lurking close to its skyshield bastion. The plasma blasts prove to be too much and wipes the unit out. Cassor targets the Drop Pod and fails to do any damage. The Sanguinary Guard advance towards the newly arrived Tactical Marines. They charge and wipe out the unit taking no casualties on their side. The Death Company Chaplain does not join the fight and instead stays back to turn on a power generator.
The Devastator targets Cassor but misses the mark. There must be something wrong with his equipment as Cassor is immobilized. The two intact Drop Pods target the Sanguinary guard. Due to the cold void the ammunition of the transports cause rending damage to the elite Lamenters. One is killed while a second is able to get back to his feet since he felt no pain.
Lamenters are winning 2-0.
Turn 4
There is no event from the catastrophic table.
The Chaplain powers up a generator for a victory point. Then he charges the Drop Pod and fails to do any damage.
The Sanguinary Guard jump forward towards another Drop Pod. Cassor attempts to wreck the transport but the immobilization has interfered with his targeting relay. The Sanguinary Guard charge the Drop Pod and wreck it.
The Executioner Predator targets the two remaining infantry. The plasma scatters off the mark. The heavy bolters hit true and kill the last Devastator and Mir’san takes a wound.
Captain Mir’san sensing the time to retreat attempts to jump off the fortification. There is too much debris and he is unable to gain a strong foothold. He turns around and targets the Sanguinary Guard and kills one. The last remaining Drop Pods target the Chaplain and fail to do any damage. The Chaplain takes another swing at the Drop Pod and fails to do any damage.
Lamenters are winning 3-0.
Turn 5
There is no event from the catastrophic table.
The Sanguinary Guard move towards to the power generator. They shoot at Captain Mir’san but do no damage. It was merely covering fire while their attention was directed towards the power generator. The Executioner Predator targets a Drop Pod and glances the armour. The Chaplain is still trying to wreck the Drop Pod in front of him. He is clearly getting frustrated at this point.
Captain Mir’san shoots at the sanguinary Guard. He kills the banner bearer who was in the process of powering the generator. The Drop Pods fire on the Chaplain and manage to cause a wound. The Chaplain quickly patches it up due to his feel no pain kit.
Lamenters are winning 3-0.
Turn 6
There is no event from the catastrophic table.
The Executioner Predator turns its attention to Captain Mir’san. The firepower is too overwhelming and Mir’san falls in battle. The Chaplain finally receives the self-esteem medal and wrecks the Drop Pod. The Sanguinary Priest moved to the last Drop Pod and had a successful long shot charge. He explodes the Drop Pod thus eliminating the Salamanders from the field of battle. Will scores slay the warlord for a final score of 4-0. Jerrod rolls on the slain character table and rolls a six. Captain Mir’san lives another day.
Conclusion
I expected this match to be bloody and it was right from the get go. The Cold Void special rule can be brutal. Jerrod rolled a lot of sixes and Will’s feel no pain bailed him out a few times. The Executioner Predator proved to be too much for Jerrod in the end. That tank stood unchallenged for the game and was free to wreak havoc. Will was successful in making a bee line to the Centurions. I think this game may have ended with a Salamander victory had the Centurions another round of shooting. The Drop Pods were Jerrod’s unsung hero’s. They scored a few rending shots and proved to be a major nuisance to Will. It was a fun game to watch and I’m glad Will and Jerrod had a chance to play each other finally.
Next Badab War match will be Carcharodons versus Astral Claws. Thanks for reading.


Loove this
LikeLike
By: Okosisi on May 26, 2023
at 2:08 am